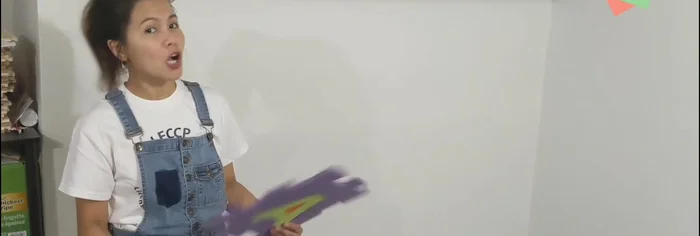
Transform a blank wall into a vibrant, interactive learning space with a DIY chalkboard wall – a fun and engaging project perfect for kids of all ages! Forget expensive, pre-made options; creating your own chalkboard wall is a surprisingly simple and affordable undertaking that offers countless creative and educational possibilities. Imagine a space where your children can unleash their artistic talents, practice their spelling and numbers, or even leave whimsical messages for each other. A chalkboard wall provides a dynamic and ever-changing canvas that fosters imagination and learning through play.
This exciting DIY project is not only budget-friendly but also allows you to customize the size and design to perfectly suit your child's room and your home’s aesthetic. From choosing the right paint to mastering the finishing touches, this guide provides a step-by-step approach to creating the perfect chalkboard wall, turning a plain wall into a lively hub of creativity and learning. Let's get started!
Preparation and Safety Guidelines
- Old phone
- Chalkboard paint
- Multi-purpose adhesive
- Gloves
- Painters tape
- Roller
- Paint tray
- Adult supervision is required at all times, especially when using tools like a saw or drill. Children should not handle these tools.
- Ensure the chalkboard paint is non-toxic and appropriate for use in children's spaces. Always follow the manufacturer's instructions for application and drying time.
- Proper ventilation is crucial when working with paints and primers. Work in a well-ventilated area or wear a respirator mask.
Step-by-Step Instructions
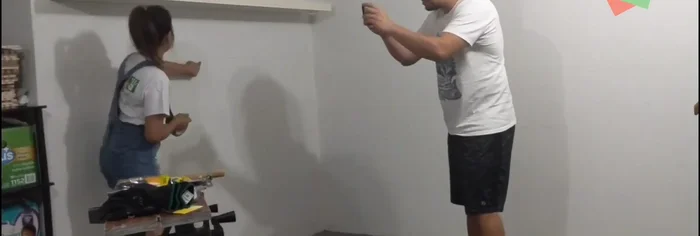
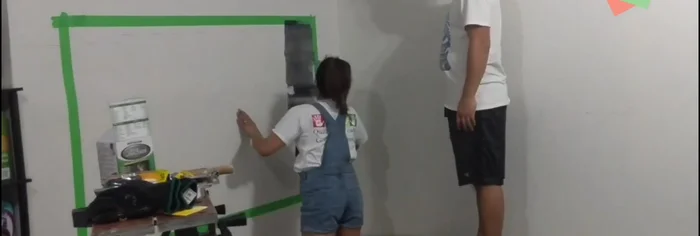
Prepare the Wall
- Mark the area on the wall where you want to apply the chalkboard paint.
- Apply painters tape to the marked area to create clean edges.

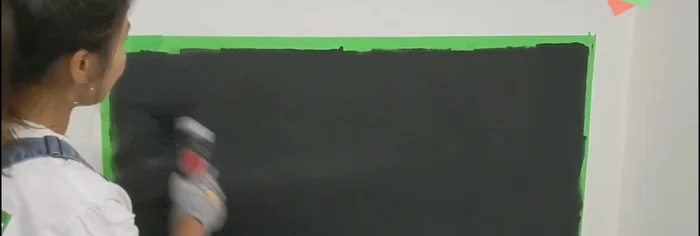
Prepare the Wall Apply Chalkboard Paint
- Apply the first coat of chalkboard paint. Let it dry for half an hour.
- Apply a second coat of chalkboard paint, and optionally a third coat. Let it dry for 30 minutes between coats.
Apply Chalkboard Paint Finish and Detail
- Remove the painters tape.
- Apply foam mats (optional) to the chalkboard wall using heat.
Finish and Detail
Read more: Build a Giant Toy Box: DIY Playroom Organization
Tips
- Use gloves when applying the adhesive for safety.