Transforming discarded oak scraps into a stunning, chunky photo frame is easier than you think! This project offers a rewarding blend of creativity and practicality, allowing you to showcase your cherished memories within a uniquely crafted frame. The beauty of using reclaimed wood lies not only in its sustainability but also in the inherent character each piece brings; expect variations in grain and color that add to the frame's rustic charm and make it a truly one-of-a-kind piece. You can even personalize it further with stains, paints, or decorative elements, perfectly tailoring it to your style and home décor.
Forget overpriced, mass-produced frames – let's unlock the potential of those oak scraps gathering dust in your workshop or garage. This step-by-step guide will walk you through the simple yet satisfying process of building your own chunky, rustic photo frame, from selecting and preparing your wood to the final finishing touches. Let’s get started!
Preparation and Safety Guidelines
- Flat planer
- Belt sander
- Table saw
- Clamps
- T-coil
- Linseed oil
- Panel pins
- Always wear safety glasses when using power tools like saws or sanders. Wood dust and flying debris can cause serious eye injuries.
- Use caution when handling sharp tools like chisels or knives. Cut away from yourself and keep your fingers clear of the blade.
- Ensure proper ventilation when sanding or working with wood finishes. Wood dust is a respiratory irritant, and some finishes release harmful fumes.
Step-by-Step Instructions
Preparation
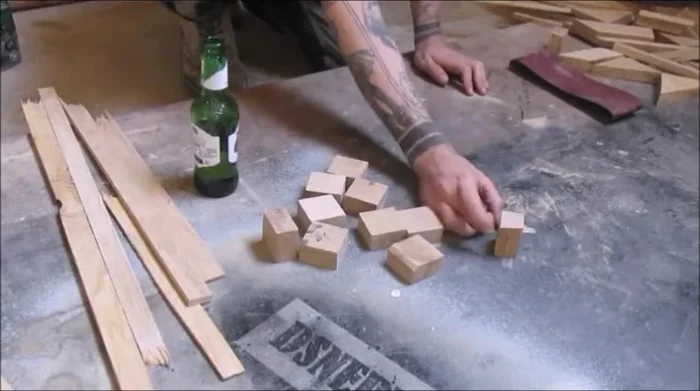
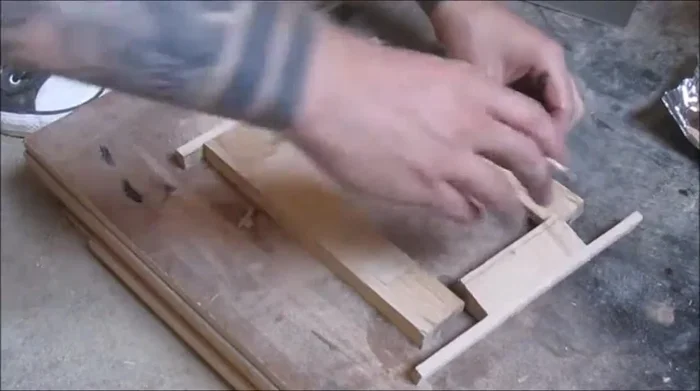
- Gather and prepare oak scraps.
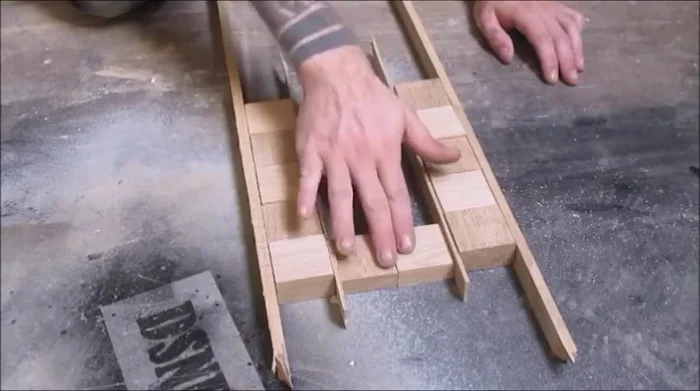
- Plan the frame design (Initially, 5 pieces down the sides, changing grain orientation).

Preparation Material Processing
- Flatten and square all pieces using a belt sander (instead of planer due to a mishap).
Material Processing Frame Assembly
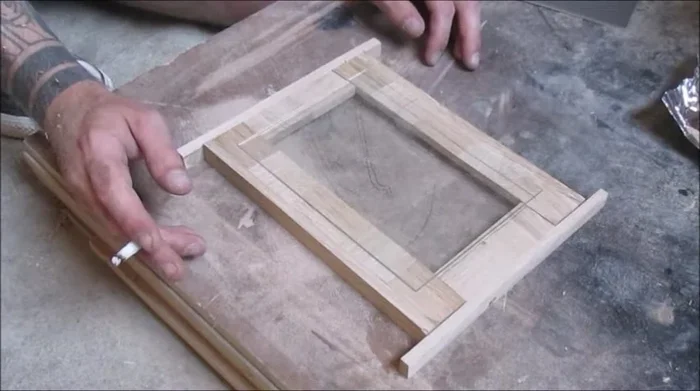
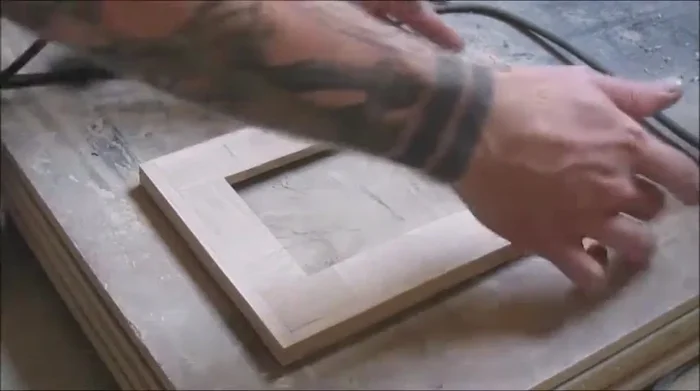
- Assemble the frame (Glue-up).
- Trim excess material and adjust dimensions for the glass.
- Cut the frame to finalize dimensions (adjusting for the inner line issue).
Frame Assembly Finishing
- Sand the frame and apply finish (T-coil and linseed oil).
- Add a bevel (optional, for decorative purposes).
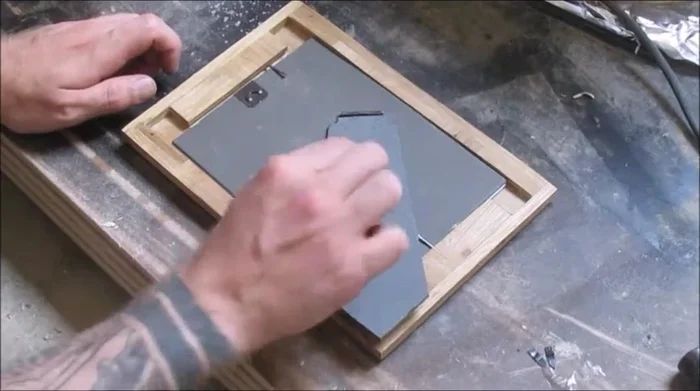
Finishing Final Assembly
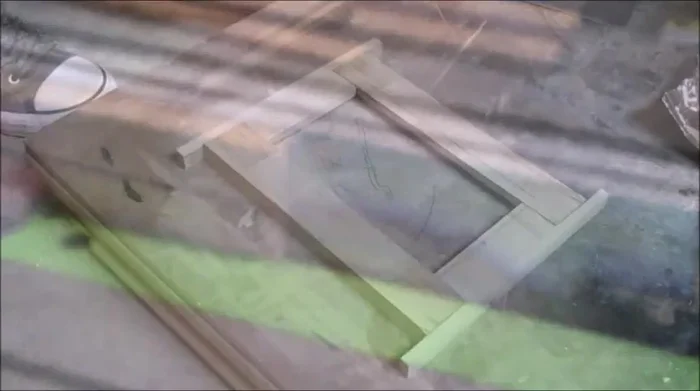
- Attach the backing and glass.
Final Assembly

Read more: Miniature Spider Welding Tutorial: Crafting a Tiny Metal Arachnid
Tips
- If your clamps are too short, use two smaller ones together.