Transform your child's room from ordinary to extraordinary with a personalized nameplate crafted entirely by your own hands! This fun and easy DIY project utilizes readily available air-dry clay, offering a unique and charming touch that perfectly complements any décor. Forget generic store-bought options – creating a nameplate with your child’s input fosters creativity and adds a special, handmade element to their personal space. The process is surprisingly simple, allowing even beginner crafters to achieve impressive results, and the end product offers a beautiful and long-lasting keepsake.
This engaging craft project is perfect for a weekend afternoon spent with your little ones, turning a simple activity into quality family time. The tactile nature of working with clay is incredibly therapeutic and helps develop fine motor skills. Ready to get your hands messy and create a personalized masterpiece? Let’s dive into the step-by-step tutorial and learn how to craft this adorable clay nameplate.
Preparation and Safety Guidelines
- Old diary cover
- Texture paste
- Toothpick
- Thick board
- Creation sir dry clay
- Paper
- Tape
- Plastic transparent sheet
- Talcum powder
- Pancake roll
- Cylindrical pencil
- Acrylic colors
- Stones
- Fevicryl white 3d outliner
- Glue
- Neck piece
- Adult supervision is required at all times during the crafting process, especially when using oven-bake clay and handling sharp tools.
- Ensure the oven is preheated to the correct temperature and the clay is baked for the recommended time according to the product instructions to avoid burning or under-baking.
- Allow the finished nameplate to cool completely before handling to prevent burns.
Step-by-Step Instructions
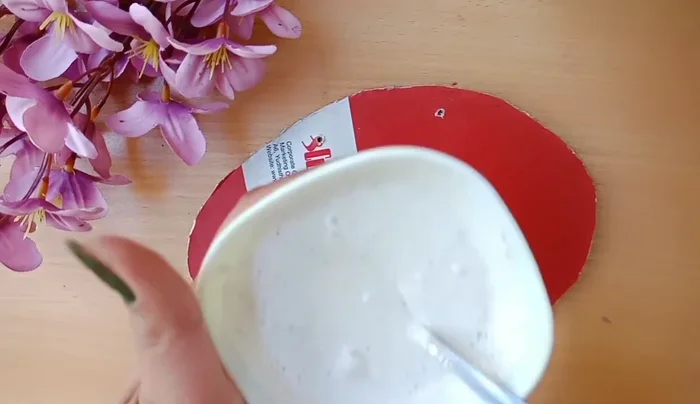
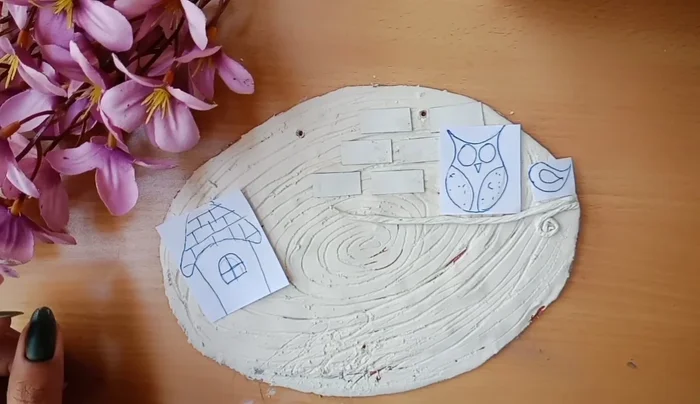
Prepare the Base
- Cut an old diary cover into an oval shape and make two holes for hanging.
- Cut and stick rectangle pieces of thick board to the base.

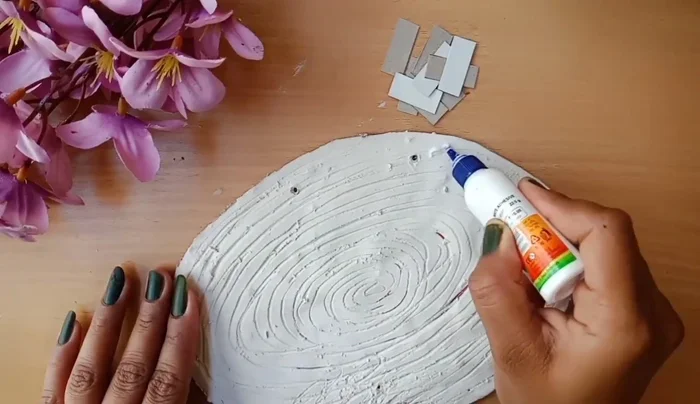
Prepare the Base Create Textured Background
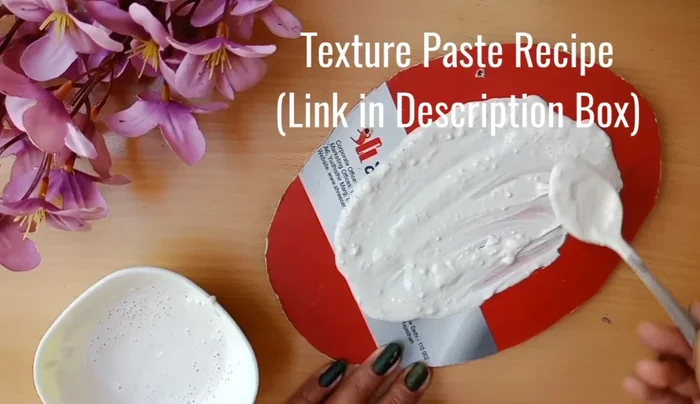
- Apply texture paste and create texture using a toothpick. Let it dry for 3-4 hours.
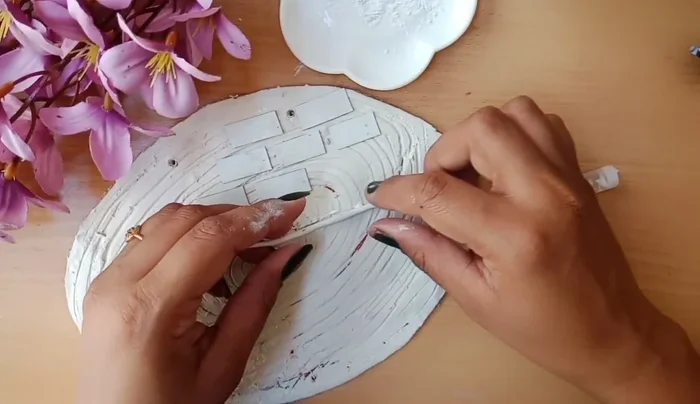
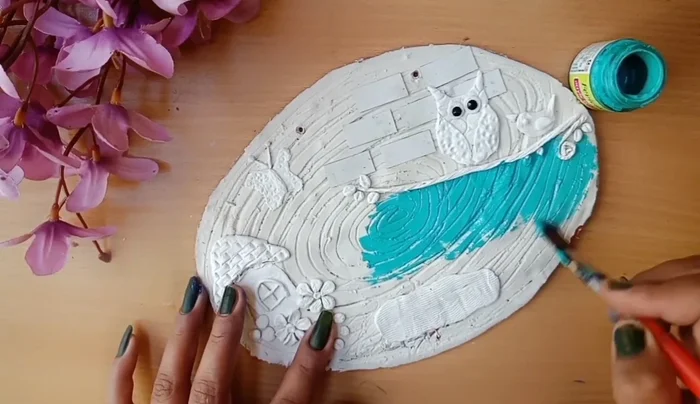
- Roll out clay and spread it on the board. Use a tool for texture.
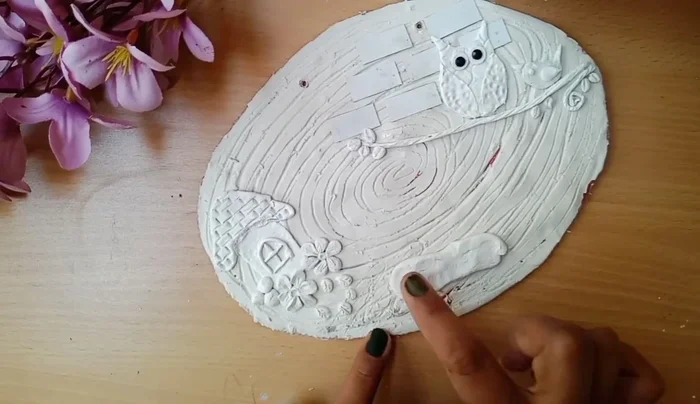
Create Textured Background Add Clay Images
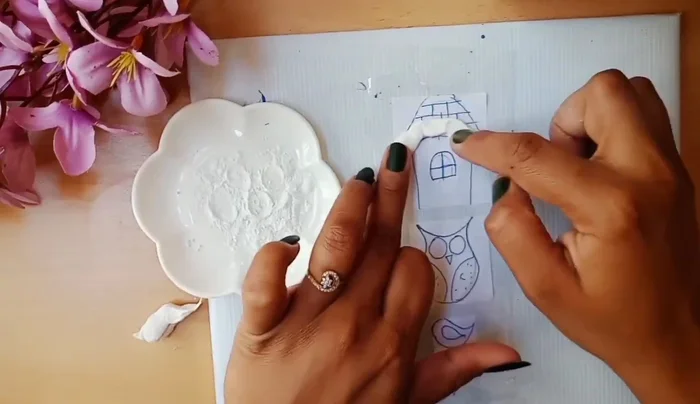
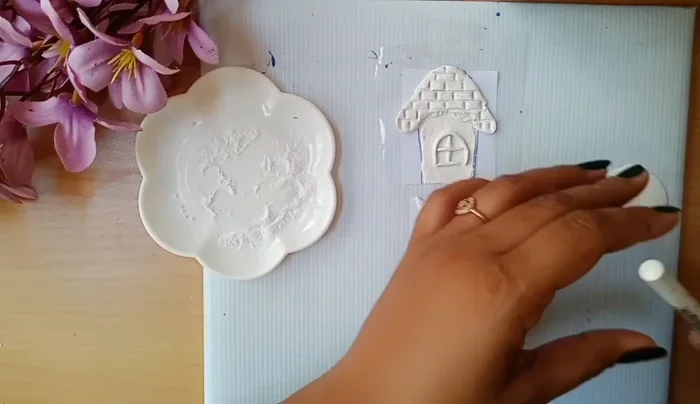
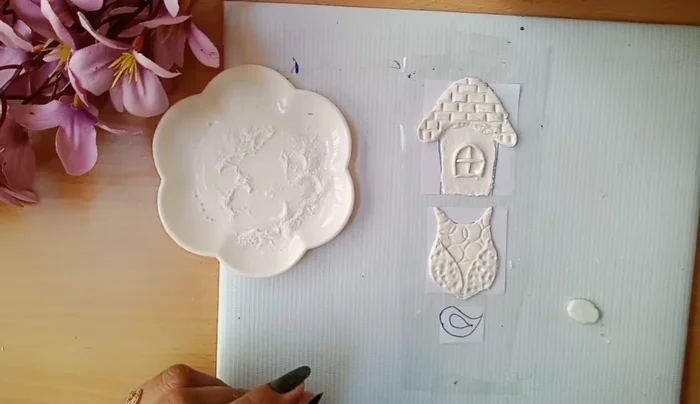
- Draw images (owl, house) on paper, tape them to the base, cover with plastic sheet, and tape around to secure.
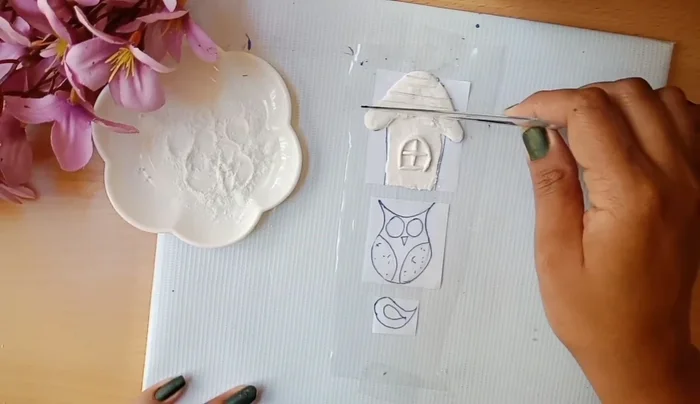
- Spread clay (using talcum powder to prevent sticking) over the images, shaping it.
- Add texture to the clay using tools.
Add Clay Images Detail Clay Images
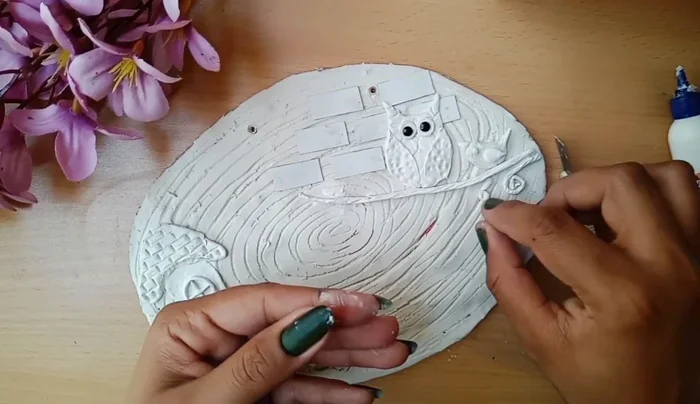
- Roll out clay and make branches, adding texture with tools.
- Roll clay, cut out wings, and stick them onto the owl.
- Add texture to the wings. Roll more clay, cut circles for eyes, and add stones for detail. Let dry.
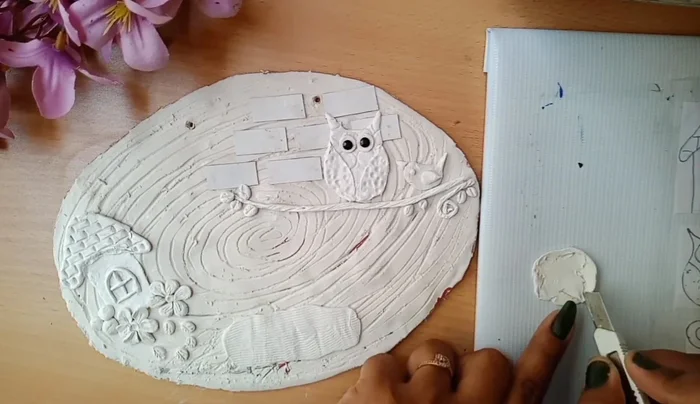
- Make leaves from clay and stick them.
Detail Clay Images - Make a butterfly from clay.
Detail Clay Images Create and Attach Letters
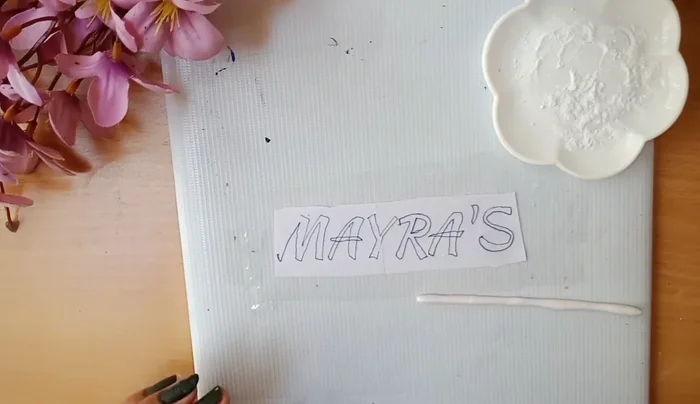
- Draw letters on paper, cover with a transparent sheet. Roll out clay and cut out letters to match the drawings.
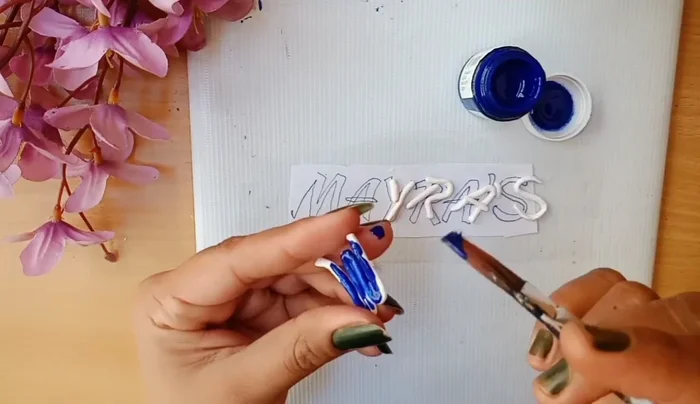
- Let the letters dry, then paint them.
- Stick the name onto the board with glue.
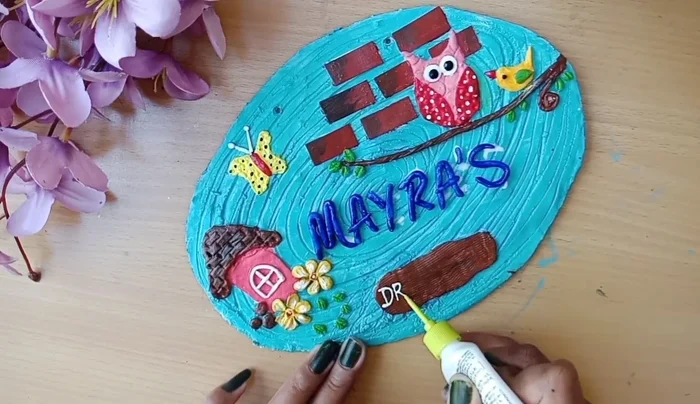
Create and Attach Letters Paint and Decorate
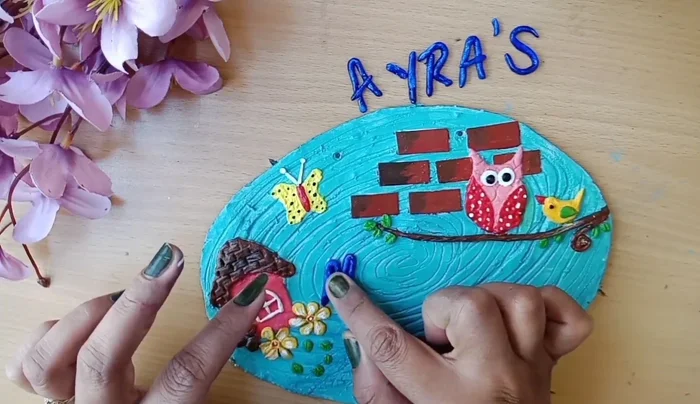
- Once dry, use acrylic colors to paint the entire nameplate.
- Use 3D outliner to add details.
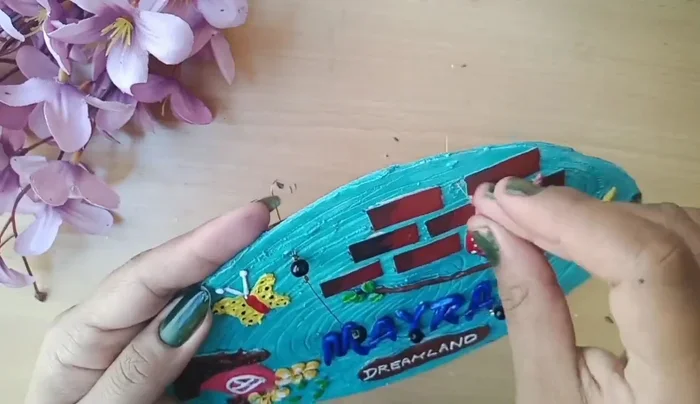
Paint and Decorate Finishing Touches
- Attach a neckpiece for hanging.
Finishing Touches
Read more: Build a Giant Toy Box: DIY Playroom Organization
Tips
- Check description box for texture paste recipe.
- Use talcum powder to prevent clay from sticking to hands.