Transform your child's room from ordinary to extraordinary with these enchanting DIY cloud bookshelves! Kids adore whimsical décor, and what's more magical than fluffy, buoyant clouds cradling their favorite stories? This project is surprisingly simple, offering a fun and creative way to organize their books while adding a touch of playful sophistication to their space. Forget boring, standard shelving; this guide provides a unique and personalized solution, perfect for sparking imagination and encouraging a love of reading.
Creating these delightful cloud bookshelves involves readily available materials and straightforward techniques, making this a perfect weekend project for the whole family. Ready to embark on this cloud-crafting adventure? Let's dive into the step-by-step process to build your very own whimsical cloud bookshelves!
Preparation and Safety Guidelines
- Pinewood planks
- Sandpaper (various grits)
- Woodworking adhesive
- Wood stapler
- Wood filler
- Pore sealant
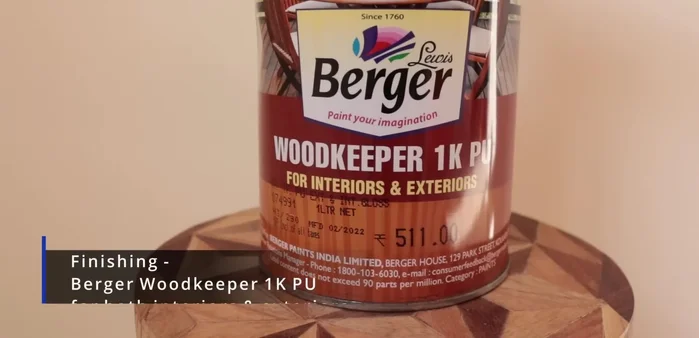
- Wood finish (high-gloss)
- Drill
- Nails
- LED strip lights (optional)
- Adult supervision is crucial throughout the entire project, especially when using tools and handling heavy materials.
- Ensure all shelves are securely fastened to the wall using appropriate anchors suitable for the wall type and weight of the books. Improper anchoring can lead to shelves collapsing.
- Always place the bookshelf away from any sources of heat or direct sunlight to prevent warping and damage to the wood.
Step-by-Step Instructions
Prepare the Wood
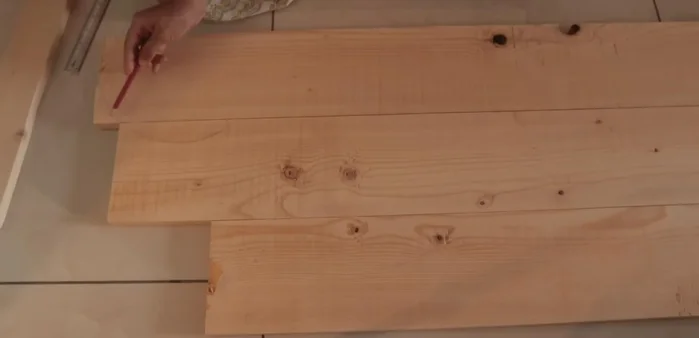
- Sand all wooden planks to achieve a smooth surface.
- Arrange planks and draw cloud shapes onto them.
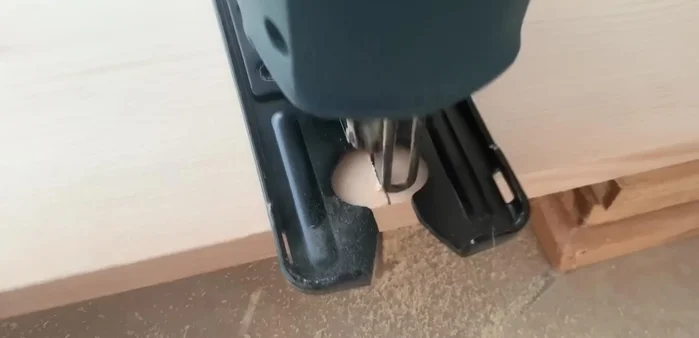
- Cut out cloud shapes and sand edges.

Prepare the Wood Assemble the Cloud Shapes
- Assemble cloud pieces using woodworking adhesive and a wood stapler.
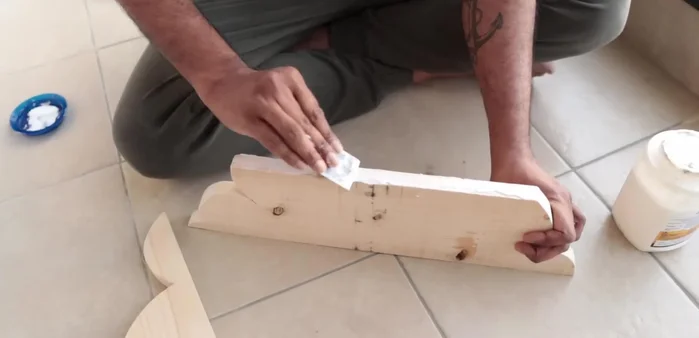
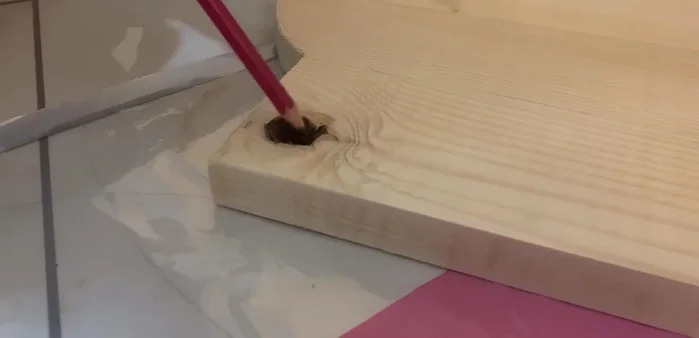
- Fill imperfections (bumps, dents, holes) with wood filler.
Assemble the Cloud Shapes Finish the Wood
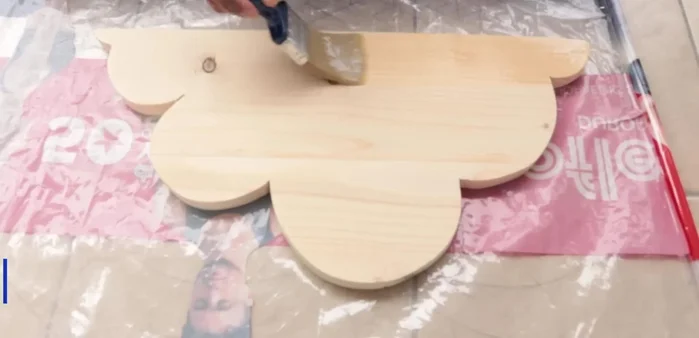
- Seal wood pores with sealant.
- Apply wood finish (3 wet-on-wet applications with sanding in between).
Finish the Wood Assemble the Shelves
- Assemble individual cloud shelf pieces using woodworking adhesive and nails.
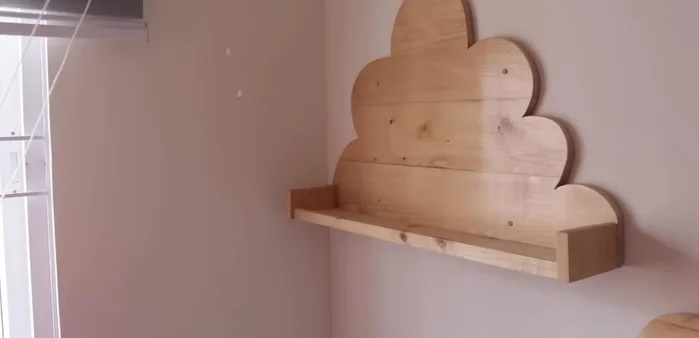
Install the Shelves
- Drill and install shelves securely onto the wall.
Decorate
- Style and decorate shelves.
Decorate

Read more: Build a Giant Toy Box: DIY Playroom Organization
Tips
- Use different grits of sandpaper for optimal smoothing.
- Consider using three to four coats of wood finish for best results.
- For the smallest cloud, create an ambient light by attaching LED lights to the back.