Floating shelves add a touch of modern elegance and practicality to any room, but the price tag at home improvement stores can be surprisingly hefty. Fortunately, crafting your own DIY cloud shelf is easier than you think, requiring minimal tools and materials you likely already have around the house. Forget complex woodworking projects and expensive installations; this method focuses on simplicity and a clean, contemporary aesthetic, perfect for beginners and seasoned DIY enthusiasts alike. You'll be amazed at how quickly you can transform a plain wall into a stylish display area.
This guide provides a straightforward, step-by-step process for creating a stunning cloud shelf, perfect for showcasing books, plants, or decorative items. We'll walk you through each stage, from selecting your materials to achieving that perfectly seamless, floating look. Ready to get started? Let’s dive into the easy and affordable instructions below.
Preparation and Safety Guidelines
- MDF scraps
- Pine board
- Tiny nails
- Hammer
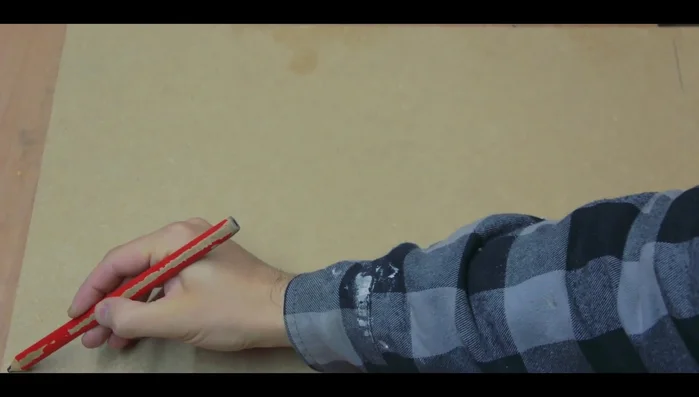
- Pencil
- Wood glue
- Sanding block/Sandpaper
- Handsaw
- File
- Ensure the shelf's weight capacity is suitable for the items you plan to place on it. Overloading can cause collapse and injury.
- Always use appropriate safety equipment like gloves when handling sharp objects like knives or saws (if used).
- Secure the shelf firmly to the wall using sturdy mounting hardware. Improper fastening can lead to the shelf falling and causing damage or injury.
Step-by-Step Instructions
Shape the Cloud Pieces
- Cut out cloud shapes from MDF and pine.
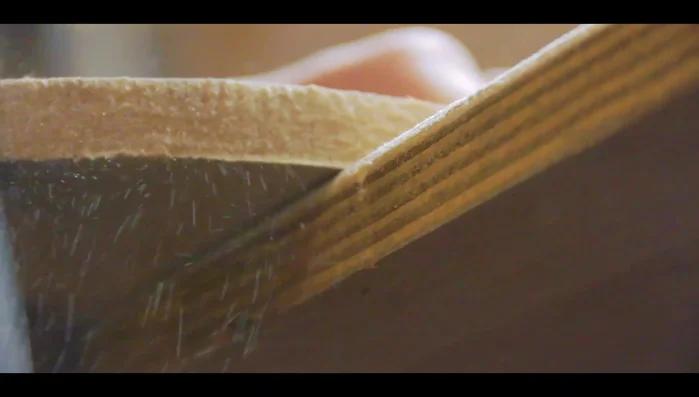
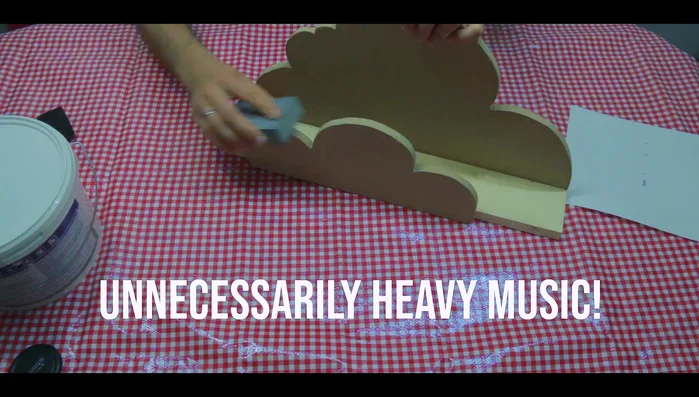
- Use a file to round over the edges of the cloud shapes for a smoother, more organic look.
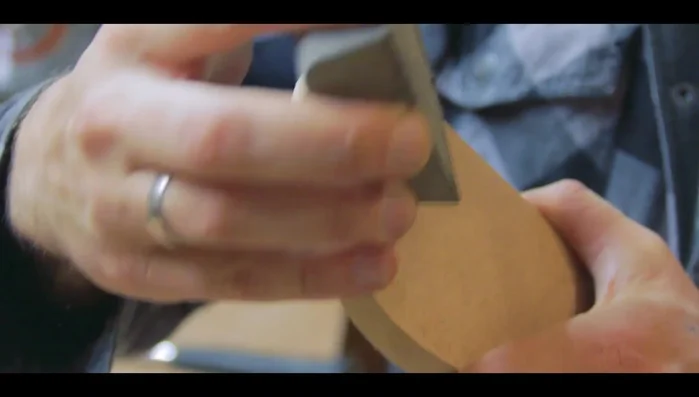
- Sand the edges to remove any roughness and break sharp edges to improve paint adhesion.

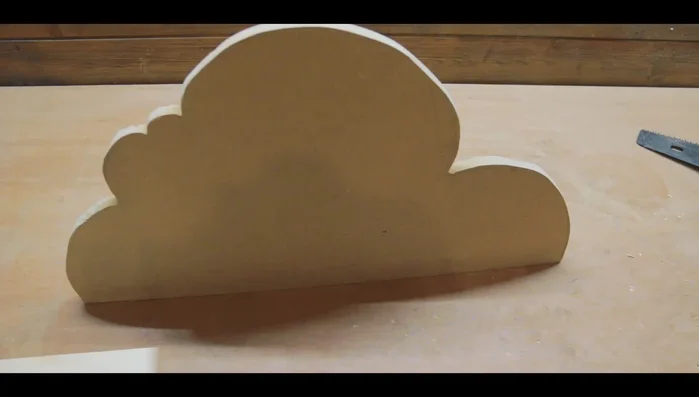
Shape the Cloud Pieces Assemble the Shelf
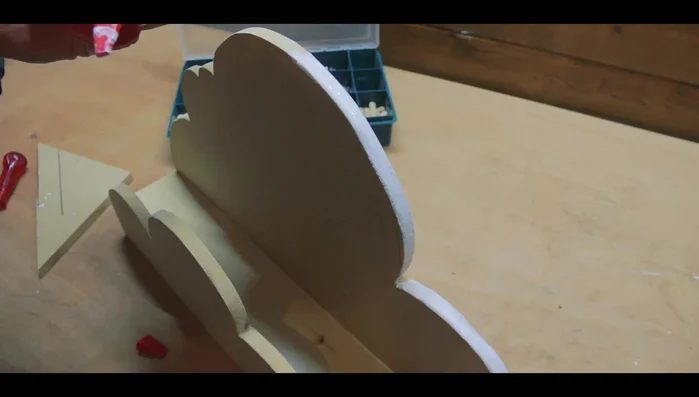
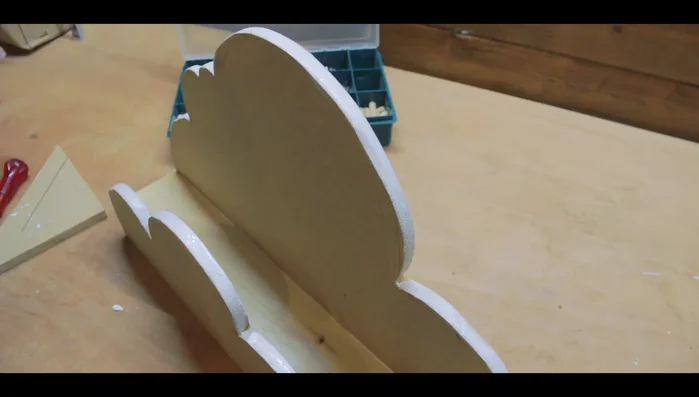
- Dry assemble the cloud shelf to check the fit.
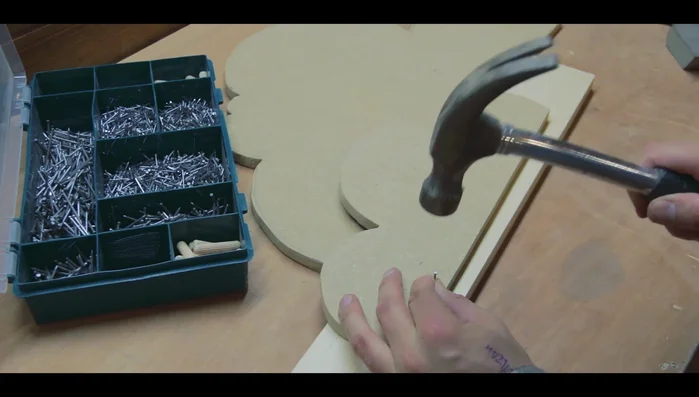
- Glue and nail the two MDF pieces together, ensuring a secure bond.
Assemble the Shelf Prepare for Painting
- Seal the exposed MDF edges with wood glue to prevent absorption of paint.
- Fill nail holes with a paste of sawdust and wood glue, sand smooth once dry.
Prepare for Painting Paint the Shelf
- Paint the shelf (two coats recommended).
Paint the Shelf
Read more: Build a Giant Toy Box: DIY Playroom Organization
Tips
- Don't worry about perfectly following the lines when cutting the cloud shapes – embrace imperfections for a more natural look.
- Breaking the edges during sanding prevents paint from flaking off.
- Use a folded piece of sandpaper to reach tight spots if you don't have a sanding block with an edge.