Imagine a captivating centerpiece for your outdoor living space, a blend of rustic charm and modern functionality. This isn't your average coffee table; we're talking about a DIY propane fire pit coffee table, crafted from the contrasting beauty of concrete and cedar. This unique project combines the warmth and ambiance of a fire with the practical convenience of a sturdy, stylish table, perfect for cozy evenings spent outdoors with friends and family. The rich textures and natural tones create a focal point that will elevate any patio or deck.
Building this stunning fire pit coffee table is easier than you might think. From sourcing materials to the final finishing touches, we'll guide you through each step of the process, providing clear instructions and helpful tips along the way. Let's dive into this exciting DIY project and discover how to create this remarkable addition to your outdoor oasis, step by step.
Preparation and Safety Guidelines
- Three-quarter inch melamine
- Seam tape
- 100 silicone
- Round cake fondant tool
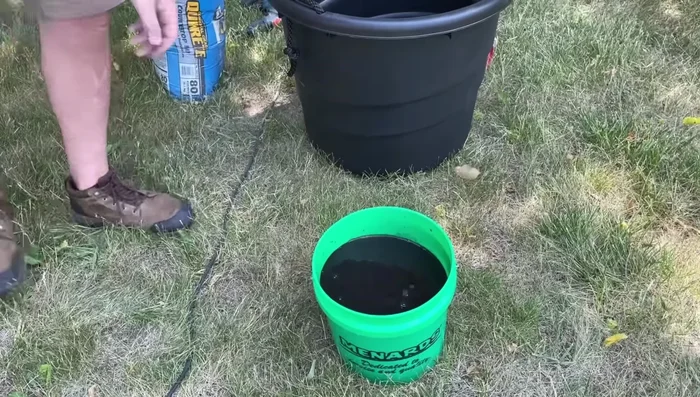
- Quikrete countertop mix (or similar)
- Mesh reinforcement
- Cedar lumber (4x4 and smaller pieces)
- Pocket hole screws
- Plastic shims
- Outdoor oil finish
- Plastic nail-in feet
- Latch magnets
- Propane fire pit insert
- Green glass fire rocks
- Always ensure the propane tank is completely turned off and disconnected when not in use and before performing any maintenance or cleaning.
- Never leave a burning fire pit unattended. Keep children and pets at a safe distance.
- Position the fire pit on a level, non-combustible surface, away from flammable materials like dry leaves, overhanging branches, or structures.
Step-by-Step Instructions
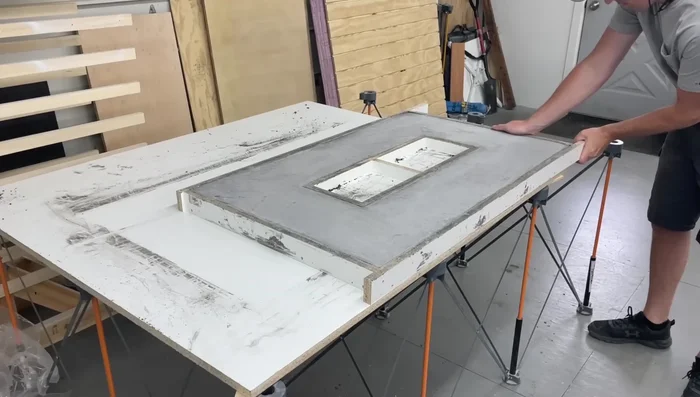
Build Concrete Form
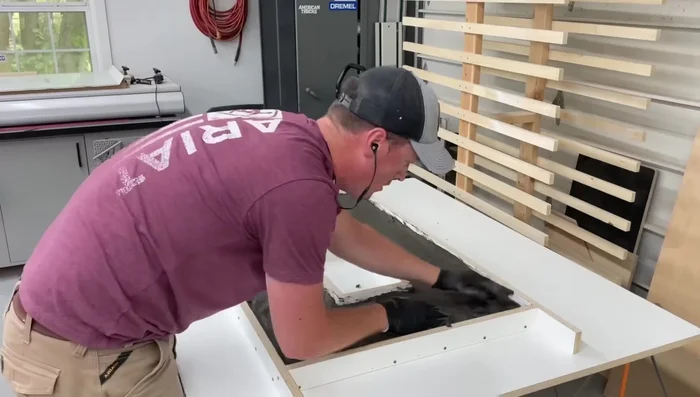
- Build the concrete form using three-quarter inch melamine. Seal corners with seam tape and silicone for a smooth finish.
- Create the void for the fire pit insert within the melamine form. Seal any exposed melamine edges with seam tape.

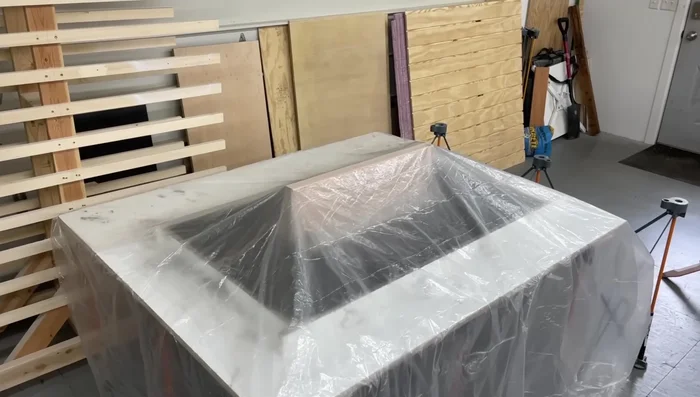
Build Concrete Form Mix and Pour Concrete
- Mix the concrete (Quikrete countertop mix recommended). Mix thoroughly to ensure even color.
- Place mesh reinforcement in the form, then pour and level the concrete. Vibrat the concrete to remove air bubbles.
- Cover the concrete with plastic to retain moisture during curing.
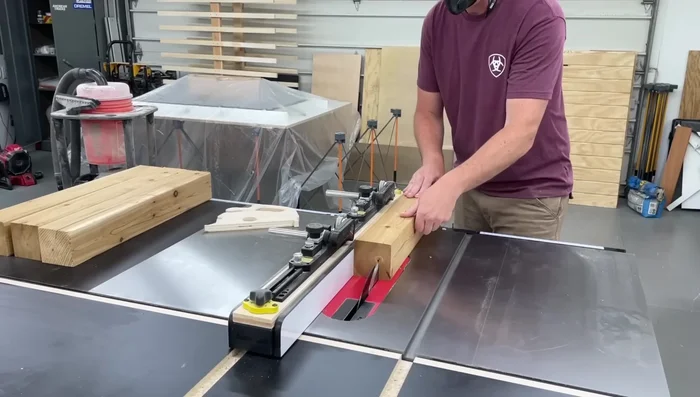
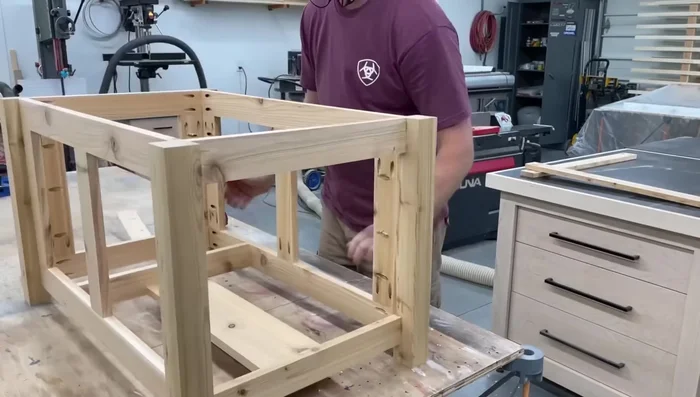
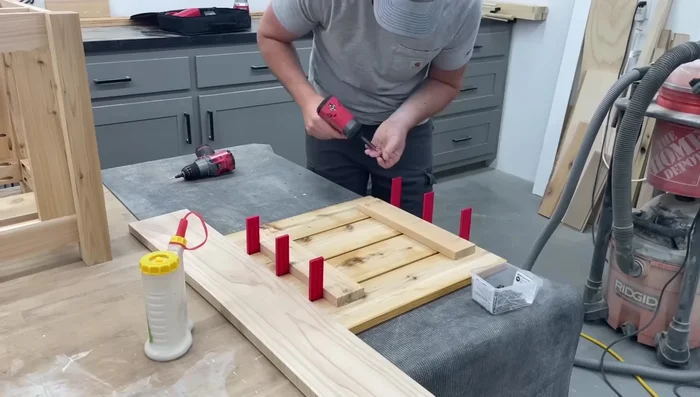
Mix and Pour Concrete Construct Cedar Base
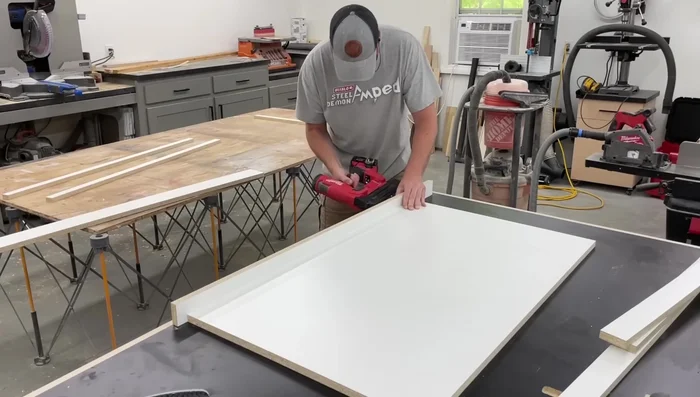
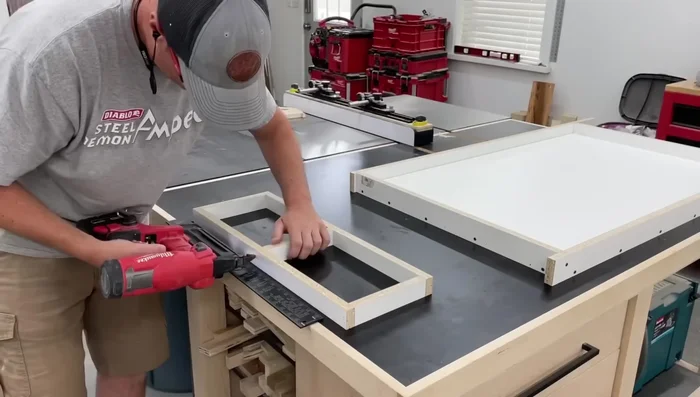
- Build the table base from cedar lumber, using pocket hole screws for assembly.
- Add additional framing to the bottom for propane tank support (horizontal tank placement recommended).
- Add framing around the inside edge of the concrete top for added support.
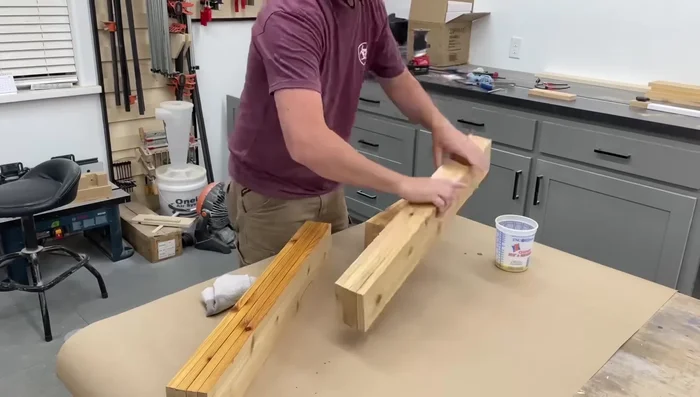
Construct Cedar Base Assemble Cedar Top
- Attach cedar slats to the base (horizontal slats used in this example, but vertical or other options are possible). Apply multiple coats of oil to the edges before installation.
- Add plastic feet to the bottom of the base to prevent water damage.
- Apply several coats of outdoor oil to the cedar.
Assemble Cedar Top Finish Concrete Top
- De-mold the concrete top. Fill any imperfections with a concrete slurry and allow to dry. Apply a sealer (wet-look sealer recommended).
Finish Concrete Top Install Fire Pit Insert
- Install the access door for the propane tank.
- Install the propane fire pit insert and connect the gas line.
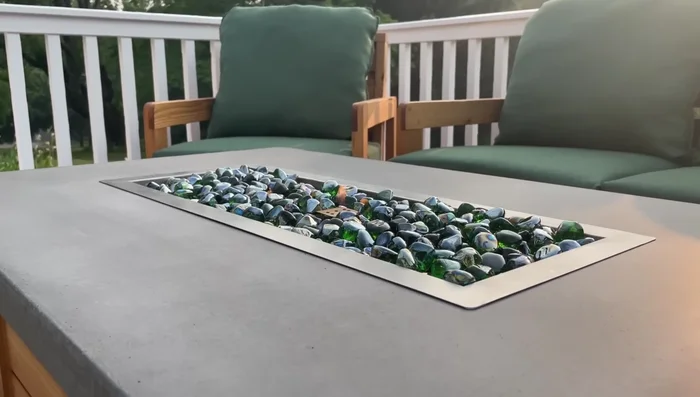
Install Fire Pit Insert Finishing Touches
- Add fire rocks and enjoy!
Finishing Touches


Read more: Build a Sag-Proof Wood Fence Gate: The Ultimate DIY Guide
Tips
- Melamine is a great choice for concrete forms due to its smoothness and non-stick properties.
- Use plastic shims for various applications during assembly.
- Consider alternative materials for the table top (e.g., deck boards) and base (e.g., vertical slats, tongue and groove boards).