Imagine cozy evenings spent outdoors, enveloped by the warm glow of a crackling fire, all while enjoying the rustic charm of a handcrafted fire pit table. This isn't a pipe dream reserved for professional landscapers; you can build your own stunning concrete gas fire pit table with just a little effort and the right guidance. Forget expensive pre-fabricated options – this project empowers you to create a unique and personalized centerpiece for your patio or backyard, tailored to your exact style and space. The rewarding process of creating something beautiful and functional with your own hands is part of the charm.
This DIY project allows you to personalize your outdoor space with a beautiful and functional fire pit table, all while saving money compared to commercially available options. From choosing the right materials to the final finishing touches, we’ll walk you through every step of the process. Let's dive into this comprehensive step-by-step guide and build your dream concrete gas fire pit table!
Preparation and Safety Guidelines
- Melamine sheets
- Screws
- Silicone
- Wire mesh
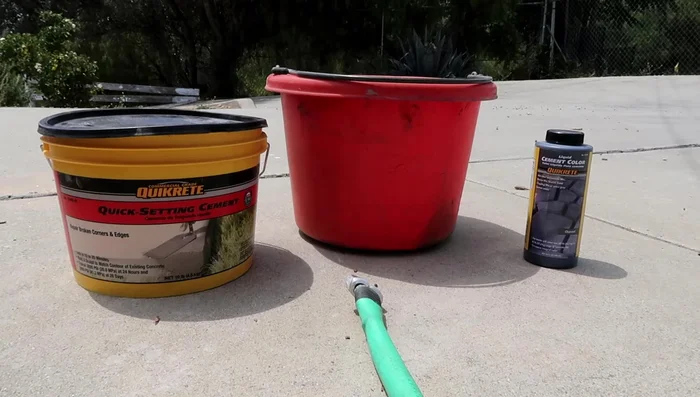
- Quikrete Pro Finish 5000 concrete mix
- Quikrete charcoal dye
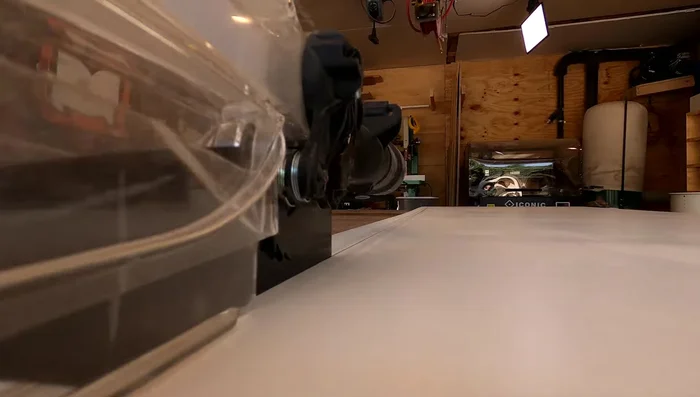
- Table saw
- Angle grinder
- Sawzall
- Plastic sheeting
- Various prying tools
- Portland cement
- Concrete sealer
- Wonderboard light
- Thinset mortar
- Charcoal stack stone tile
- Diamond cutoff wheel
- Self-tapping metal screws
- Metal two by fours
- Clamps
- Firebox control valve and igniter assembly
- Natural gas line or propane tank
- Always wear appropriate safety gear, including safety glasses, gloves, and a dust mask, when working with concrete and cutting materials.
- Ensure adequate ventilation when using a gas fire pit. Carbon monoxide poisoning is a serious risk. Never use indoors or in enclosed spaces.
- Allow the concrete to cure completely before using the fire pit. Incomplete curing can lead to cracking and structural failure.
Step-by-Step Instructions
Create Concrete Top Form
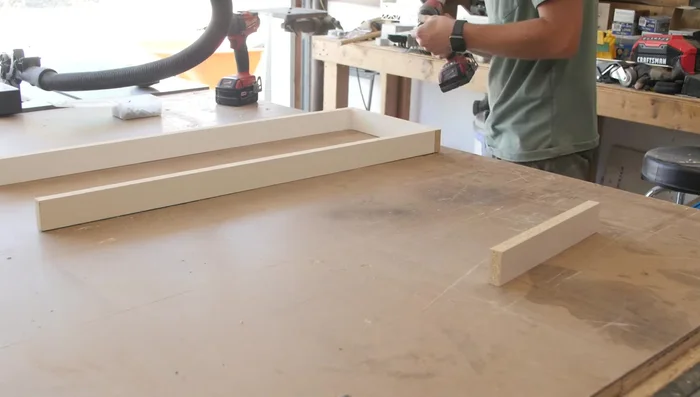
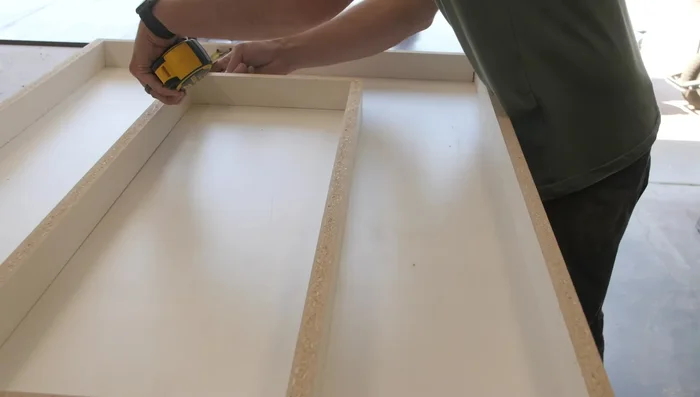
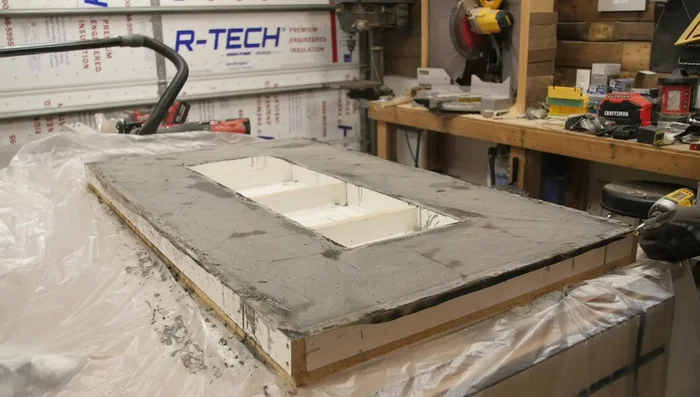
- Create the concrete top form using melamine sheets. Make it approximately two inches thick with a knockout for the fire insert.
- Cut melamine pieces to size using a table saw.
- Assemble the melamine form with screws and silicone the inside for a clean finish.
- Place wire mesh inside the form.

Create Concrete Top Form Pour and Cure Concrete Top
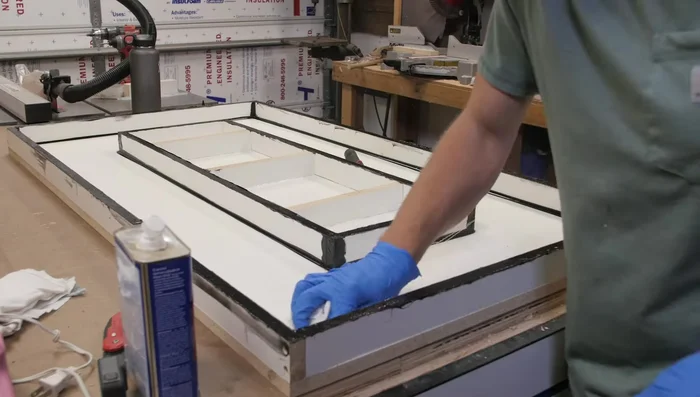
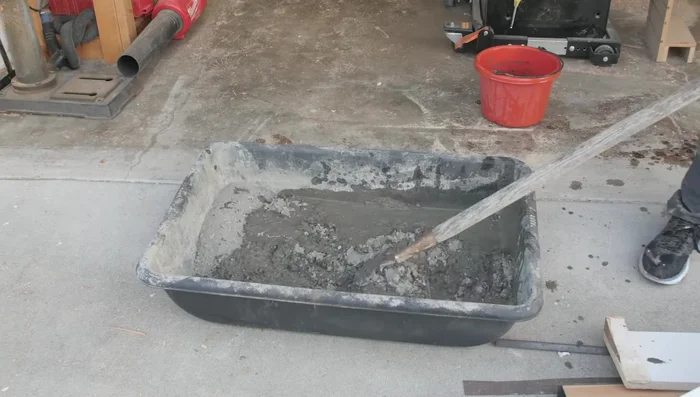
- Mix the concrete (Quikrete Pro Finish 5000) with charcoal dye to achieve the desired dark color.
- Pour the concrete mixture into the form and vibrate it thoroughly using a Sawzall (without the blade) to remove air bubbles and ensure a smooth finish.
- Cover the form with plastic and let the concrete cure for 24-48 hours.
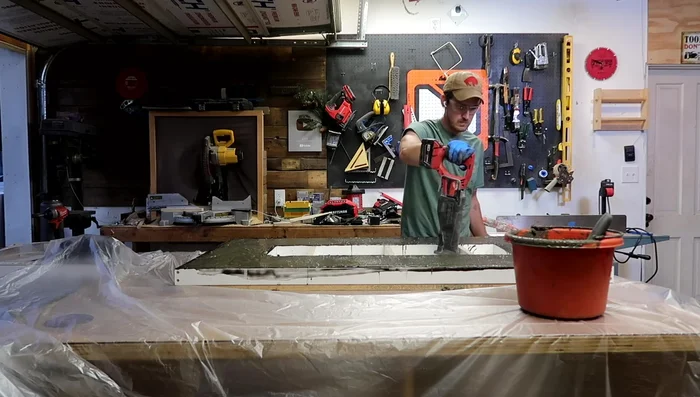
Pour and Cure Concrete Top Finish Concrete Top
- Remove the concrete top from the form by removing screws and carefully prying the sides.
- Apply a slurry coat (Portland cement and dye) to match the concrete color.
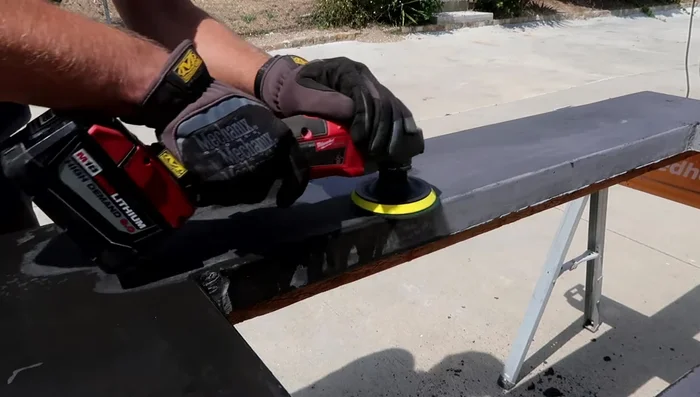
- Polish the concrete top using an angle grinder and polishing set.
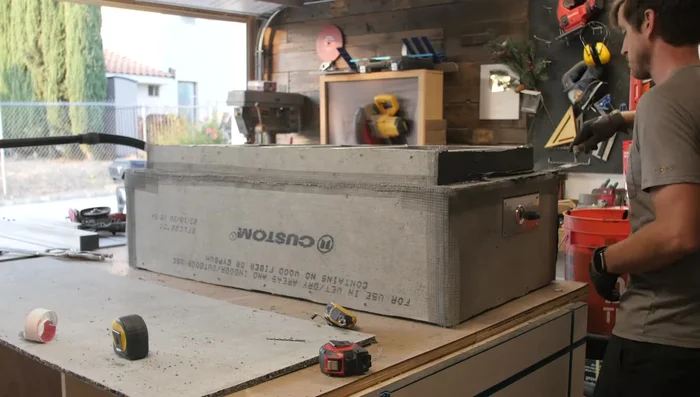
Finish Concrete Top Build Fire Pit Base Frame
- Build the fire pit base frame using metal two by fours, cutting and securing them with self-tapping metal screws and clamps.
Build Fire Pit Base Frame Finish Fire Pit Base
- Wrap the metal frame in Wonderboard light.
- Apply charcoal-dyed thinset mortar to the Wonderboard.
- Install charcoal stack stone tile, using more charcoal-dyed mortar to secure it.
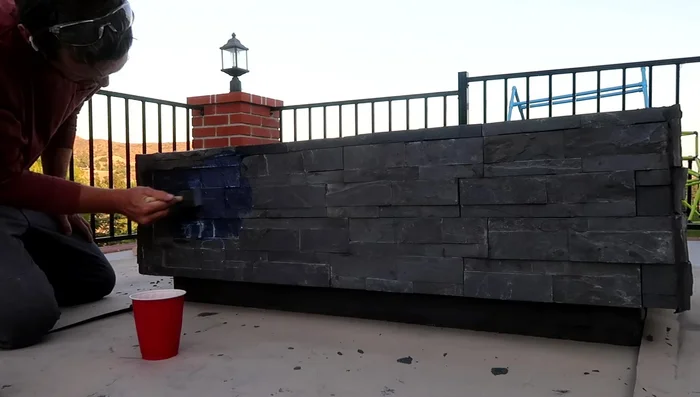
- Apply a wet look sealer to the base.
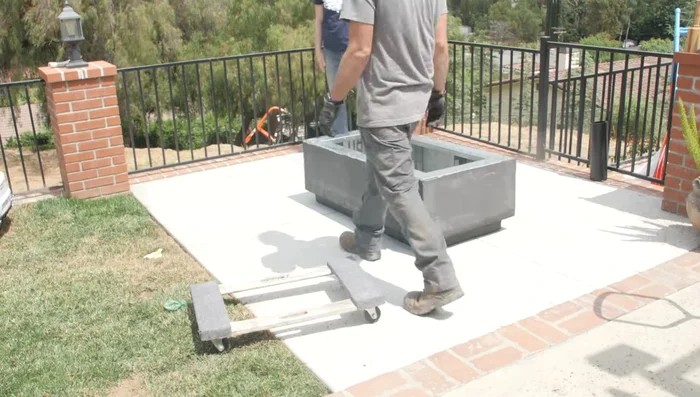
Finish Fire Pit Base Assemble and Finish Fire Pit
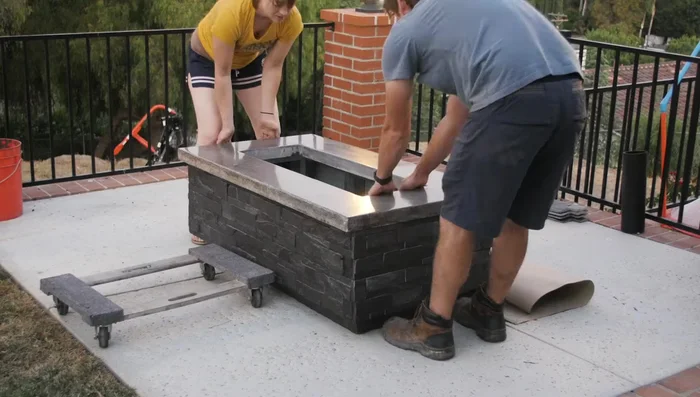
- Place the concrete top on the base and apply a wet look sealer to it.
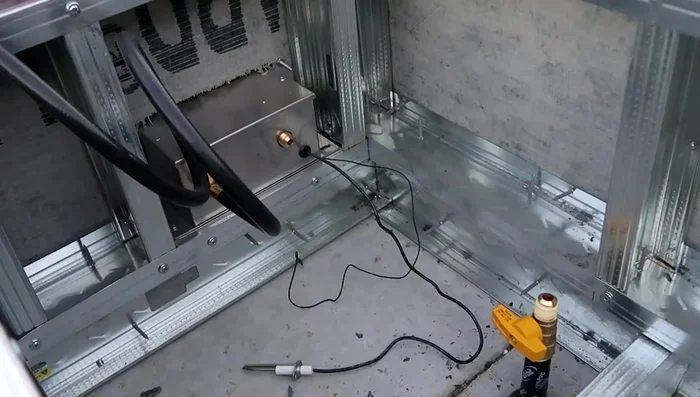
- Connect the gas lines and hoses to the firebox control and fire tray assembly.
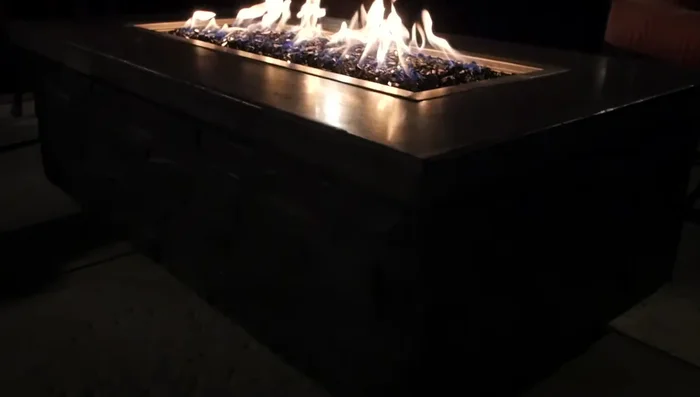
- Turn on the gas, fill the fire tray with fire glass, and light the fire pit.
Assemble and Finish Fire Pit


Read more: Build a Sag-Proof Wood Fence Gate: The Ultimate DIY Guide
Tips
- Vibrating the concrete thoroughly is crucial for a smooth, solid top.
- Using hot glue to temporarily secure the melamine form pieces makes removal easier and prevents damage to the fresh concrete.
- Consider using a scrap 2x4 to hold tiles in place while the mortar sets.