Tired of expensive, store-bought chalkboards that lack personality? Craving a simple, affordable way to add a touch of rustic charm or practical organization to your home? Then look no further! This project will show you how to effortlessly transform ordinary cookie sheets and dollar store picture frames into stylish and functional chalkboards, perfect for jotting down grocery lists, leaving sweet messages, or creating charming wall art. With just a few inexpensive supplies and a little bit of elbow grease, you can personalize your space and unleash your inner crafter.
This surprisingly easy DIY project requires minimal tools and skills, making it perfect for beginners. We'll guide you through the simple steps of preparing your cookie sheets, applying chalkboard paint, and framing your creations for a professional finish. Ready to get started and create your own unique chalkboard masterpieces? Let's dive into the step-by-step instructions!
Preparation and Safety Guidelines
- Cookie sheets
- Dollar store picture frames
- Valspar primer for plastic
- Valspar chalkboard paint
- Painter's tape
- Pencil
- Paper
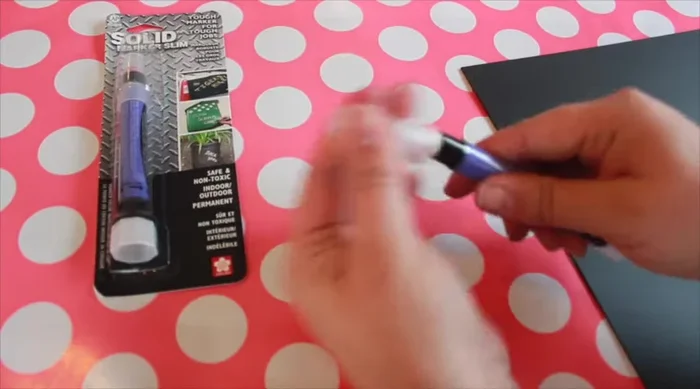
- Sakura Solid Marker Slim
- Scissors
- Hot glue
- Wired ribbon
- Chalk
- Felt
- Use oven-safe spray paint outdoors or in a well-ventilated area, always following the manufacturer's instructions. Inhaling spray paint fumes can be harmful.
- Allow the paint to cure completely before using the chalkboard. This ensures the chalkboard surface is durable and prevents the paint from smearing or chipping.
- Handle the cookie sheet carefully, especially the edges, as they can be sharp after painting. Consider using protective gloves.
Step-by-Step Instructions
Prepare Surfaces
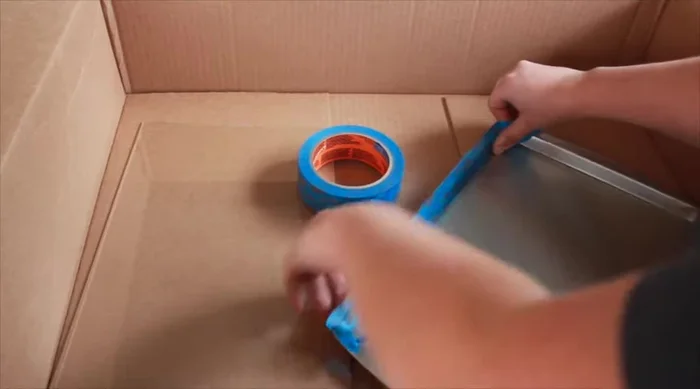
- Prepare the frame by removing the glass and prep the cookie sheet by covering the edges with painter's tape.
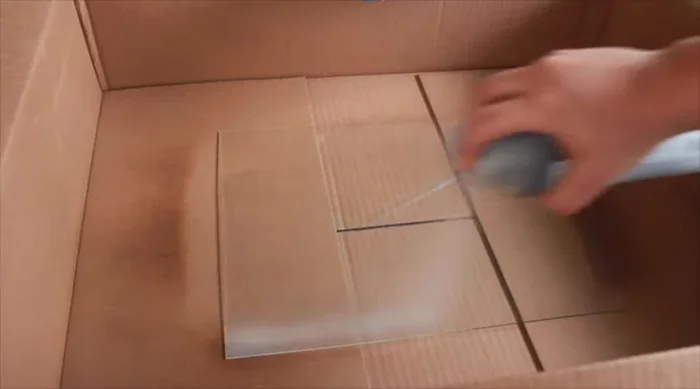
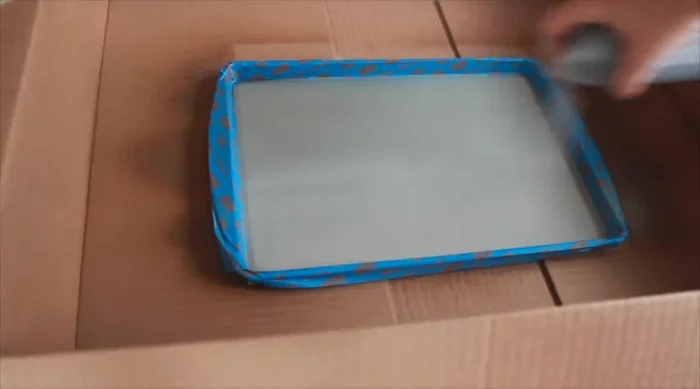
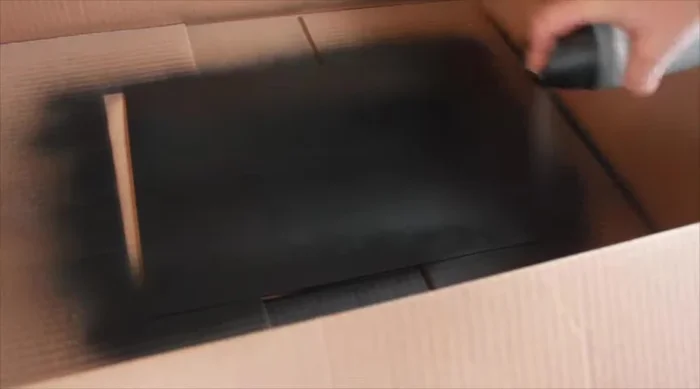
- Lightly spray the surface of the items with Valspar primer for plastic.
- Allow the primer to dry for 10 minutes, then add a second coat. Allow to dry for another 10 minutes.

Prepare Surfaces Apply Chalkboard Paint
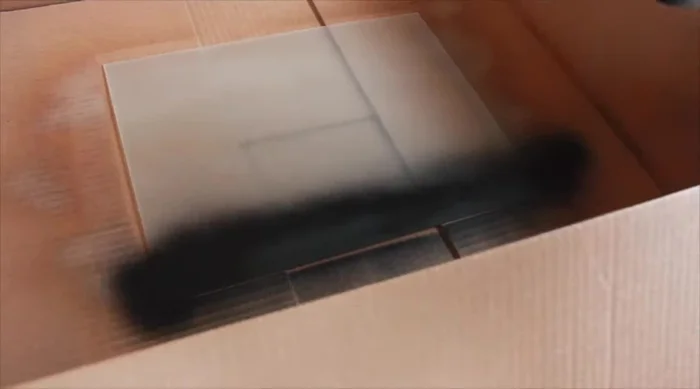
- Add a coat of chalkboard paint.
- Add a second coat of chalkboard paint while waiting for the first coat to dry.
Apply Chalkboard Paint Design & Transfer
- Plan the layout for your chalkboards. For example, the cookie sheet could become a menu board and a picture frame a calendar.
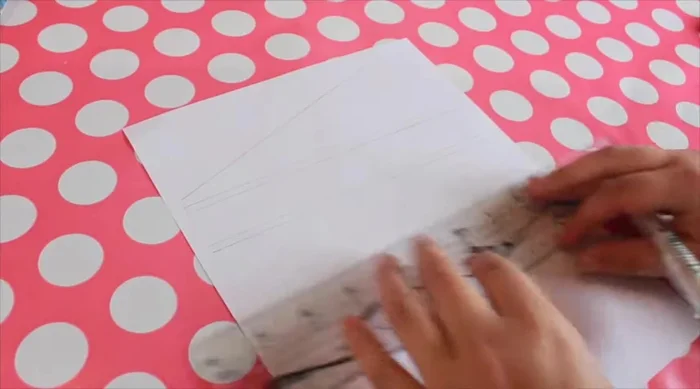
- Cut a piece of paper to the same width as your chalkboard and sketch your design.
- Transfer your design onto the dry chalkboard by tracing it with a pencil, pressing firmly.
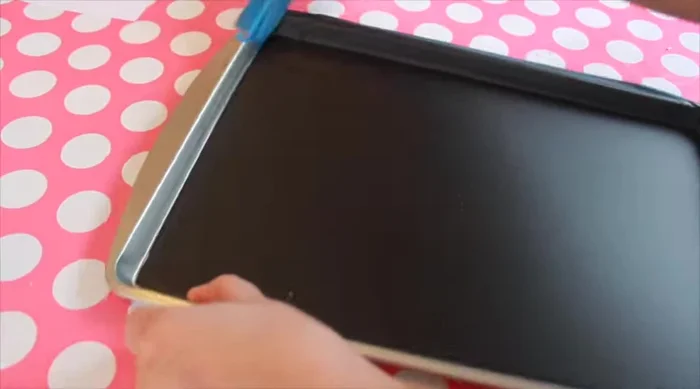
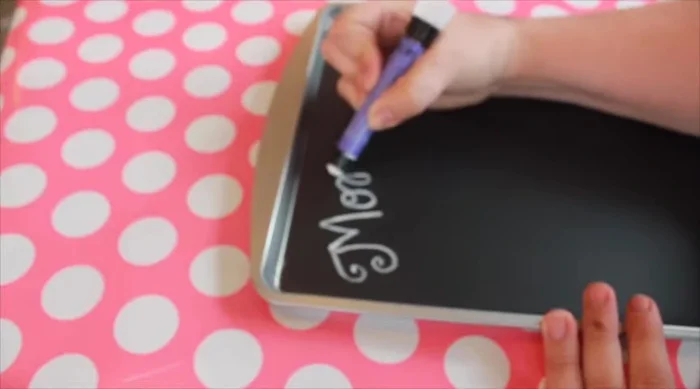
- For the menu board (cookie sheet), remove tape from edges, carefully scoring where it meets the paint. Transfer and trace your design, then trace onto the chalkboard with the Sakura Solid Marker Slim.
Design & Transfer Add Permanent Lines
- Use the Sakura Solid Marker Slim to draw permanent lines (for example, calendar grid or header text).
Add Permanent Lines Prepare for Chalk Use
- Prime the chalkboard by rubbing the entire surface with chalk sideways, then wiping clean with felt.
Prepare for Chalk Use Assemble & Decorate
- Add the chalkboard to the frame.
- Add a ribbon hanger to the cookie sheet by cutting a piece of wired ribbon, hot gluing it in a loop to the back, and tying a bow.
Assemble & Decorate


Read more: DIY Pantry Door Spice Rack: Organize Your Spices in Minutes!
Tips
- Use spray paint in a well-ventilated area. Only adults should use spray paint.
- Place items inside a box to contain the spray.
- The Sakura Solid Marker Slim is a unique marker that provides a chalk-like finish but is permanent.
- Good lighting helps when transferring the design from paper to the chalkboard because the transfer is faint.