Are you drowning in a sea of craft supplies? Scattered buttons, tangled yarn, and rogue paintbrushes can quickly turn your creative space into a chaotic mess, hindering inspiration instead of fostering it. The solution doesn't have to be expensive, complicated, or require a trip to the home improvement store. In fact, transforming your cluttered drawers into organized havens is easier and more affordable than you might think! With a little ingenuity and readily available materials, you can create custom drawer organizers that perfectly fit your needs and your budget.
This article will guide you through several simple, cheap, and effective DIY drawer organizer projects, utilizing everyday items you likely already have around the house. From repurposing cardboard boxes to upcycling old containers, we’ll explore creative solutions for organizing everything from beads and sequins to ribbons and fabric scraps. Ready to reclaim your crafting space and finally find what you need, when you need it? Let's dive into the step-by-step instructions!
Preparation and Safety Guidelines
- Foam board
- T-square
- Speed square
- Razor knife
- Cutting board
- Cord clips
- Alcohol (for cleaning drawers)
- Box cutter
- Always supervise children around sharp objects or small parts used in DIY projects. Keep them out of reach when not in use.
- Ensure any repurposed containers are thoroughly cleaned and dried before storing craft supplies to prevent damage or contamination.
- Avoid using materials that might react negatively with your craft supplies (e.g., certain plastics with paints or inks).
Step-by-Step Instructions
Planning and Preparation
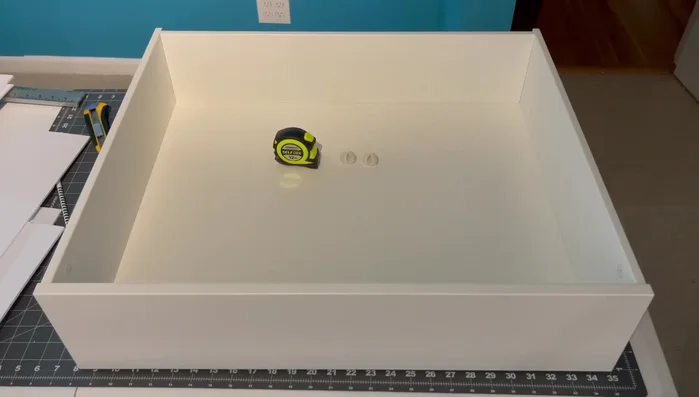
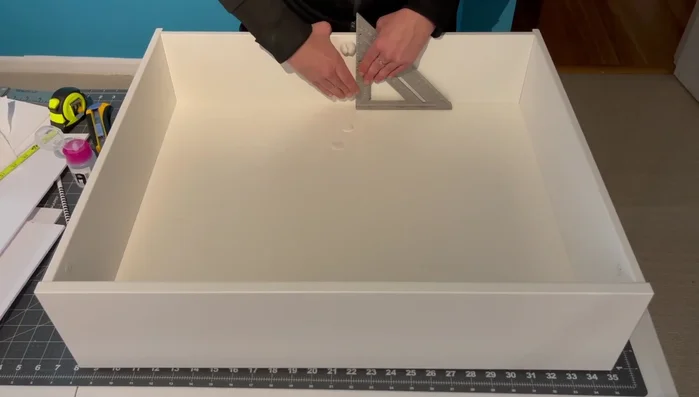
- Lay out craft supplies in drawers to plan organizer layout.
- Clean drawer surfaces with alcohol (avoiding foam board).

Planning and Preparation Cutting Dividers
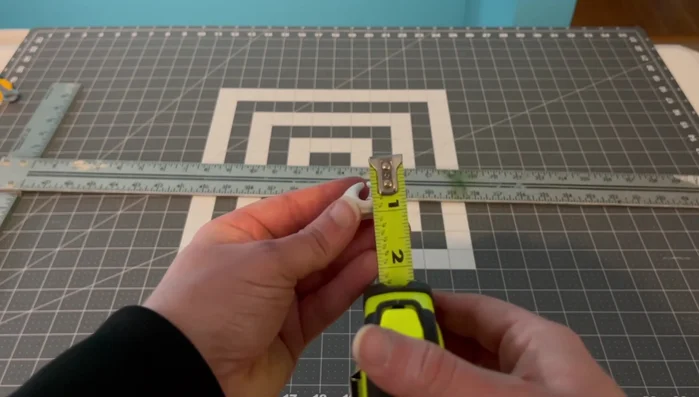
- Cut foam board to create middle dividers based on planned layout.
- Measure and cut foam board pieces for side dividers, accounting for drawer height.
- Create any additional short dividers as needed.
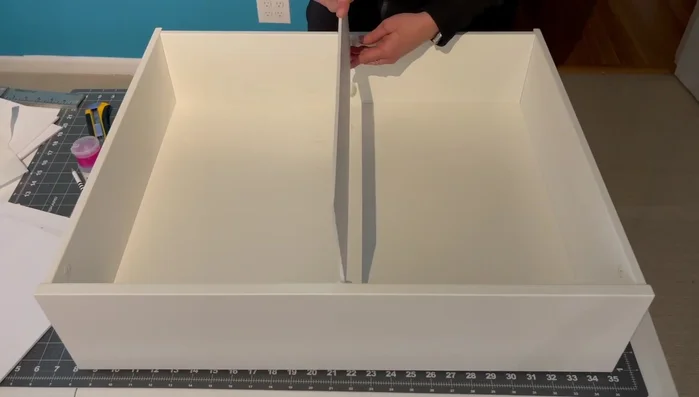
Cutting Dividers Installing Back Supports
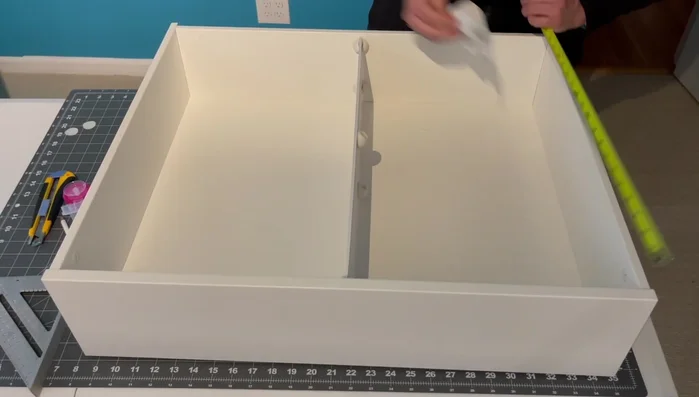
- Attach cord clips to the middle of the back of the drawer, ensuring vertical alignment using a speed square.
Installing Back Supports Installing Side Dividers
- Attach side dividers using cord clips.
Installing Side Dividers Testing and Adjustment
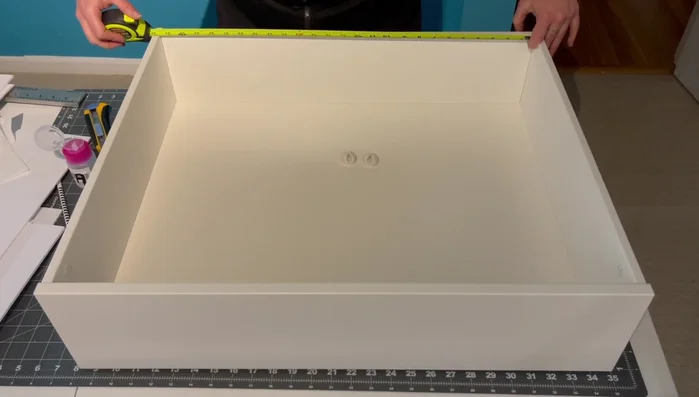
- Test the dividers and adjust if needed.
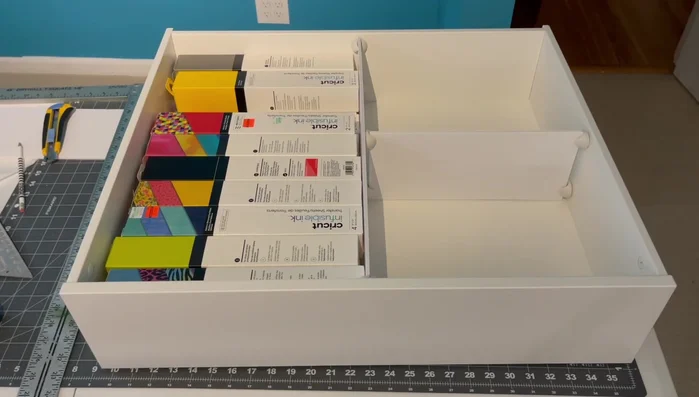
Testing and Adjustment Organizing Supplies
- Organize craft supplies within the created dividers.
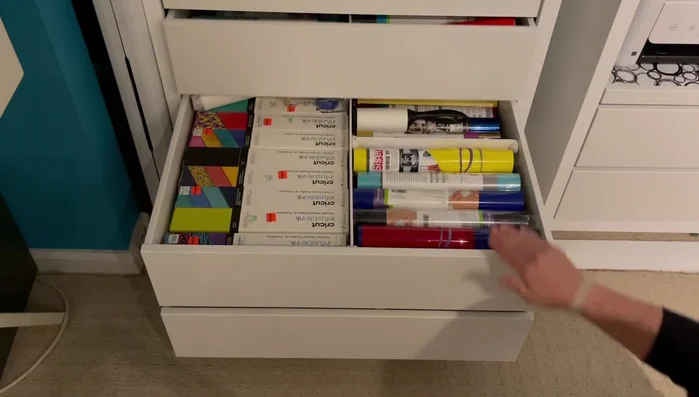
Organizing Supplies Final Placement
- Place the drawers back into the unit.
Final Placement


Read more: DIY Pantry Door Spice Rack: Organize Your Spices in Minutes!
Tips
- Don't use alcohol on foam board, it can damage the paper lining.
- Use a speed square to ensure vertical alignment of dividers.
- Consider the customizability of the method to tailor to your specific needs.