The world of engineering and fabrication often relies on seemingly simple components to achieve complex results. One such component, ubiquitous in countless applications, is the spring. From the delicate mechanisms of a watch to the robust suspension of a vehicle, springs provide essential functionality. But what if you need a spring with unique specifications, not readily available commercially? The answer lies in the art of DIY custom spring making. This process, while requiring precision and careful attention to detail, empowers you to design and create springs tailored to your exact needs, opening up possibilities for inventive projects and personalized solutions.
This guide will take you through the complete journey of crafting your own custom springs, starting with raw flat spring steel and culminating in a fully functional, finished product. We’ll cover everything from selecting the appropriate material and calculating spring dimensions to the crucial forming and heat treatment processes. Let's begin with a step-by-step approach to transform a flat piece of steel into a precisely engineered spring.
Preparation and Safety Guidelines
- Spring steel (1mm thick, 10mm wide)
- Blow lamp
- Vice with soft jaws
- 8mm steel rod
- Pliers
- File
- Emery cloth
- Oil (e.g., motorcycle fork oil)
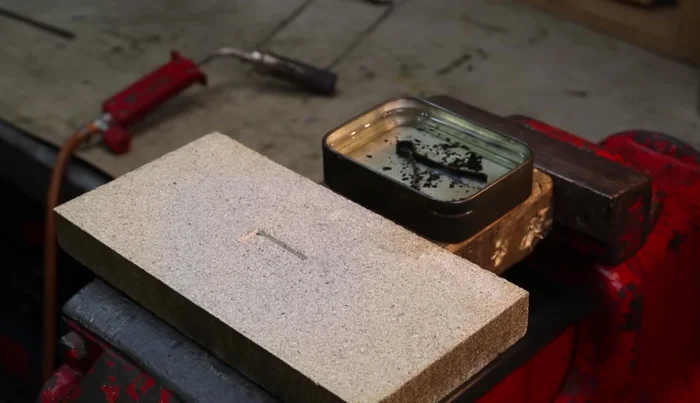
- Fire brick
- Always wear safety glasses and gloves when working with spring steel. Sharp edges and flying debris are a real hazard.
- Use appropriate tools for cutting and shaping spring steel. Improper tools can lead to injury and damage the material.
- Spring steel is strong and can snap unexpectedly under stress. Take extra precautions when bending or shaping to avoid injury.
Step-by-Step Instructions
Material Preparation
- Cut a 120mm length of spring steel.
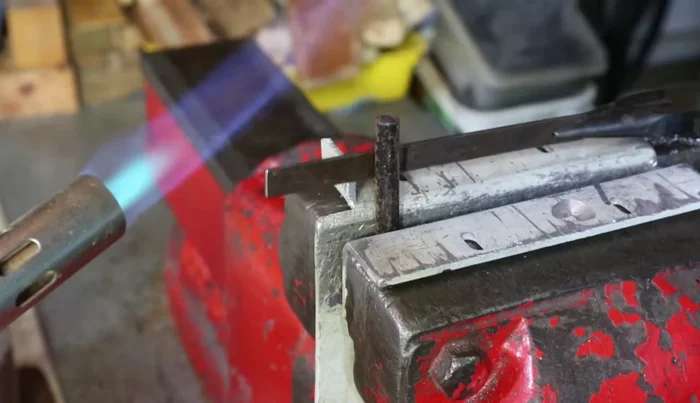
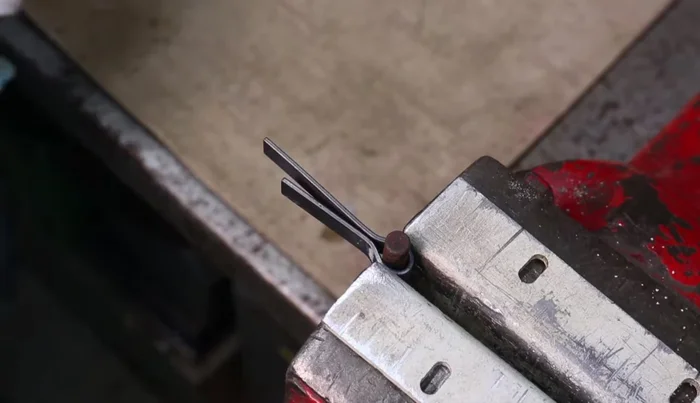
Initial Forming
- Heat the spring steel to a dull red heat.
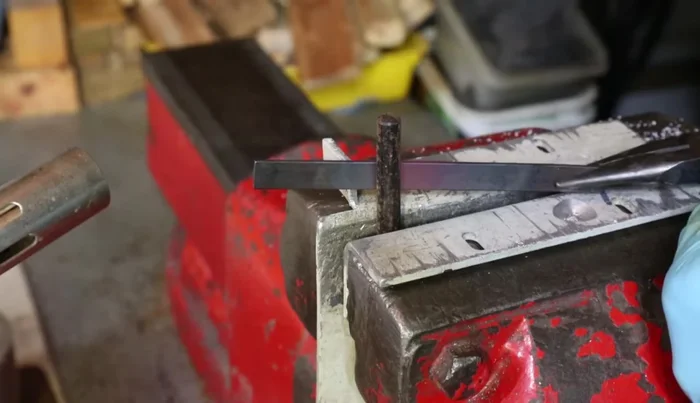
- Bend the heated steel around the 8mm steel rod using a jig.
- Use the vice to press the edges of the U-shaped spring inward to create a tighter fit around the rod.

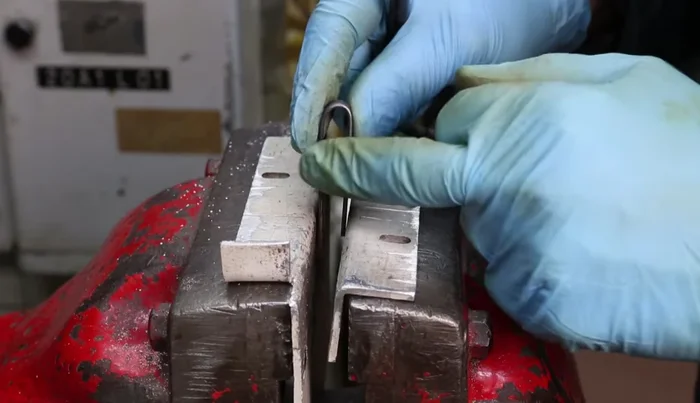
Initial Forming End Shaping
- Heat the ends of the spring again to a dull red heat.
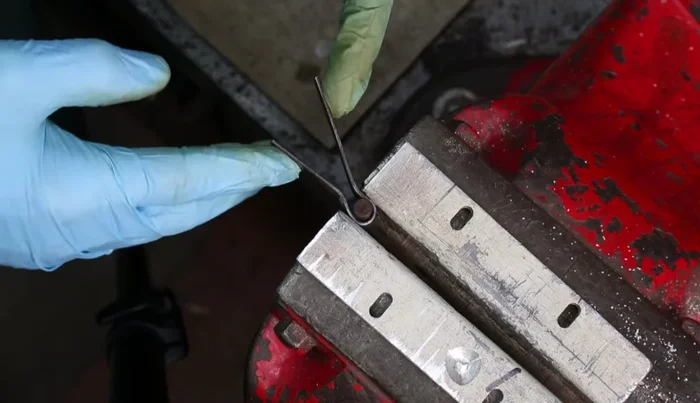
- Bend the ends of the spring to match the desired shape using the drawing as a guide and the vice.
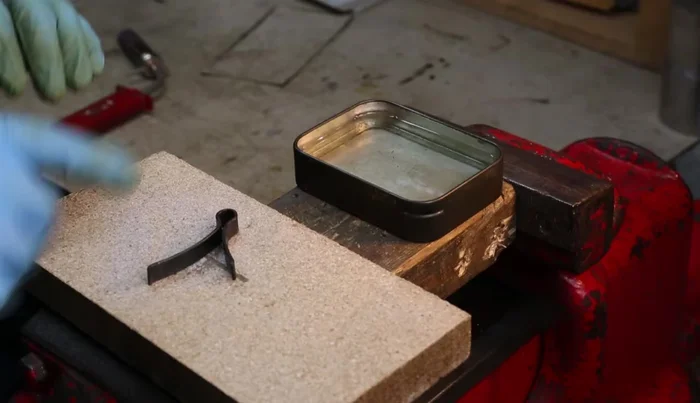
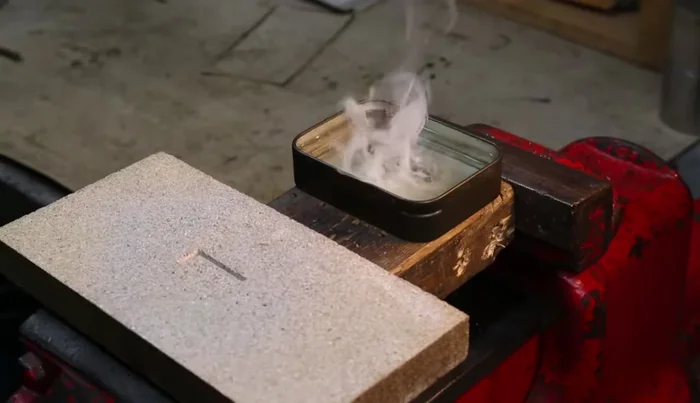
End Shaping Hardening
- Heat the spring to a dull red heat again (evenly across its surface).
- Quench the hot spring in oil to harden it.
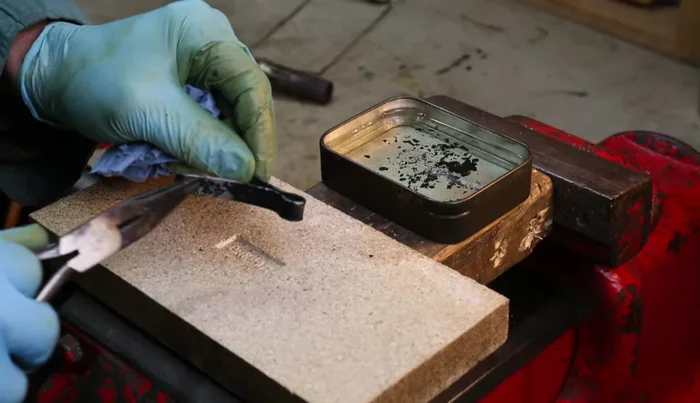
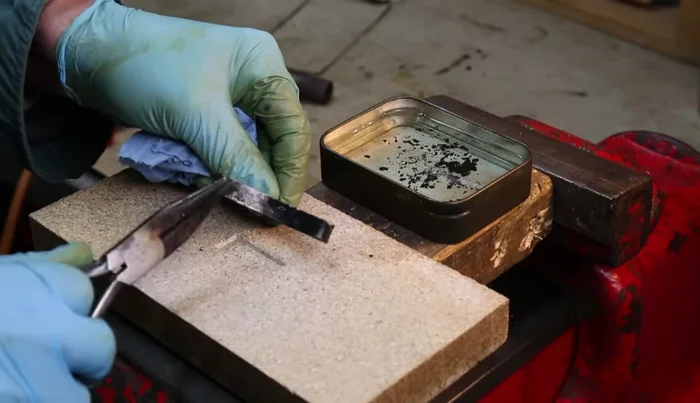
Hardening Finishing
- Polish the spring with emery cloth to remove oxidation.
Finishing Tempering
- Heat the spring until it reaches a straw color (tempering).
- Quench the spring in oil again to complete the tempering process.
Tempering
Read more: Miniature Spider Welding Tutorial: Crafting a Tiny Metal Arachnid
Tips
- Use a dull red heat to avoid cracking the steel.
- Allow the spring to cool slowly in the oil after quenching.
- Be careful not to overheat during tempering; aim for a straw color.