Daisies – cheerful, timeless, and effortlessly elegant. Bring the sunny charm of these classic blooms into your home with a DIY daisy wall stencil! This project is perfect for adding a touch of springtime vibrancy to any room, whether you're a seasoned DIY enthusiast or a complete beginner. Transforming a plain wall into a blossoming masterpiece is easier than you think, and the results are incredibly rewarding. Forget expensive artwork and embrace the creative satisfaction of crafting something beautiful with your own two hands. With just a few simple materials and a little patience, you can create a stunning focal point that will brighten your space for years to come.
This guide will walk you through each step of creating your very own daisy wall stencil, from designing your template to achieving a professional-looking finish. Get ready to unleash your inner artist and learn how to effortlessly bring the beauty of nature indoors; let's dive into the step-by-step process and create your blooming masterpiece!
Preparation and Safety Guidelines
- iPad
- Stencil paper
- Cricut machine
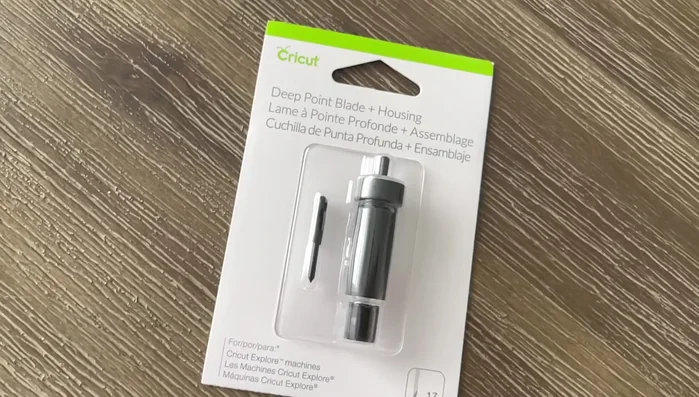
- Deep point blade
- Purple Cricut mat
- Stencil roller
- Paint brush
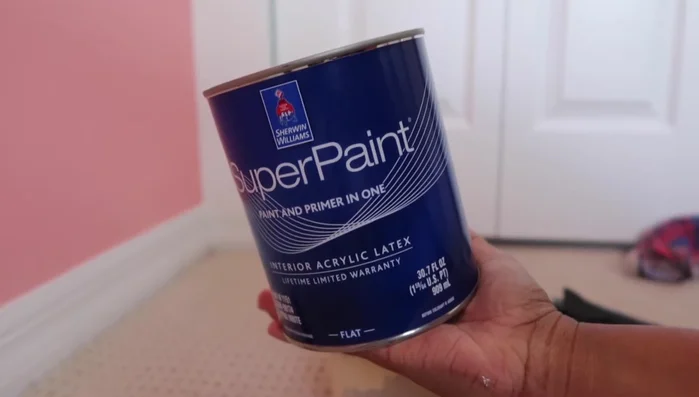
- Sherwin-Williams flat white paint
- Retro Dusty Pink paint
- Golden yellow acrylic paint
- Green Frog Tape
- Always use a well-ventilated area when working with spray paint or other potentially harmful materials. Wear a mask to avoid inhaling fumes.
- Protect your work surface with drop cloths or newspaper to avoid paint spills and damage.
- Ensure your stencil is securely fastened to the wall to prevent shifting and blurry designs. Use painter's tape for best results.
Step-by-Step Instructions
Design & Prep
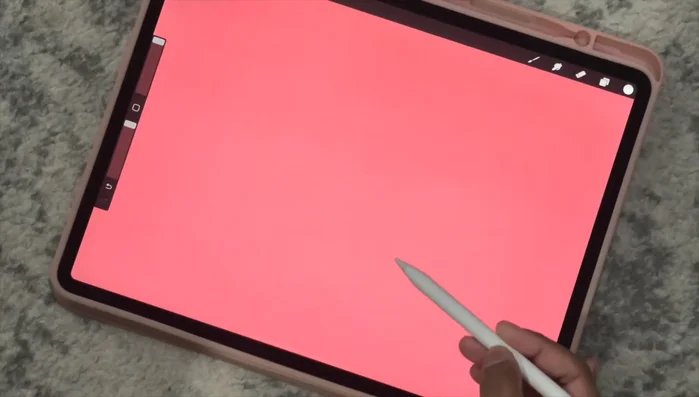
- Dream up and sketch daisy designs.
- Order stencil paper and Cricut supplies from Amazon.

Design & Prep Create Stencils
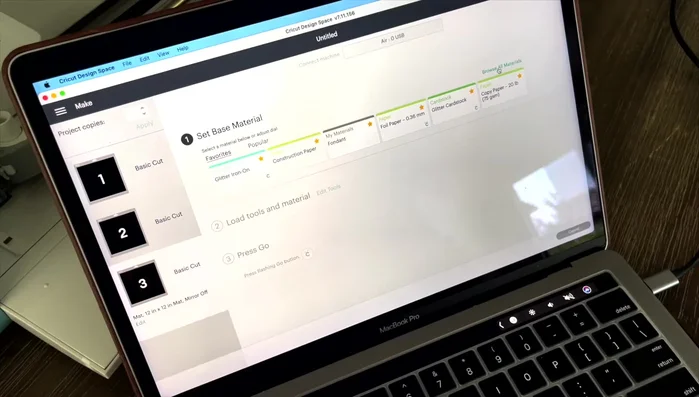
- Upload daisy designs to Cricut, resize for individual stencils, and switch material setting to 'stencil'.
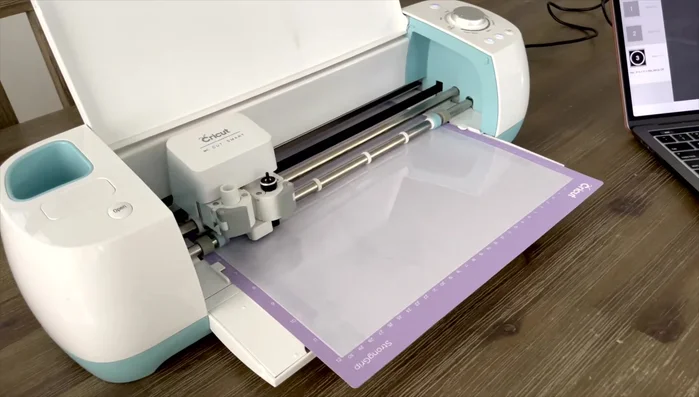
- Cut stencils using the Cricut machine.
Create Stencils Prepare the Wall
- Prepare the wall with base coat of Dusty Pink paint.
Apply Stencils & Paint
- Tape stencils to the wall using Frog Tape, ensuring no air bubbles.
- Apply paint using a stencil roller (initially) then a brush (recommended for better control and cleaner lines).
Apply Stencils & Paint Complete the Design
- Repeat stenciling across the wall, varying flower placement for a natural look. Add smaller daisies.
- Add small yellow circles (mix white paint with golden yellow acrylic paint).
Complete the Design


Read more: Build a Giant Toy Box: DIY Playroom Organization
Tips
- Use less paint on your roller/brush for cleaner stencil lines.
- A brush may be easier to get through every petal and prevent paint seepage.