Tired of the same old, boring curtain rods? Do you crave a touch of unique style in your home, without the hefty price tag of designer hardware? Then look no further! This simple DIY project will show you how to create stunning, personalized curtain rod hooks using nothing more than readily available materials and a surprisingly simple twisting technique. Forget flimsy, mass-produced hooks that lack character – you’ll be crafting elegant and durable alternatives that perfectly complement your existing decor or add a bold new accent to your room. Imagine the satisfaction of creating something beautiful and functional with your own two hands!
This project is perfect for beginners, requiring minimal tools and a surprisingly short timeframe. The best part? The customizable nature of this technique allows for endless creative possibilities, from rustic to modern, depending on your chosen materials. Ready to transform your window treatments and impress your friends? Let's dive into the step-by-step instructions and discover the magic of creating your own decorative curtain rod hooks with this easy twisting method.
Preparation and Safety Guidelines
- Mild steel rod (1/4 inch round)
- Forge or heat source
- Hammer
- Scrolling tongs
- Crescent wrench
- Vise
- Beeswax
- Always use wire strong enough to support the weight of your curtains. Thin wire may bend or break, causing damage or injury.
- Be cautious when working with sharp tools like wire cutters. Always cut away from yourself and use appropriate safety equipment.
- Ensure the hooks are securely fastened to the wall or ceiling before hanging your curtains. Test the strength of the hook before fully loading it with curtains.
Step-by-Step Instructions
Prepare the Rod
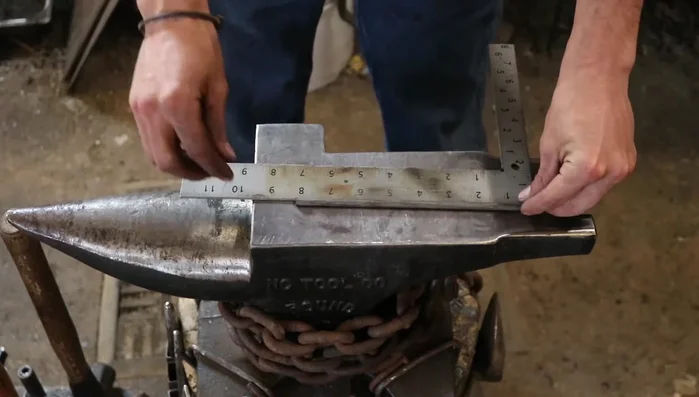
- Cut an 8-inch piece of 1/4 inch round mild steel rod.
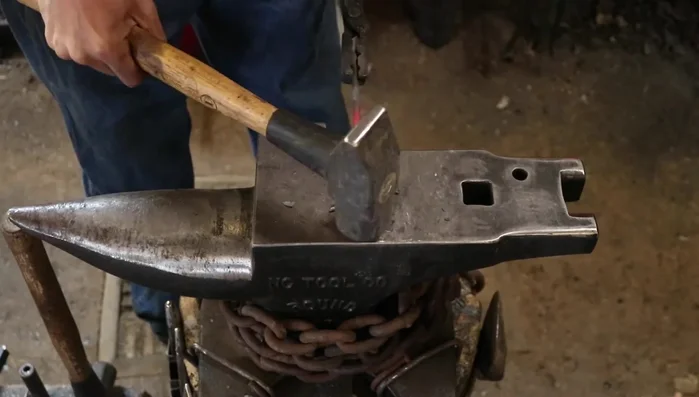
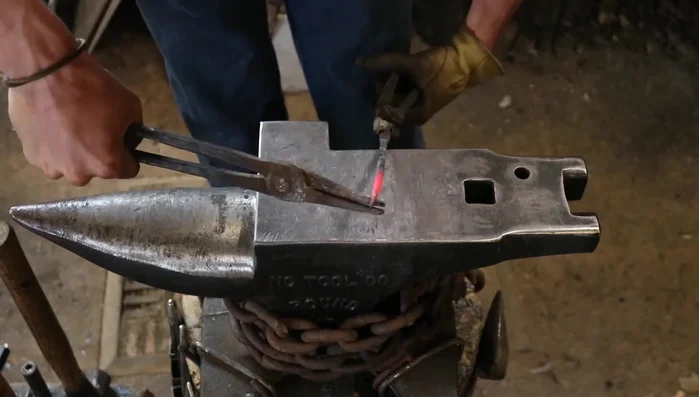
- Heat the rod and hammer it to square the round bar. This step can be avoided by using a square bar initially.
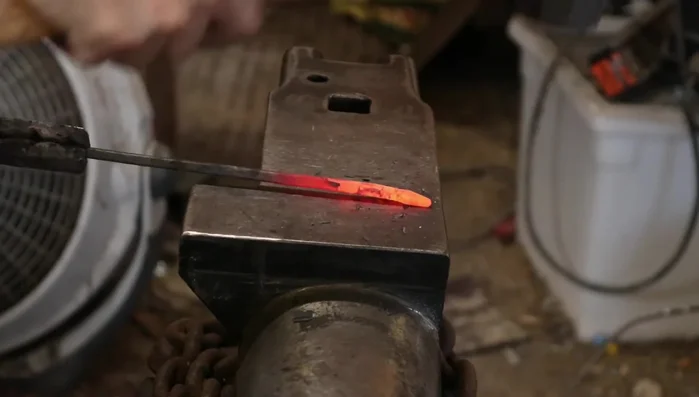
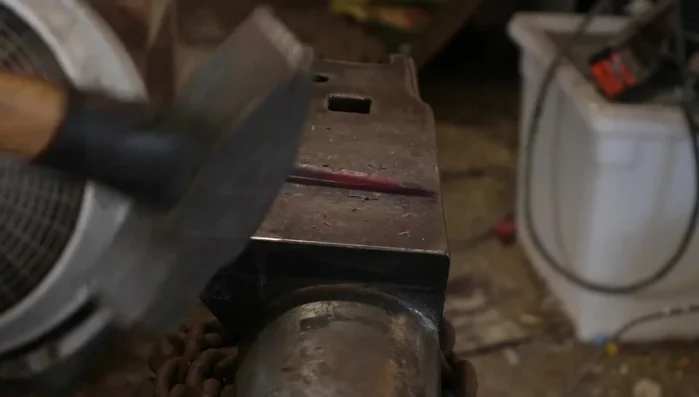
- Create a point on one end of the rod by drawing it out and then rounding the section.

Prepare the Rod Shape the Rod
- Knock off the corners on a section of the squared bar to prepare for the hook curve.
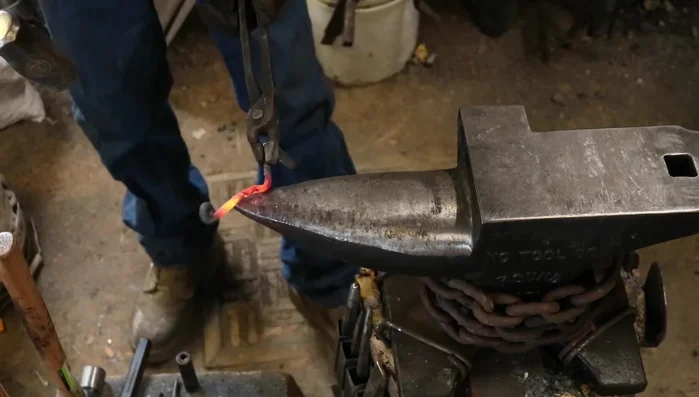
- Use scrolling tongs to create a scroll design on the pointed end.
Shape the Rod Mark and Twist
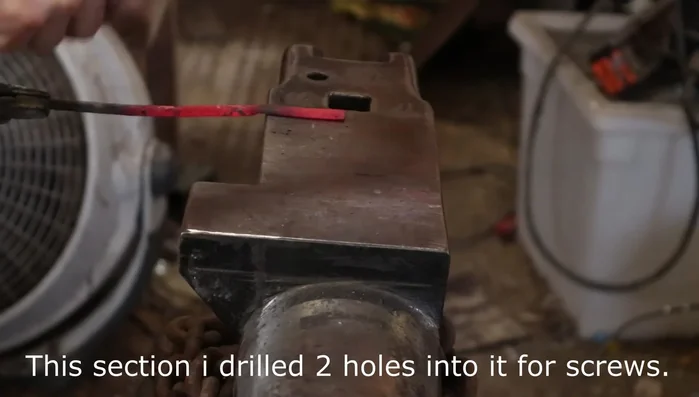
- Measure and mark 2 inches from the end for screw holes and another 2 inches for the twist point. The remaining 4 inches are for the hook.
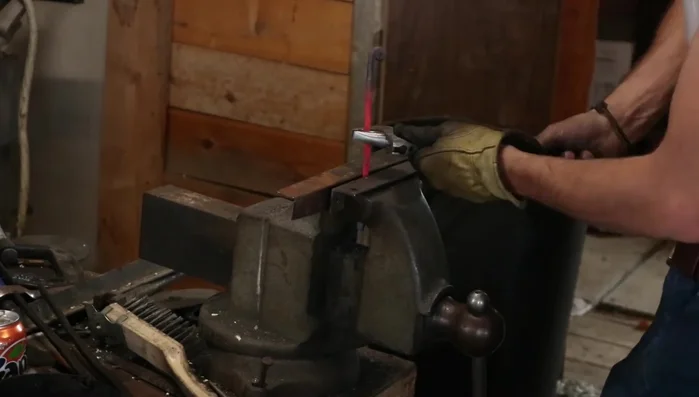
- Heat the marked section for twisting. Use a crescent wrench (or twisting tool) to twist the rod.
Mark and Twist Create the Hook
- Bend the 2.5-inch section for wall mounting at a 45-degree angle, then curve to create the hook.
Create the Hook Finish and Protect
- Coat the finished hooks with beeswax for protection.
Finish and Protect

Read more: Miniature Spider Welding Tutorial: Crafting a Tiny Metal Arachnid
Tips
- Using square bar instead of round bar simplifies the process by eliminating the need to square the rod.
- A twisting tool makes the twisting process easier and keeps the twist straighter.
- Creating an offset in the hook ensures that the curtain rod sits securely within the hook and prevents sliding.
- Make multiple hooks at once to ensure consistency in size and fit.