Transform your home with charming farmhouse décor without breaking the bank! This project shows you how to create a delightful little wagon, perfect for showcasing seasonal displays or simply adding a touch of rustic elegance to any room. Using only supplies readily available at your local dollar store, you can craft this adorable piece in a surprisingly short amount of time, proving that beautiful home accents don't require a hefty price tag. Forget expensive, fussy projects; this DIY is all about simplicity and charm.
This easy-to-follow tutorial will guide you through each step of building your own unique dollar store wagon, from assembling the basic structure to adding those final, farmhouse-inspired touches. Get ready to unleash your creativity and enjoy the satisfaction of creating something beautiful and functional for your home, all for a fraction of the cost you'd expect! Let's get started!
Preparation and Safety Guidelines
- Galvanized planter (Dollar Tree)
- Fork
- Wood & nautical cutouts (Dollar Tree, 2 packs)
- Craft stick
- 7/16 dowel rod
- Pliers
- Exacto knife
- Wire cutters
- Fingernail file or sandpaper
- Paint stir sticks
- Hot glue gun
- E6000 adhesive
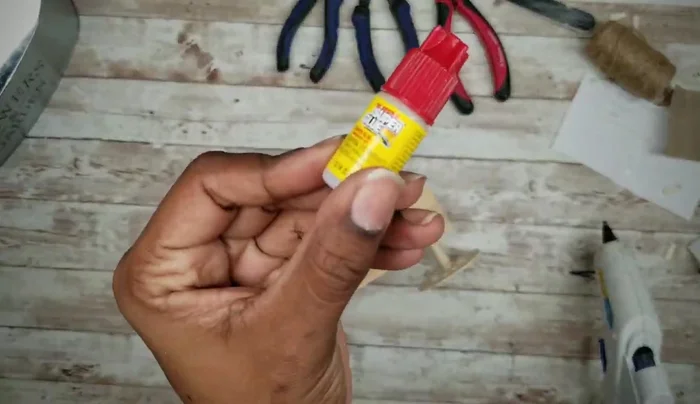
- Super glue (Dollar Tree)
- Krylon satin bright white spray paint
- Krylon flat black spray paint
- Acrylic paint (pavement color)
- Fine point sharpie
- Custom label (optional)
- Always supervise children around the wagon and its components. Small parts pose a choking hazard.
- Use caution when working with sharp objects like scissors or utility knives. Always cut away from yourself.
- Ensure the wagon's wheels are securely attached and function properly to prevent tipping or accidents during use.
Step-by-Step Instructions
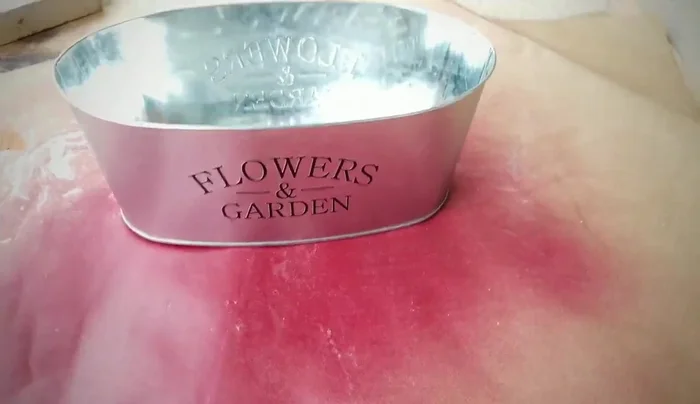
Prepare the Planter
- Spray paint the planter with two to three light coats of bright white paint and let it dry completely.
- Apply pavement-colored acrylic paint to the top and bottom edges of the planter, creating a chipped enamel effect.
- Use a fine point sharpie to enhance the lettering on the planter.
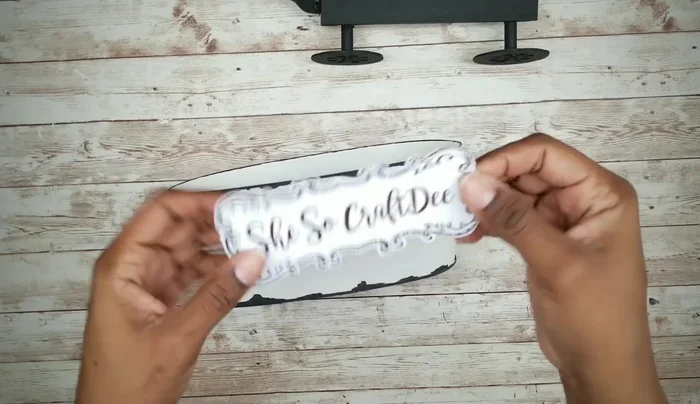
- Add a custom label to the back of the planter (optional).

Prepare the Planter Create the Wheels
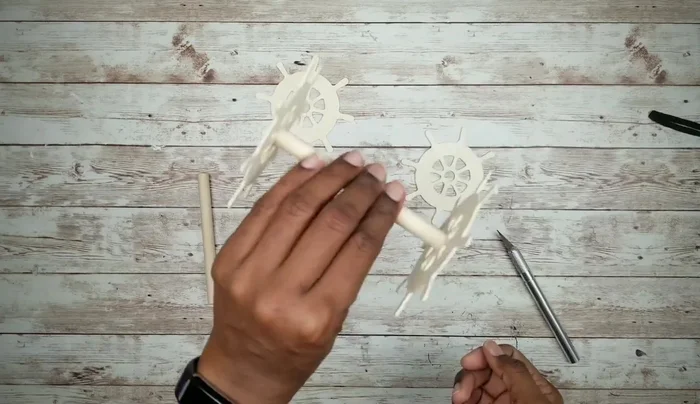
- Cut two 5-inch pieces from the dowel rod for the wheels.
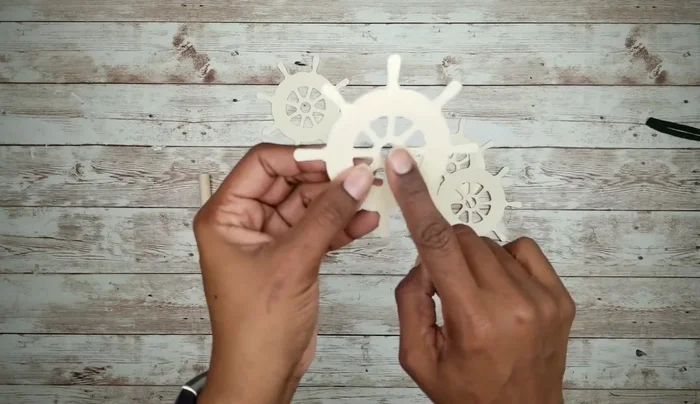
- Remove four ship wheel cutouts from the wood cutouts.
- Slightly modify the center hole of the wheel cutouts using an exacto knife to ensure a snug fit with the dowel rod.
- Attach the dowel rod wheels to the cutouts and smooth the edges.
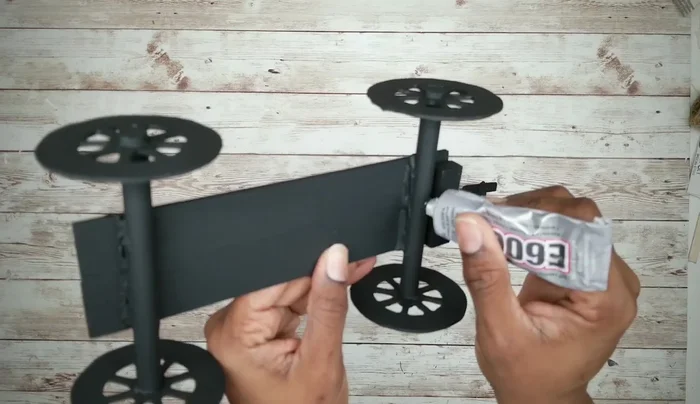
Create the Wheels Assemble the Wheel Base
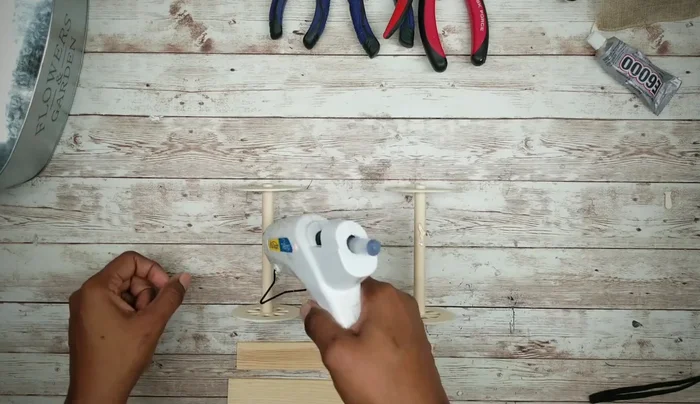
- Cut and attach two 8-inch paint stir sticks to form the wheel base using hot glue and E6000.
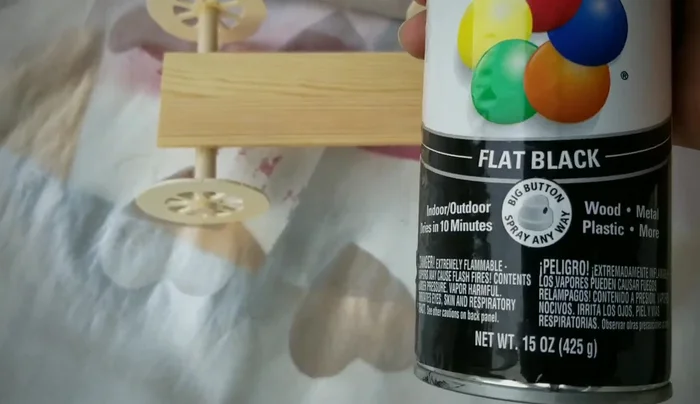
- Spray paint the wheel base with flat black paint and let it dry thoroughly.
Assemble the Wheel Base Prepare the Handle
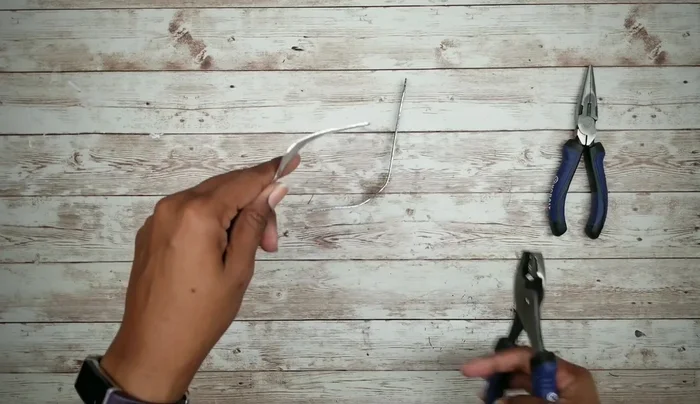
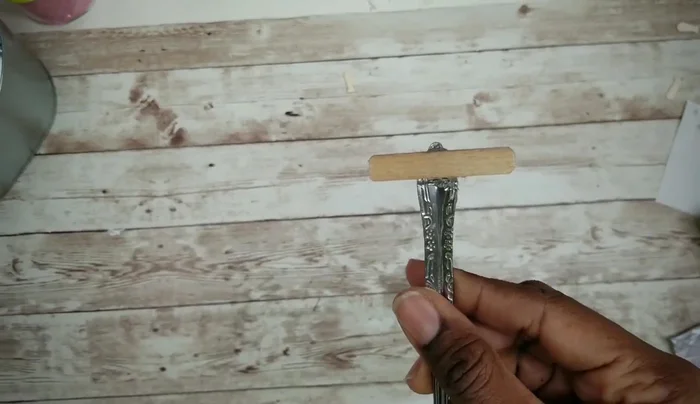
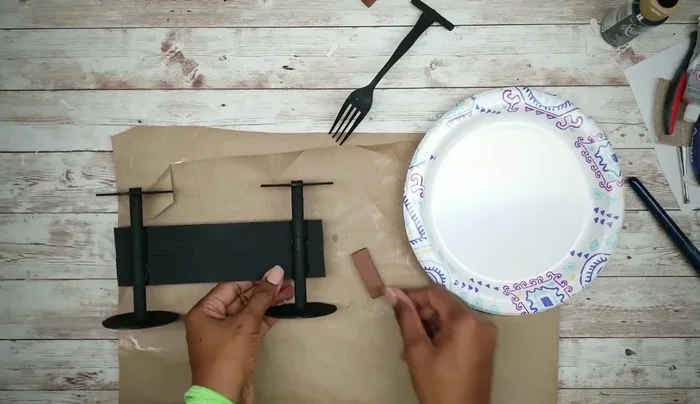
- Shape the fork into a handle by flattening the prongs with pliers and bending the handle.
- Attach a small piece of craft stick to the fork handle using E6000 and hot glue, then paint it black.
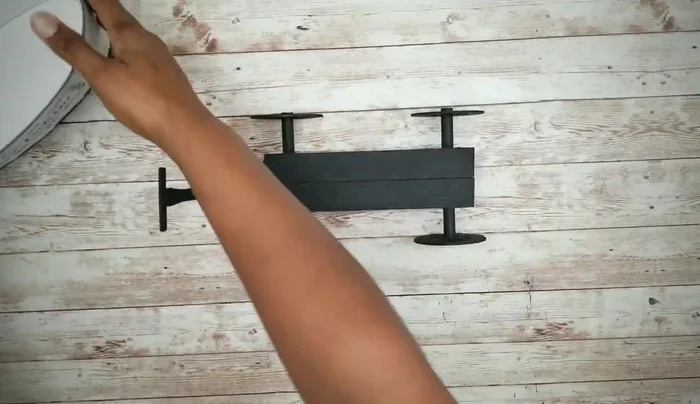
Prepare the Handle Attach the Handle and Wheels
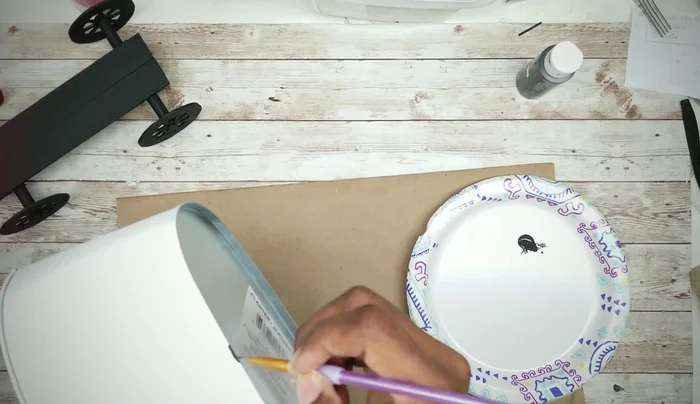
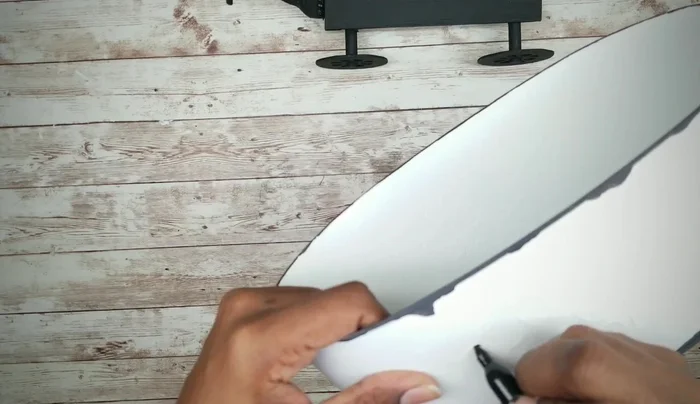
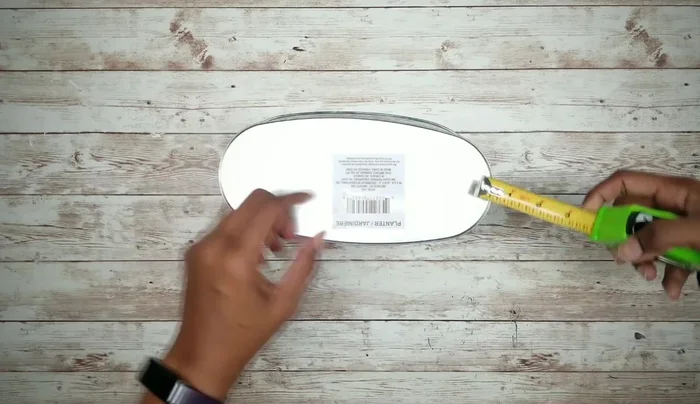
- Gather measurements of the planter to determine wheel placement.
- Secure the wheels to the base with hot glue and super glue.
- Add a small wooden block to the bottom for added support using E6000 and hot glue, then paint it black.
- Attach the fork handle to the planter using E6000 and hot glue, covering the prongs with cardstock and hot glue.
Attach the Handle and Wheels - Attach the completed wheel base to the planter.
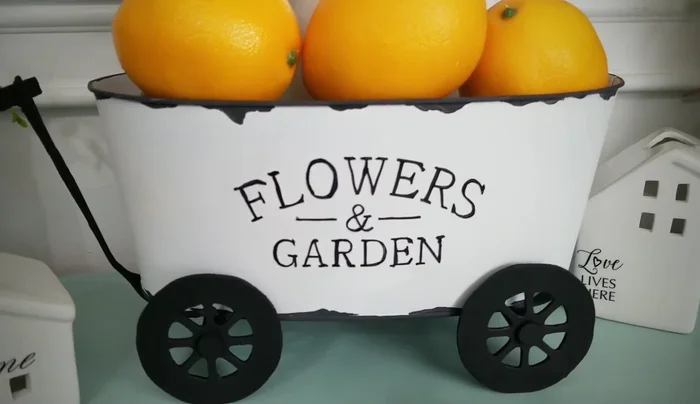
Attach the Handle and Wheels Decorate
- Add your desired decor to the planter.
Decorate


Read more: DIY Pantry Door Spice Rack: Organize Your Spices in Minutes!
Tips
- Ensure a snug fit for the wheels by slightly modifying the wood cutouts with an exacto knife.
- Use a combination of hot glue and E6000 for strong and secure adhesion.
- Super glue helps to eliminate bulk from hot glue or E6000.