Ever dreamt of having a perfectly organized truck bed, brimming with all your tools neatly stored and readily accessible? Forget overpriced, mass-produced toolboxes! This guide unveils the secrets to crafting your own custom, double-decker truck toolbox, all from the treasure trove of a local junkyard. We’ll transform discarded metal – salvaged from forgotten trucks and machinery – into a rugged, durable, and surprisingly stylish storage solution, saving you a fortune in the process. You'll be amazed at what you can create with a little ingenuity, some elbow grease, and a keen eye for potential.
This project isn't just about saving money; it's about reclaiming materials, expressing your creativity, and building something truly unique. We’ll guide you through each step, from selecting the perfect junkyard finds to the final finishing touches. Ready to roll up your sleeves and get started? Let's dive into the step-by-step instructions to build your own DIY double-decker truck toolbox!
Preparation and Safety Guidelines
- Welding equipment
- Sheet metal
- Hammer
- Drill
- Cutters
- Grinder
- Paint
- Drawer slides
- LED lights
- Screws
- Desiccant packs
- Wear appropriate safety gear: Always use safety glasses, gloves, and a respirator when working with metal, especially in a junkyard environment. Metal dust and sharp edges are hazards.
- Securely support heavy components: Truck toolboxes are heavy. Use jack stands or other sturdy supports when lifting or working on them to prevent injury from dropped or falling parts.
- Inspect for structural integrity: Before welding or modifying junkyard parts, thoroughly inspect them for rust, damage, or cracks that could compromise structural soundness and safety.
Step-by-Step Instructions
Source Materials
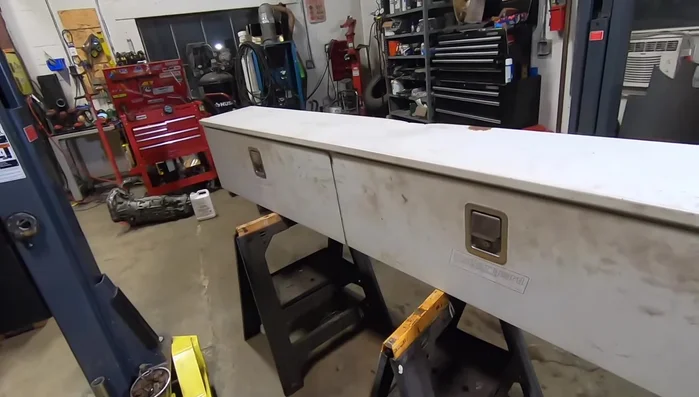
- Acquire two used 8-foot weather guard tool boxes from a junkyard.

Source Materials Prepare Toolbox Sections
- Cut the boxes in half to create four 4-foot sections.
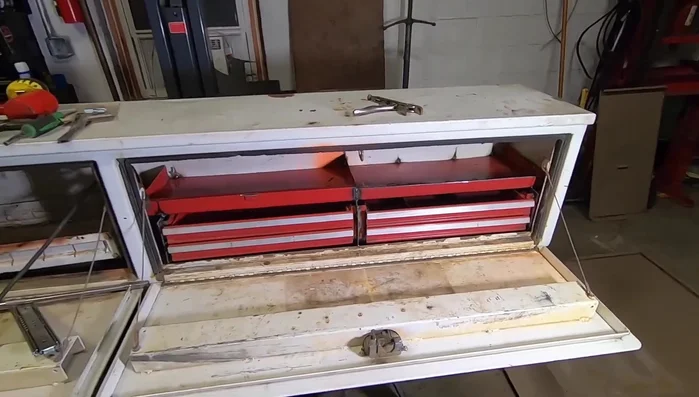
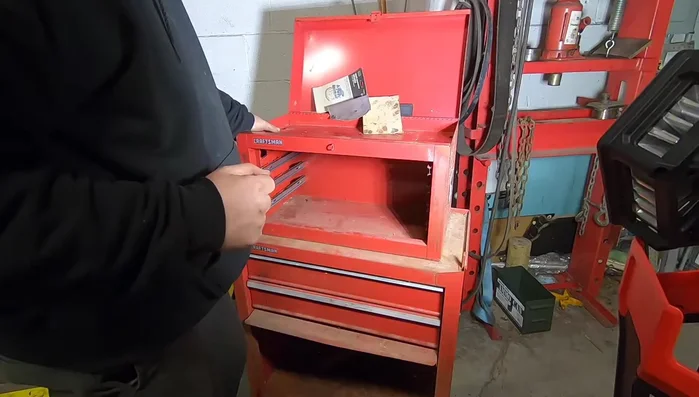
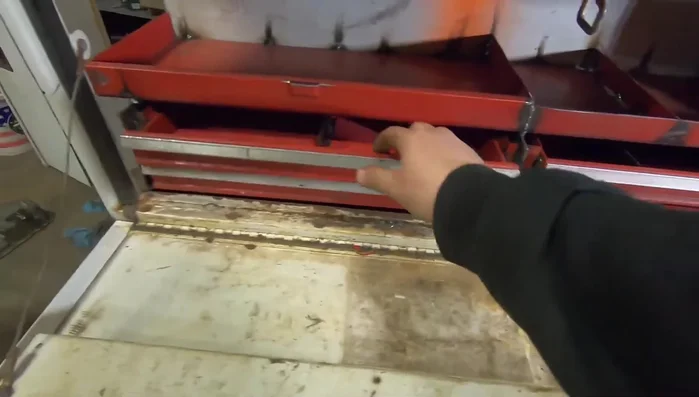
Prepare Toolbox Sections Build Drawers
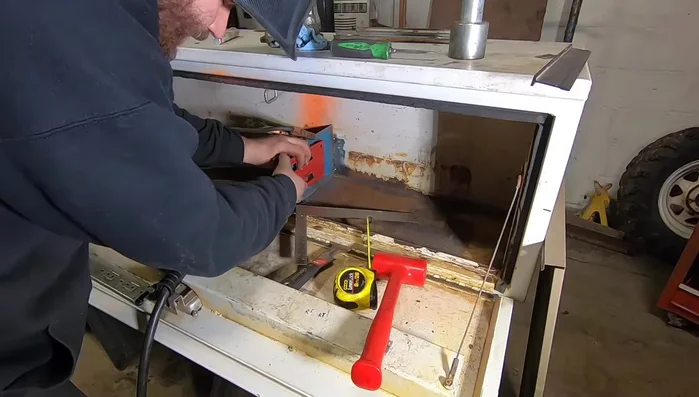
- Salvage slide plates from an old toolbox and weld them into the weather guard boxes to create drawers.
- Fabricate drawer fronts using salvaged metal (e.g., furnace cover) with pre-existing rolled edges.
- Weld the drawer fronts to the slide plates.
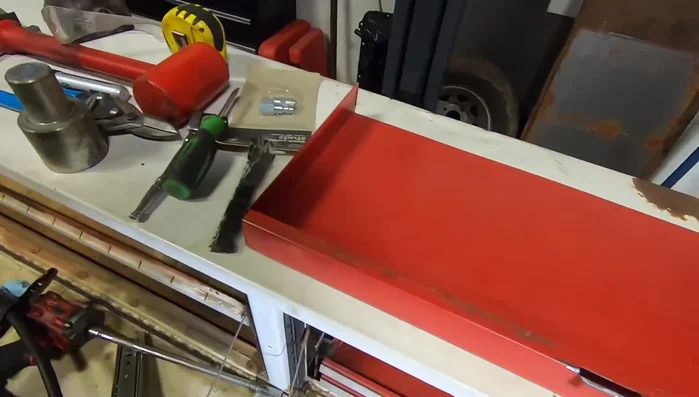
Build Drawers Construct Top Tray
- Construct and weld a top tray to add rigidity and create extra storage space.
- Weld the top tray to the main boxes.
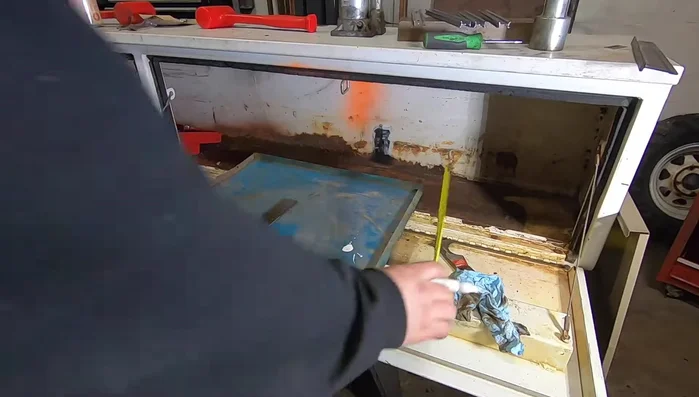
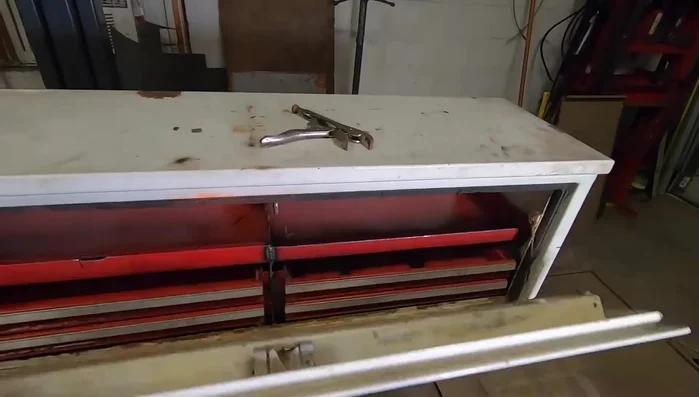
Construct Top Tray Prepare for Finishing
- Patch holes, finish welding seams, and prepare the boxes for painting.
Prepare for Finishing Paint and Protect
- Apply paint (e.g., oil-based Rustoleum) for rust prevention and durability.
Paint and Protect Interior Enhancements
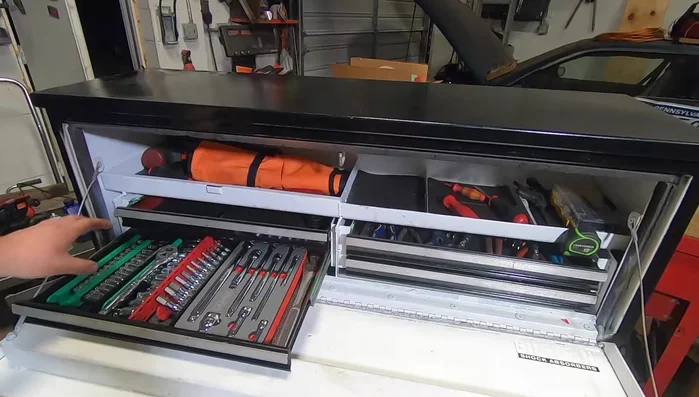
- Install drawer liners.
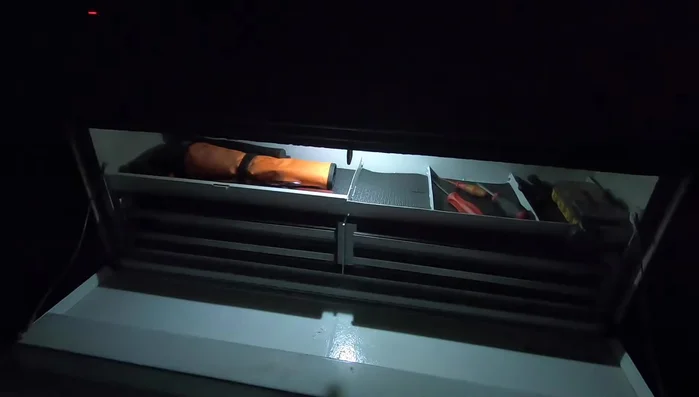
- Install LED lights inside the boxes for improved visibility.
- Add desiccant bags to prevent moisture buildup inside the boxes.
Interior Enhancements Security and Convenience
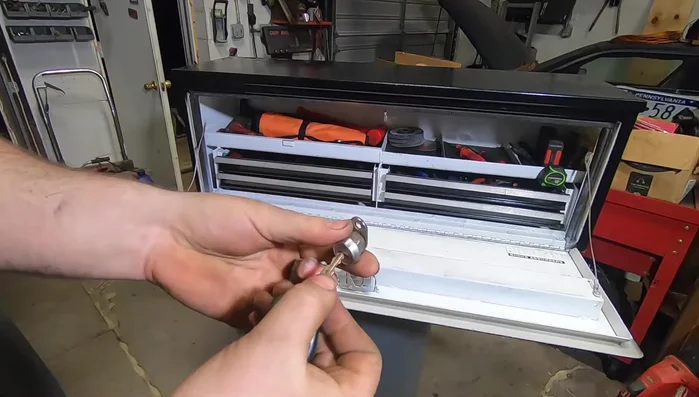
- Replace lock cylinders with ones that match your existing keys.
Security and Convenience Installation
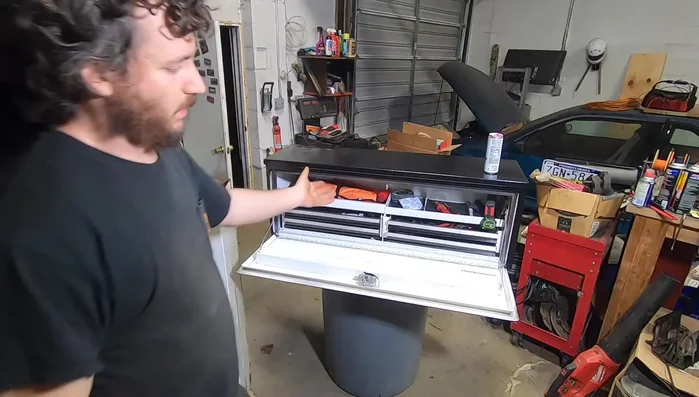
- Mount the tool boxes to the truck flatbed.
Read more: Miniature Spider Welding Tutorial: Crafting a Tiny Metal Arachnid
Tips
- Look for salvage materials to reduce costs and add a unique touch.
- Prioritize structural integrity by adding support trays and reinforcement.
- Use appropriate welding techniques to ensure strong and watertight seams.
- Choose a durable paint that provides rust protection and can withstand wear and tear.
- Consider adding organizational elements like drawer liners and dividers for better tool management.