Tired of unsightly stacks of firewood cluttering your yard and risking damage from the elements? A well-designed firewood rack not only keeps your fuel organized and readily accessible but also enhances the aesthetic appeal of your outdoor space. This project focuses on building an elevated and weatherproof firewood rack, a solution that keeps your wood dry, off the ground, and looking great. Forget about constantly wrestling with damp, rotting logs; this robust design safeguards your winter fuel supply while adding a touch of rustic charm to your property.
This elevated design maximizes airflow, crucial for preventing rot and keeping your firewood dry and ready to burn. The weatherproof construction ensures your wood remains protected from the elements, year-round. Ready to get started on creating your own elegant and functional firewood storage solution? Let's dive into the step-by-step instructions and build this impressive DIY firewood rack together.
Preparation and Safety Guidelines
- Wood (2x4s, lumber for base and roof, slats for sides and roof), Bricks, Screws, Saw, Measuring Tape, Level
- Optional: 50/50 mix of diesel and motor oil
- Always ensure the firewood rack is positioned far enough away from your home's exterior walls and any flammable materials to prevent accidental fires. Maintain a minimum clearance of 10 feet (3 meters) is recommended.
- Use pressure-treated lumber or other weather-resistant materials for the construction to maximize the lifespan of your rack and prevent premature rotting, especially in damp climates.
- Regularly inspect the rack for any signs of damage or deterioration. Replace or repair any compromised parts immediately to maintain safety and structural integrity.
Step-by-Step Instructions
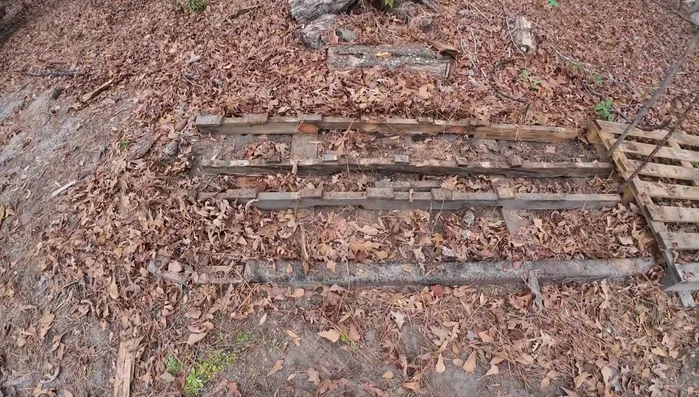
Site Preparation
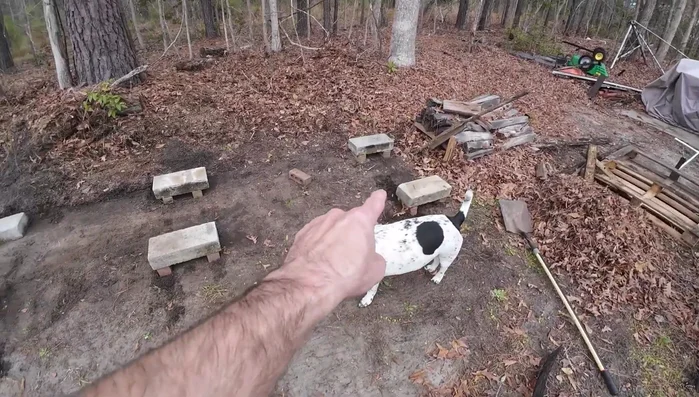
- Clear the area and move existing firewood.

Site Preparation Base Construction
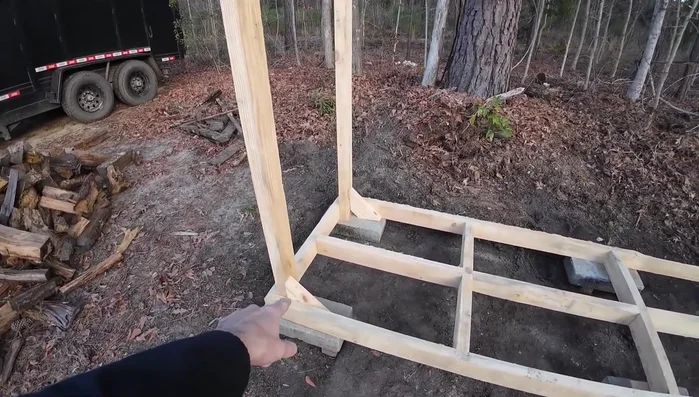
- Create a leveled base using bricks as a foundation. Shim as needed to ensure levelness within the brick arrangement.
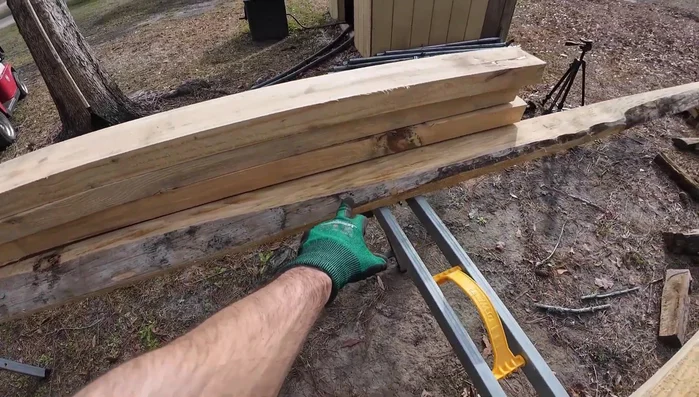
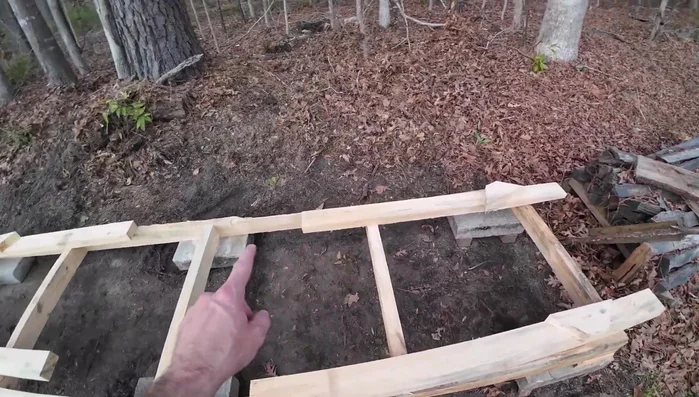
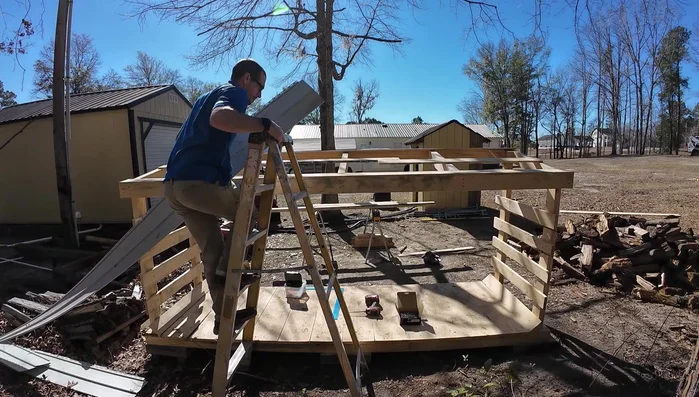
- Construct the base frame using 2x4s.
Base Construction Frame and Support Structure
- Build the side supports using vertical studs, securing them with braces for extra strength.
- Add interior braces to prevent sagging on the floorboards, considering the span.
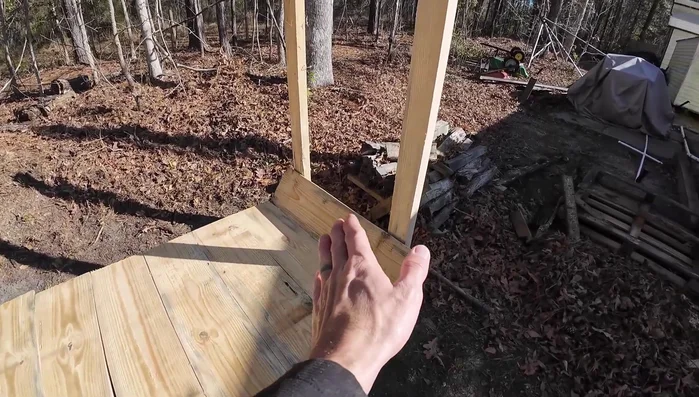
Frame and Support Structure Flooring Installation
- Install the floorboards, using a crown orientation to minimize shrinkage gaps and securing each with a single central screw.
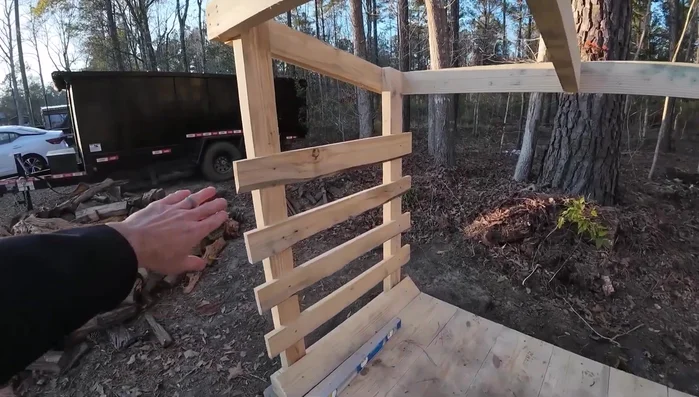
Flooring Installation Side Containment
- Attach side slats to prevent firewood from rolling out.
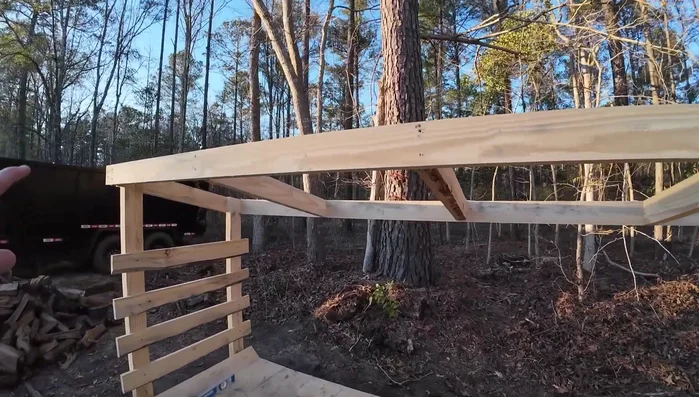
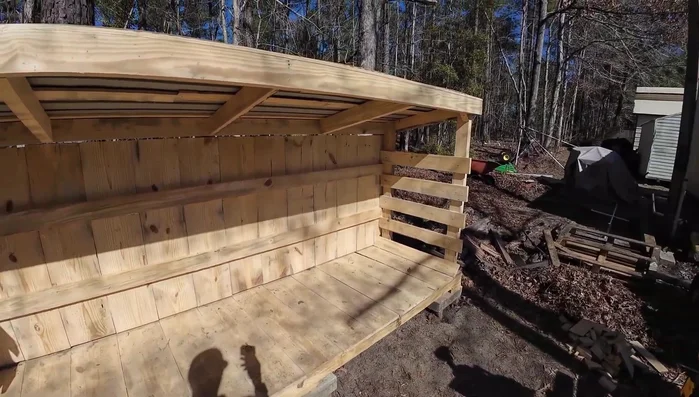
Side Containment Roof Construction
- Construct the roof frame, mirroring the base frame.
- Add roof slats and covering (e.g., vinyl siding).
Roof Construction Back Panel Installation
- Install back panels to protect from debris and leaves.
Back Panel Installation
Read more: Build a Sag-Proof Wood Fence Gate: The Ultimate DIY Guide
Tips
- Consider using treated lumber for a longer lifespan. However, the video uses untreated lumber.
- Level bricks within themselves, not necessarily with the ground. Shim as needed.
- Use interior bracing for floorboards spanning large gaps to prevent sagging.
- Orient floorboards to create a crown, not a cup, to minimize shrinkage gaps. Secure with one central screw per board.
- Optional: Treat the wood with a 50/50 mix of diesel and motor oil for added protection.