Tired of ill-fitting sheets that constantly bunch up and leave you tossing and turning all night? Frustrated with the endless search for the perfect size and style, only to be met with disappointing prices? Then get ready to revolutionize your sleep experience with this simple, surprisingly effective method for transforming a standard flat sheet into a perfectly fitted sheet. Say goodbye to frustrating nights and hello to a comfortable, custom-fit bed, all without the hefty price tag of buying new linens. You'll be amazed at how easily you can create a snug, wrinkle-free fit tailored precisely to your mattress.
This quick and easy DIY project requires minimal sewing skills and only a few simple supplies, most likely already found in your home. Forget expensive fitted sheets; let's dive into the step-by-step process and transform that extra flat sheet gathering dust in your linen closet.
Preparation and Safety Guidelines
- Flat sheet (Queen size used in example)
- Measuring tape
- Tailor's chalk or pins
- Straight edge
- Scissors
- Iron
- Ironing board
- Sewing machine
- Elastic
- Use sharp fabric scissors to ensure clean cuts and prevent fraying. Dull scissors can lead to uneven edges and potentially injure you.
- Always pre-wash your fabric before cutting and sewing to prevent shrinkage after the fitted sheet is completed. This will ensure a proper fit.
- Double-check your measurements multiple times before cutting. Accurate measurements are crucial for a well-fitting sheet. Incorrect cuts cannot be easily fixed.
Step-by-Step Instructions
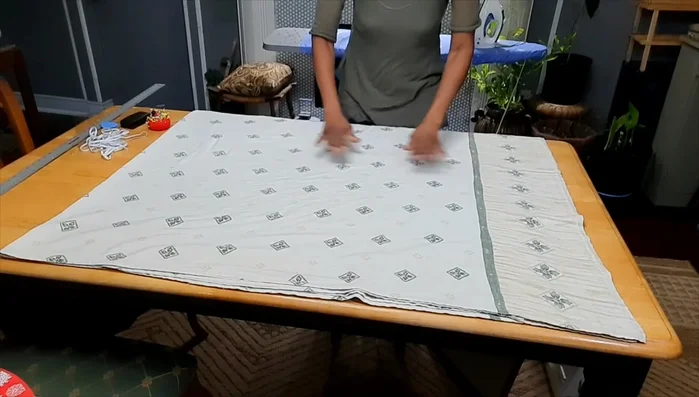
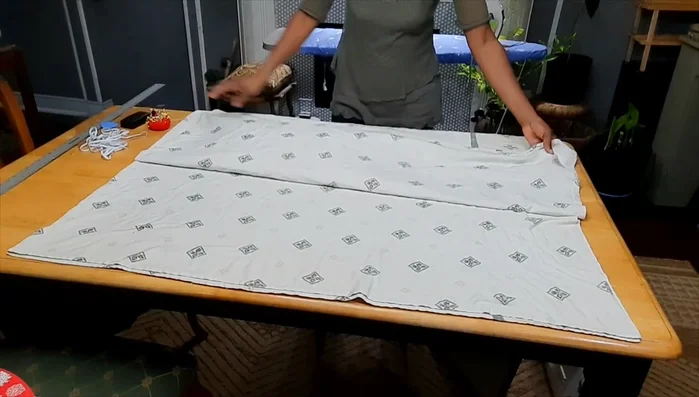
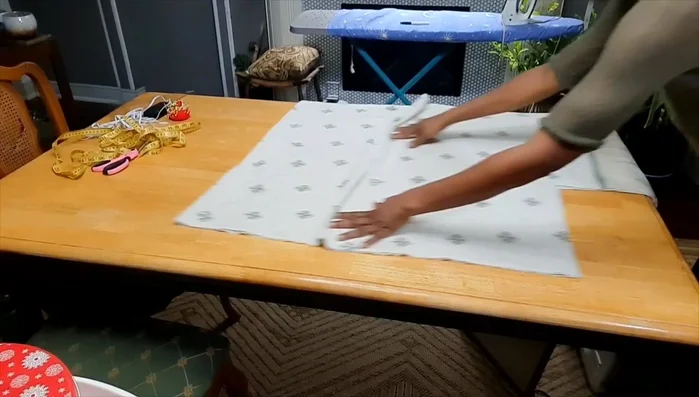
Prepare the Sheet
- Press out creases and lay it flat on a table.
- Fold the sheet in half horizontally, then in half vertically to create four layers.

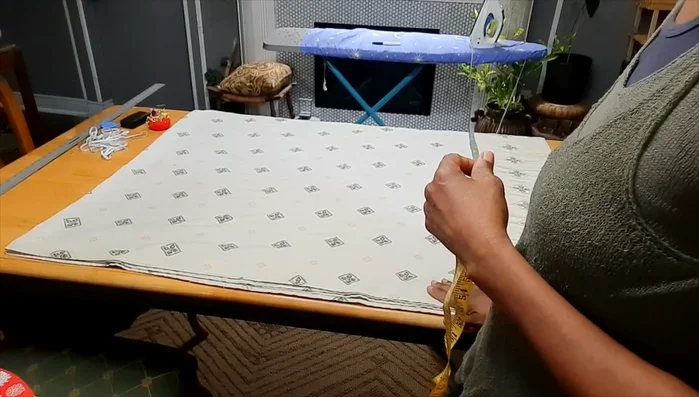
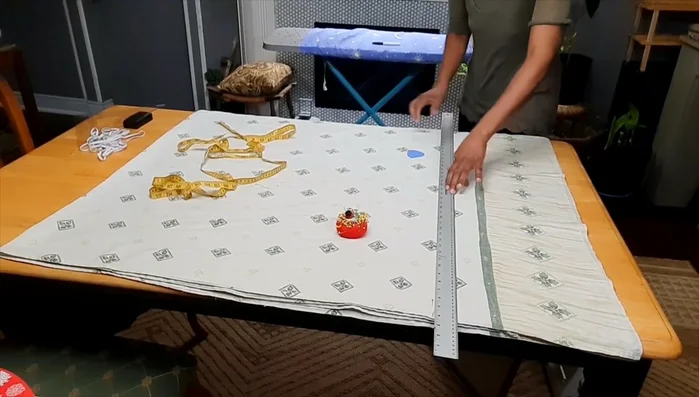
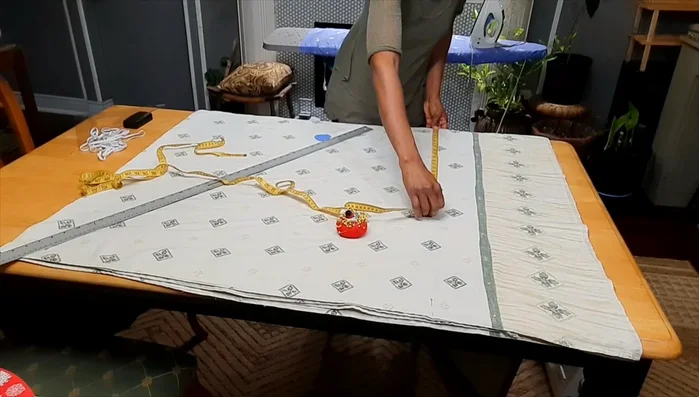
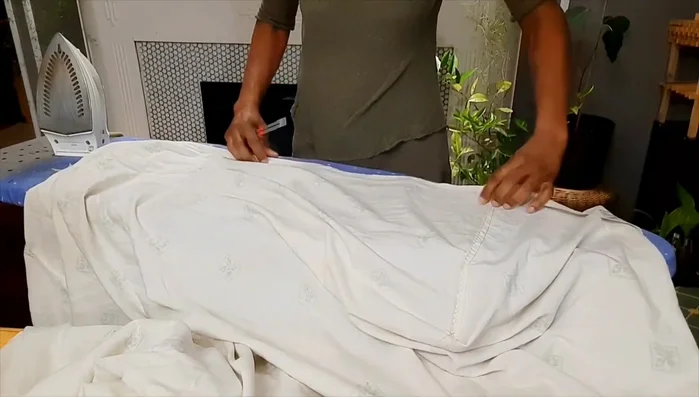
Prepare the Sheet Measure and Mark
- Measure half the desired length (36 inches in this case) from the top edge and mark it. Repeat on the opposite side.
- Use a straight edge to draw a line connecting the two length marks.
- Measure 21 inches from each side edge and mark it.
- Draw a line connecting the width marks.
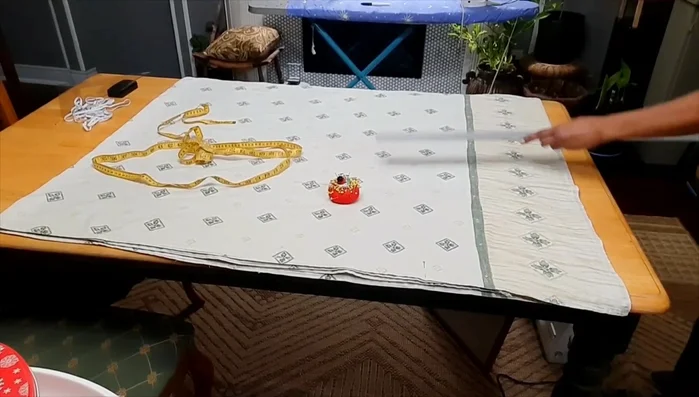
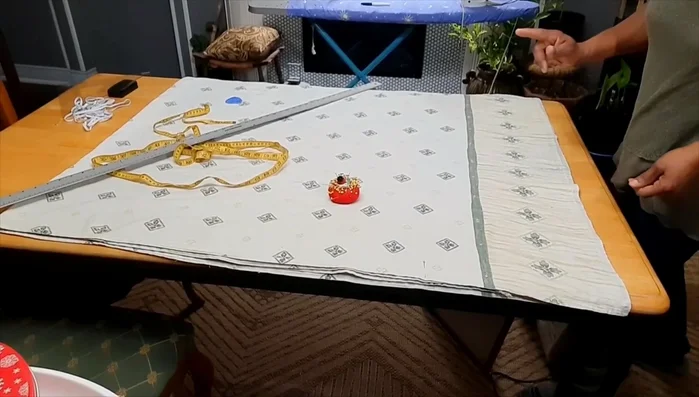
Measure and Mark Cut and Adjust
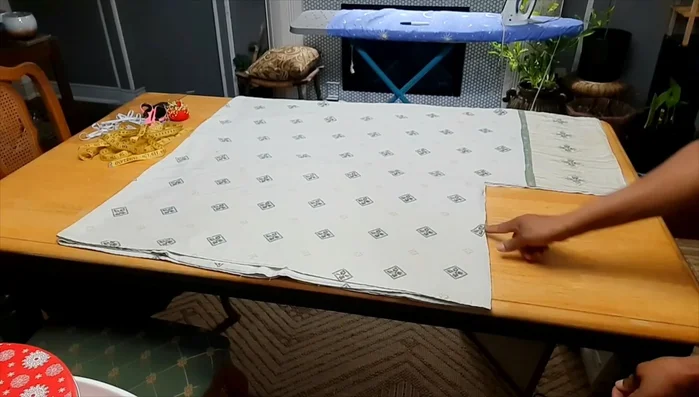
- Cut along the lines to create the shape for the fitted sheet.
- Ensure both sides match in length; trim excess fabric as needed to create a seamless fit.
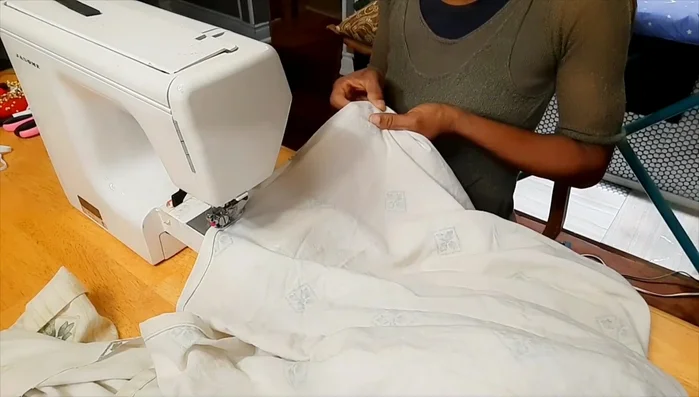
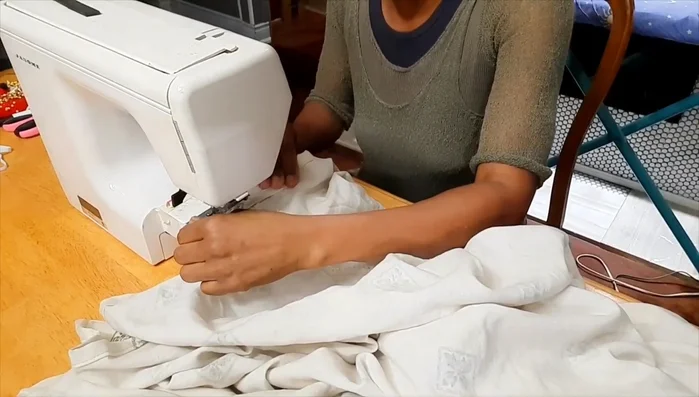
Cut and Adjust Sew the Sheet
- Place the cut pieces right sides together, aligning the edges, and stitch along the sides.
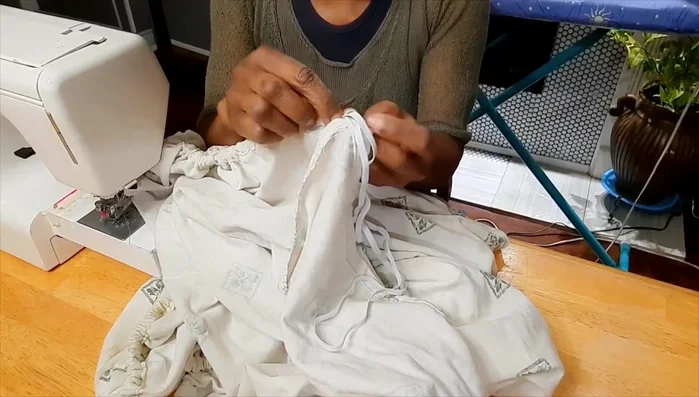
Sew the Sheet Finish the Edges
- Fold and press a 1-inch hem around the perimeter of the sheet.
- Fold the pressed edge inward twice to create a 1/2-inch double hem. Stitch close to the edge of the folded fabric to form a pocket for the elastic.
- Thread elastic through the casing, leaving a small opening to insert it. Tie the ends securely.
- Stitch or leave the opening as it is (depending on preference).
Finish the Edges
Read more: Ultimate Guide to Harmonious Bedroom Furniture Arrangement
Tips
- Use a square sheet: Ensure your flat sheet is as square as possible to simplify the process.
- Align corners carefully: Make sure the corners are aligned correctly when stitching and inserting elastic.