In a world increasingly conscious of waste reduction and sustainable living, upcycling has emerged as a powerful tool for creative expression and environmental responsibility. This DIY project embraces that philosophy by transforming discarded materials into a stunning, one-of-a-kind Frankenlamp. Forget mass-produced, generic lighting; prepare to unleash your inner inventor and craft a truly unique piece that reflects your personal style and commitment to eco-friendly practices. Imagine the satisfaction of illuminating your space with a lamp born from repurposed scraps, a testament to your ingenuity and resourcefulness.
This guide will walk you through the exciting process of building your own Frankenlamp, from sourcing materials to the final assembly. We'll explore various upcycling options, offering inspiration for your own creative interpretations, and provide clear, step-by-step instructions so you can confidently bring your vision to life. Get ready to delve into the thrilling world of upcycling and discover just how easy it is to create something beautiful and functional from discarded items.
Preparation and Safety Guidelines
- Recycled television cord
- Old floor lamp base
- Chandelier parts
- Shelf brackets
- Gutter guard
- Bulb
- Screws
- Bolt
- Always disconnect the lamp from the power source before handling any electrical components or making any modifications.
- Use electrical tape or wire connectors specifically designed for electrical wiring to ensure secure and safe connections. Avoid using makeshift solutions.
- Ensure all wiring is properly insulated and that no exposed wires are present to prevent short circuits and fire hazards.
Step-by-Step Instructions
Gather Materials
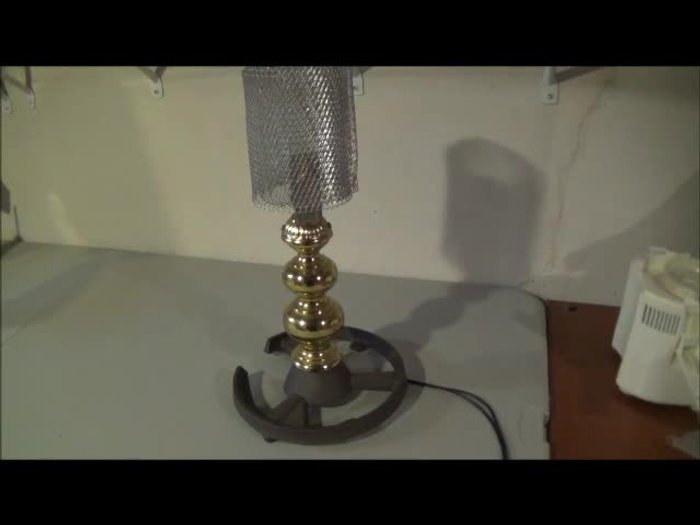
- a television cord, old floor lamp base, chandelier parts (base and possibly a handle/stick), shelf brackets, and a gutter guard.

Gather Materials Assemble Base
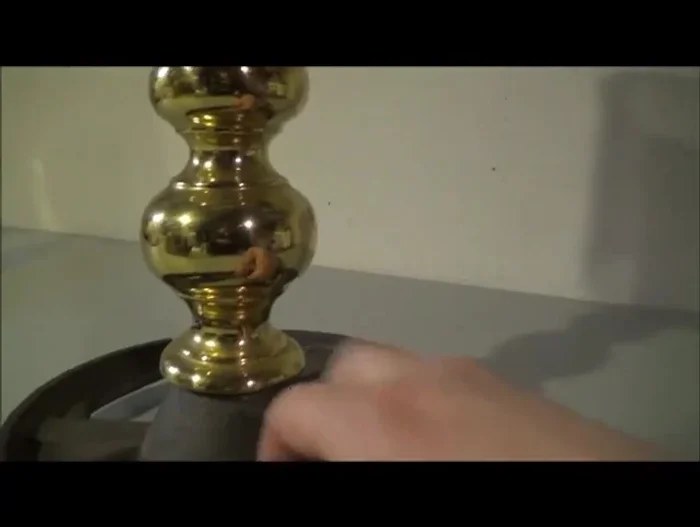
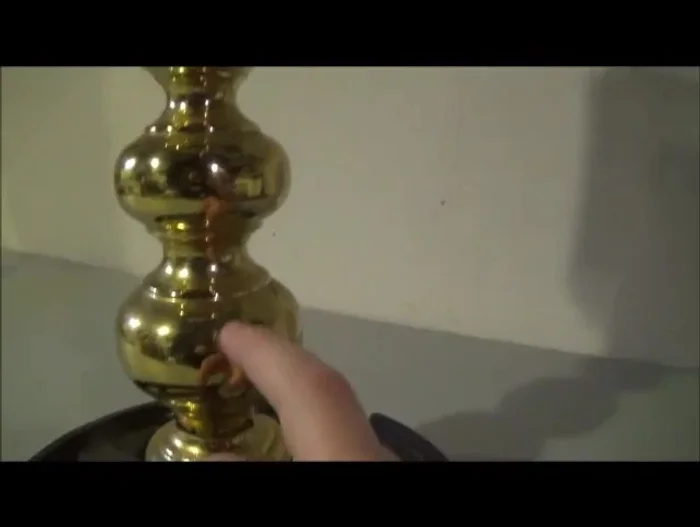
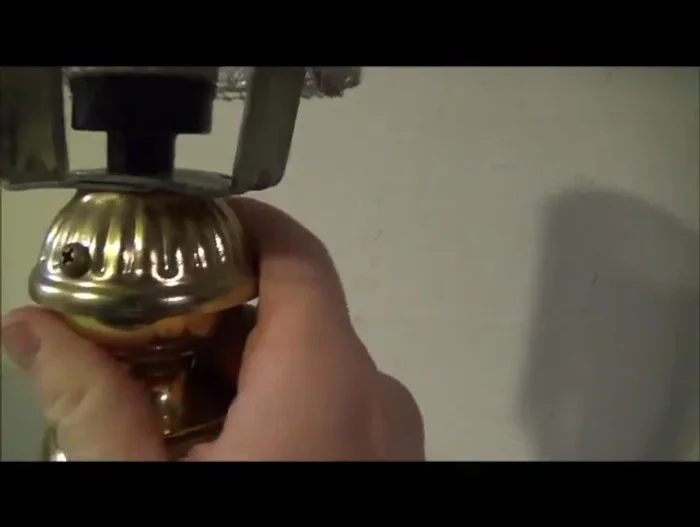
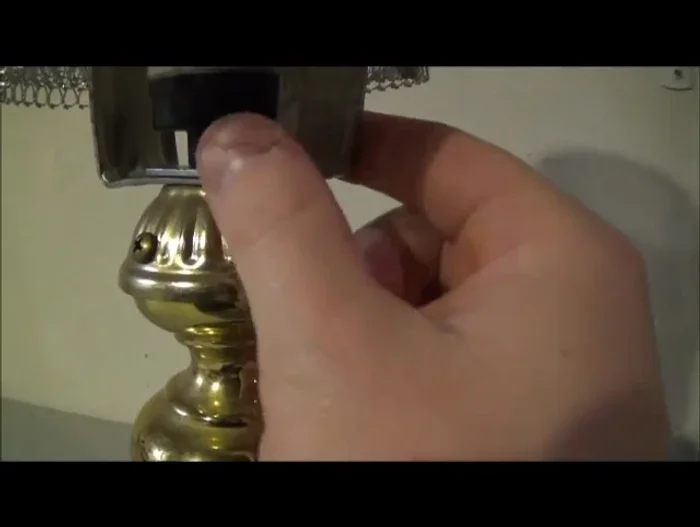
- Connect the floor lamp base and the chandelier piece using a bolt, screwing it into the middle.
- Attach a screen to the base using screws.
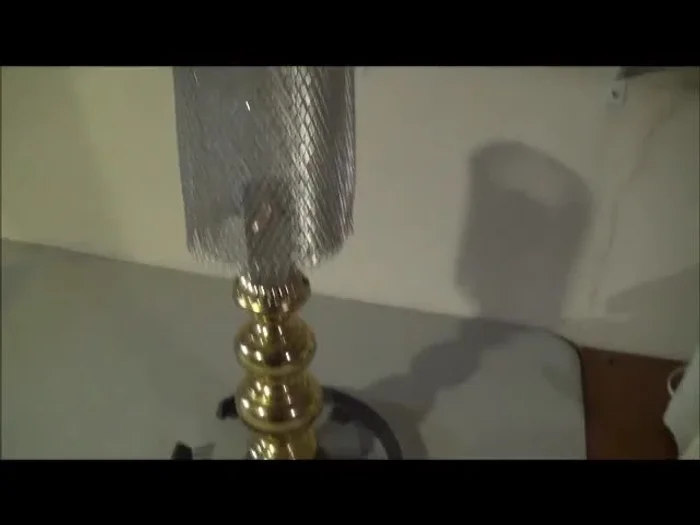
- Attach a recycled handle or stick to the lamp base.
- Attach the base of a candelabra-type bulb to the assembled structure.
Assemble Base - Attach the shelf brackets to the lamp structure.
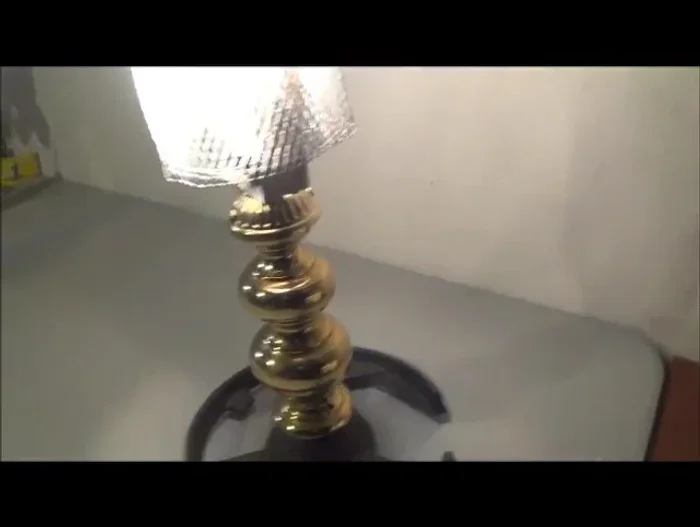
Assemble Base Install Bulb and Shade
- Place the bulb into its socket.
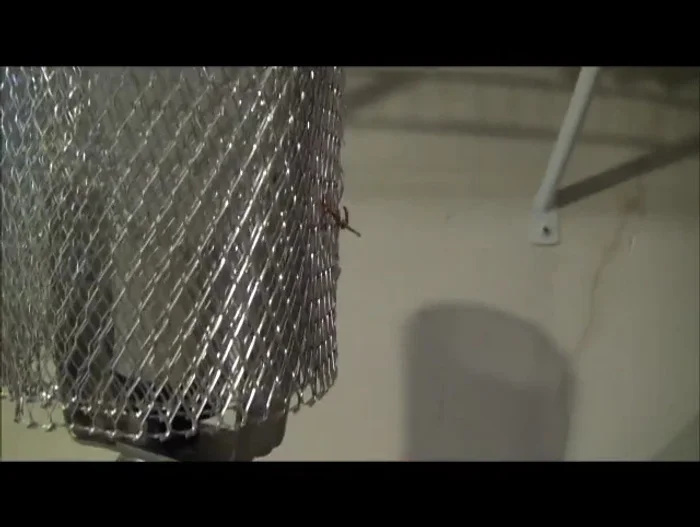
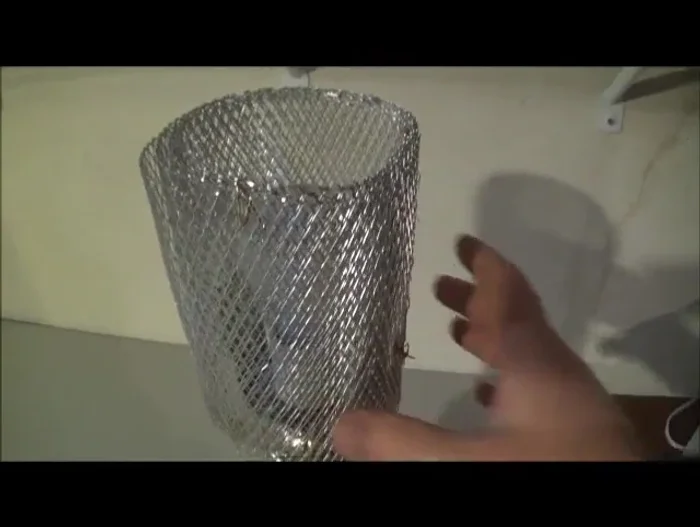
- Wrap the gutter guard around the bulb area and secure it with string or twine.
Install Bulb and Shade Test Functionality
- Turn on the lamp to ensure functionality.
Test Functionality
Read more: Miniature Spider Welding Tutorial: Crafting a Tiny Metal Arachnid
Tips
- Ensure all electrical connections are secure and safe before use.
- Be creative with your scrap materials!