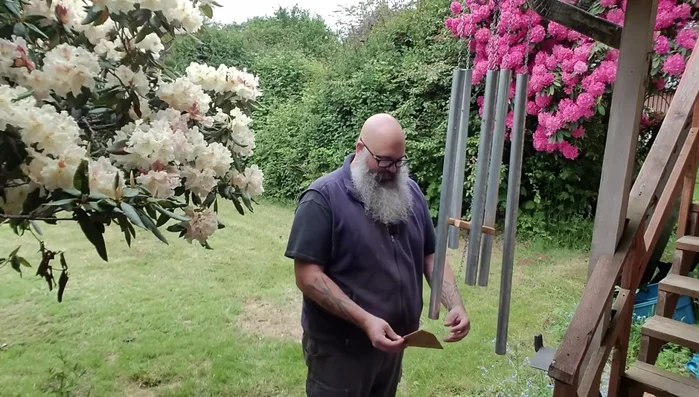
The gentle tinkling of a wind chime is a soothing soundtrack to any outdoor space, but store-bought options can be expensive and lack personality. Why not create your own unique and charming wind chime using readily available materials? This tutorial guides you through crafting a simple yet elegant five-chime wind chime using galvanized steel, a material known for its durability and rustic aesthetic. The project is surprisingly easy, requiring minimal tools and expertise, making it perfect for both beginners and experienced DIY enthusiasts. You'll be surprised at how quickly you can transform basic materials into a beautiful and personalized addition to your garden or porch.
This DIY project is perfect for adding a touch of handcrafted charm to your home while allowing for complete creative control over the final product. Ready to get started on your own mesmerizing galvanized steel wind chime? Let's dive into the step-by-step instructions and bring your creative vision to life.
Preparation and Safety Guidelines
- Galvanized steel pipes
- Drill
- Drill bits
- Measuring tape
- Center-finding tool
- Steel wire
- Chain
- S-hooks
- Nuts and washers
- Wood scraps (for jig)
- Hammer
- Nails
- Always wear safety glasses when cutting or working with galvanized steel. Sharp edges and metal shards can cause serious eye injuries.
- Use appropriate cutting tools for galvanized steel. Regular household scissors or shears are not suitable and may damage the material or result in injury.
- Galvanized steel can have sharp edges after cutting. Carefully file or sand down any rough edges before handling to prevent cuts.
Step-by-Step Instructions
Gather Materials
- Galvanized steel pipes, drill, drill bits, measuring tape, center-finding tool, steel wire, chain, S-hooks, nuts and washers, wood scraps for jig, hammer, nails.
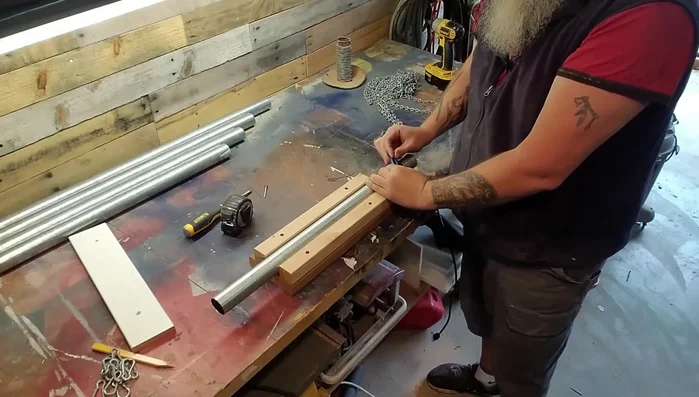
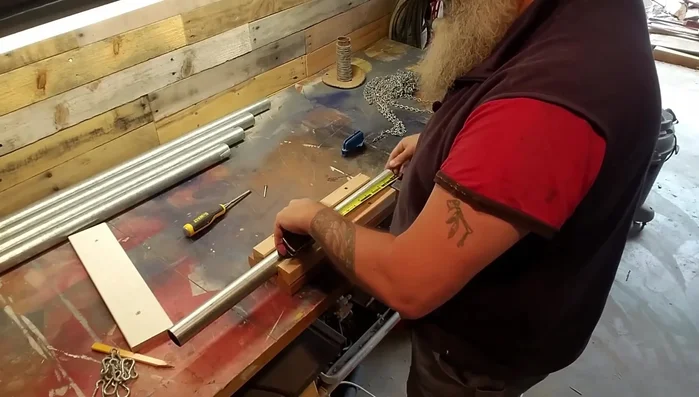
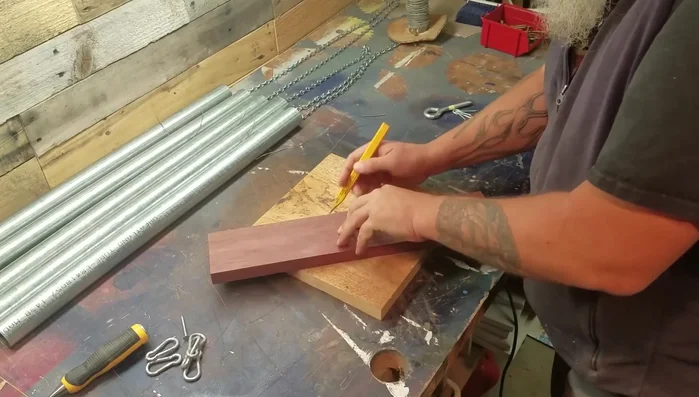
Prepare Pipes
- Cut pipes to desired lengths (3 feet, decreasing by 2-4 inches for each chime).
- Create a jig to hold the pipes securely while drilling and marking the center.
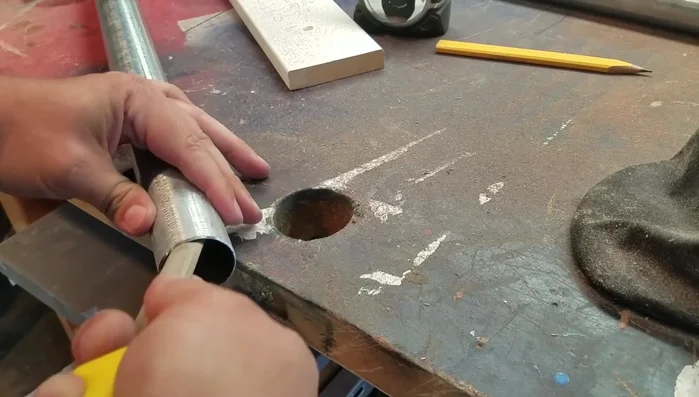
- Use the center-finding tool to mark the center of each pipe.
- Drill a pilot hole at the center mark of each pipe.

Prepare Pipes - Measure and mark the drill locations for the chime holes (6 inches down from the top, plus a little extra).
- Drill the chime holes in each pipe.
Prepare Pipes Assemble Chimes
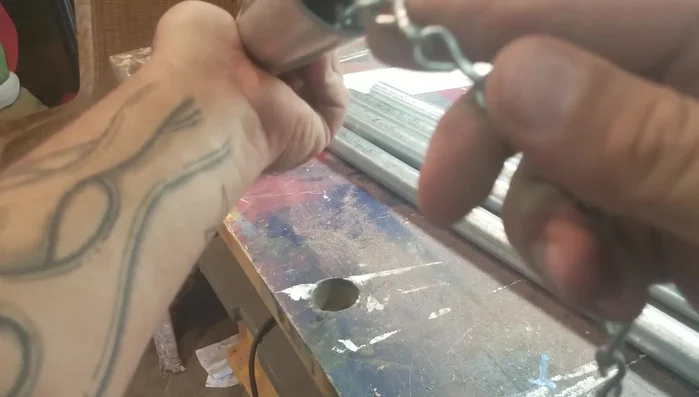
- String steel wire through the chime holes, then thread the chain through the eyelet.
- Secure the chain by slightly pulling it to create a V-shape in the steel wire.
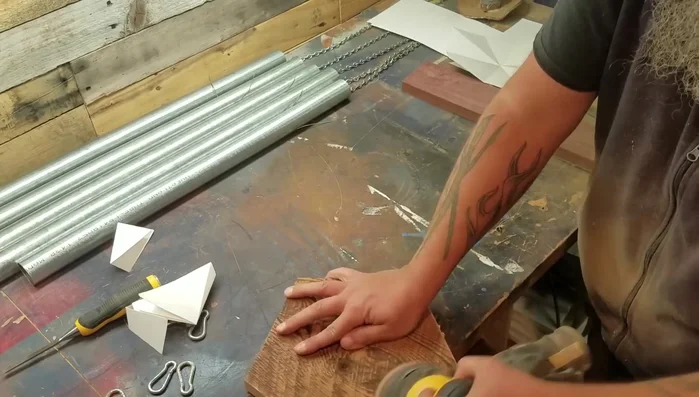
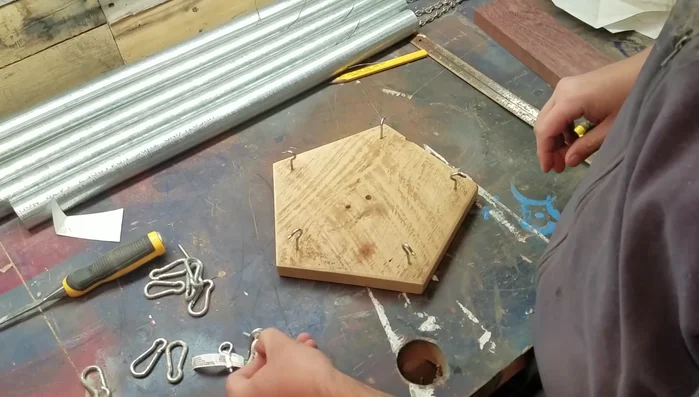
Assemble Chimes Create Hanging Mechanism
- Square the bottom of the longest pipe, and mark the center to secure the hanging mechanism.
- Drill a hole in the center of the longest pipe's bottom and attach a hanging mechanism (e.g., a bolt with washers and nuts).
Create Hanging Mechanism Final Assembly and Hanging
- Attach the chimes to the hanging mechanism.
- Hang the wind chime and adjust the chain lengths as needed.
Final Assembly and Hanging


Read more: Build a Sag-Proof Wood Fence Gate: The Ultimate DIY Guide
Tips
- Use a jig to ensure accurate drilling and marking.
- Pre-drill holes to avoid crooked holes when attaching the hanging mechanism.
- Use a center-finding tool for accurate hole placement.
- Adjust chain lengths to balance the wind chime.