Ever dreamed of a beautiful, functional garden shed without breaking the bank? This DIY project shows you how to build your own, transforming inexpensive materials into a valuable addition to your property. We'll guide you through a clever, cost-effective method incorporating a repurposed fence picket design that adds both character and significant savings to your shed construction. Forget expensive pre-fabricated sheds; this project empowers you to create a personalized space tailored to your needs, while also offering a fantastic return on your investment.
This dual-purpose project not only provides a practical and attractive garden shed but also offers the rewarding experience of building something yourself. From sourcing materials to the final finishing touches, we'll walk you through every step of the process, transforming discarded fence pickets into stunning shed siding. Ready to start building your own cheap and profitable garden shed? Let's dive into the step-by-step instructions below!
Preparation and Safety Guidelines
- Fence pickets
- 2x4s
- Pocket hole jig
- Kreg Jig 720 Pro
- Miter saw
- Brad nailer
- Exterior wood glue
- Brad nails
- Washers
- 2 1/2 in screws
- Sheet metal
- Sheet metal screws
- Drill
- Drill bit starter
- Strap hinges
- Silicone (optional)
- Corrugated metal
- Drip edge
- Always wear appropriate safety gear, including safety glasses, gloves, and sturdy work boots, when using power tools and handling sharp materials like fence pickets.
- Ensure the shed foundation is level and stable before beginning construction to prevent structural issues and potential collapse. Use appropriate supports and fasteners.
- Follow all manufacturer's instructions for power tools and building materials. If unsure about a step, seek professional guidance before proceeding.
Step-by-Step Instructions
Prepare Materials
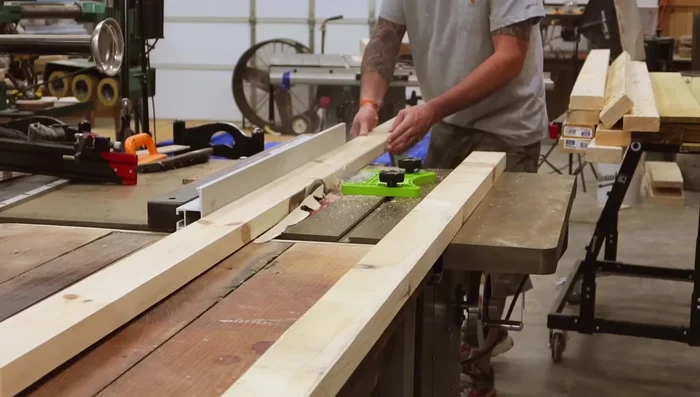
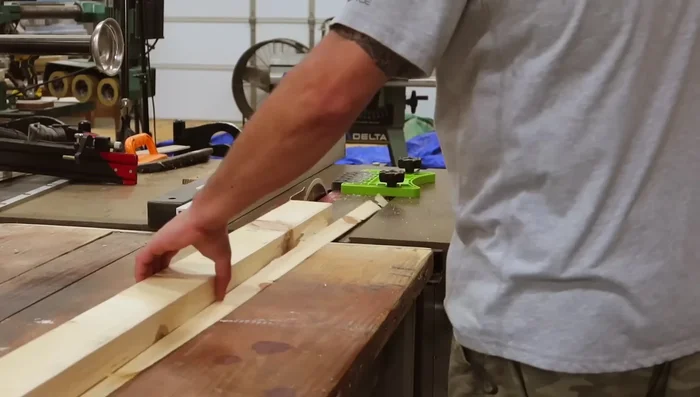
- Cut 2x2 material from 2x4s. Rip off the outer edge and cut 1.5 inches on each side to get two 2x2s from one 2x4.
- Cut fence pickets to 23 3/4 inches for side walls. Use half-inch thick pickets if possible.
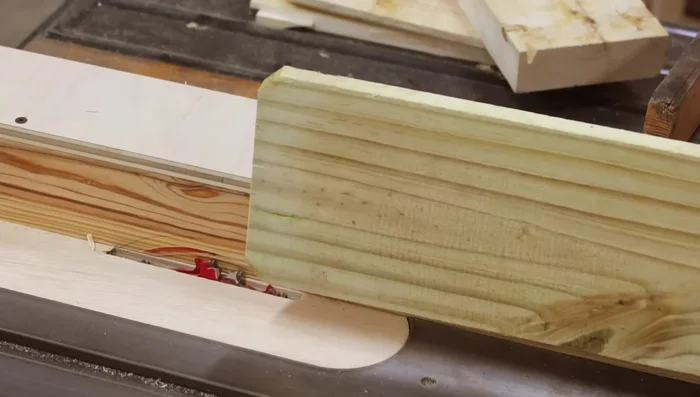
- Create shiplap on fence pickets using a dado blade (or single blade method). Cut a 1/4 inch rabbet on one side, flip, and repeat for half the board thickness.

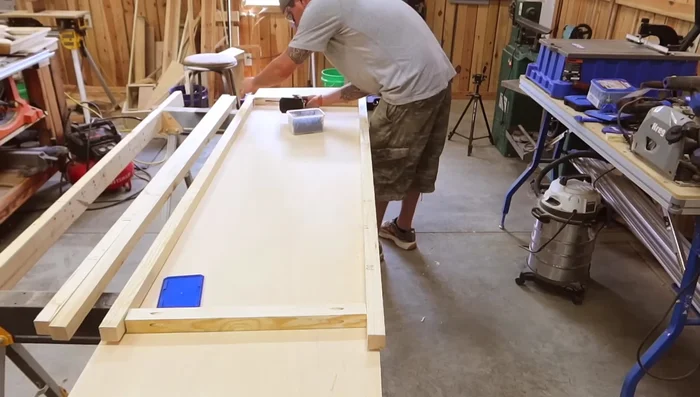
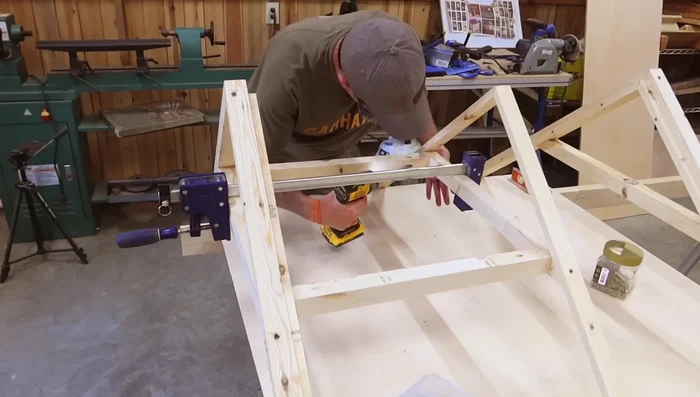
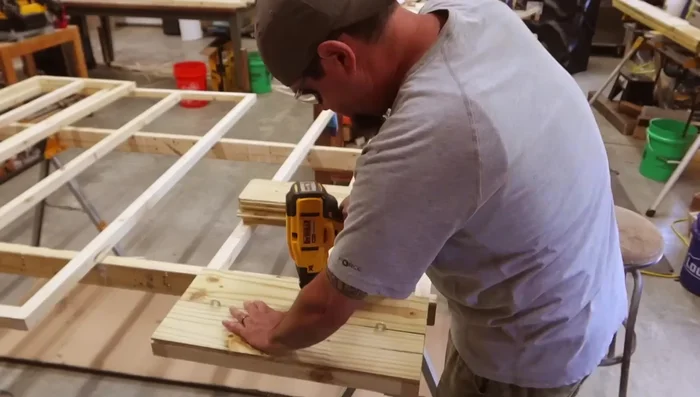
Prepare Materials Build Frame
- Cut frame parts (2x2s) to the specified lengths. Add pocket holes to two sides of each crossmember.
- Use two 72-inch 2x2s and two crossmembers (20 3/4 inches) on each end. Install a 69-inch center board with pocket hole screws. Make two side walls.
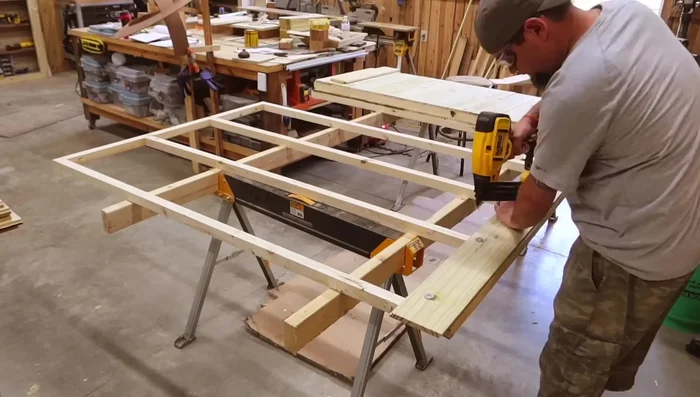
- Use two 72-inch boards, two 41-inch boards (top and bottom, inset). Install two 69-inch center boards.
- Attach side and back walls, using 2 1/2-inch screws.
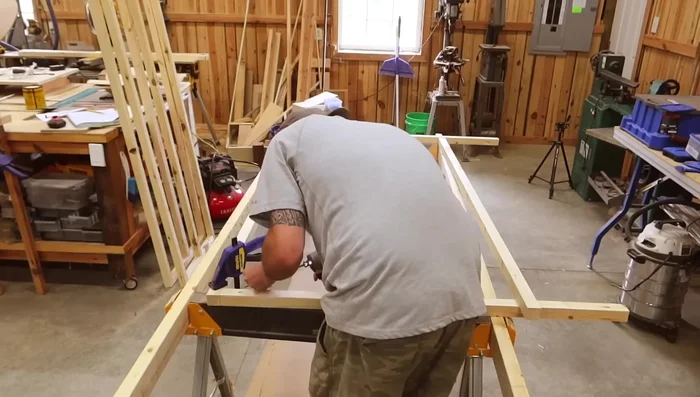
Build Frame - Install 44-inch header with pocket hole screws.
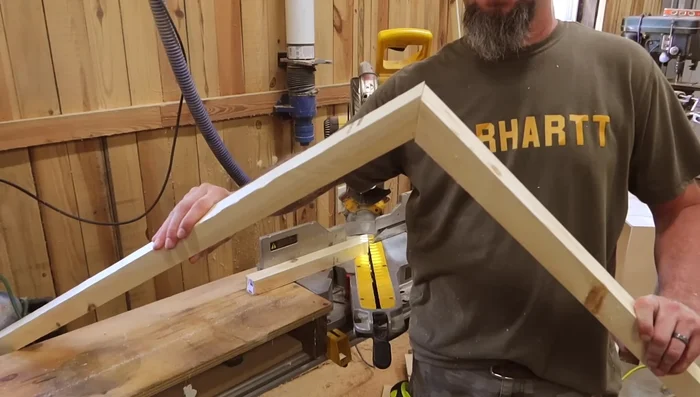
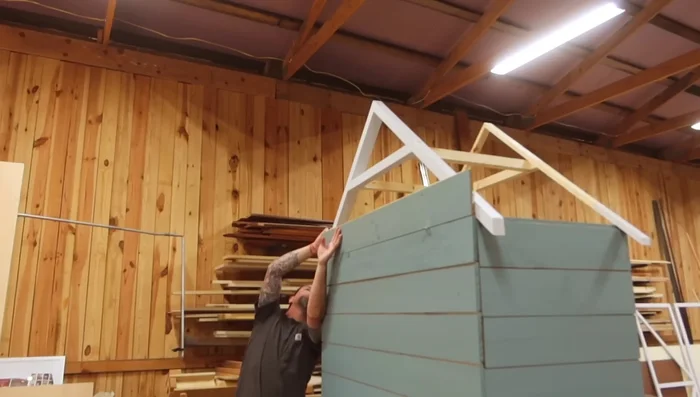
Construct Roof Trusses
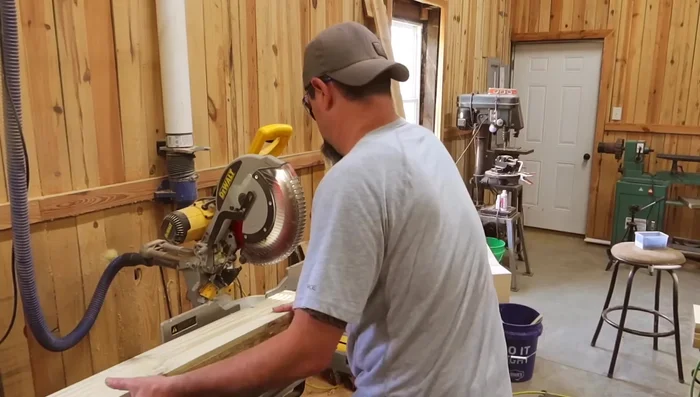
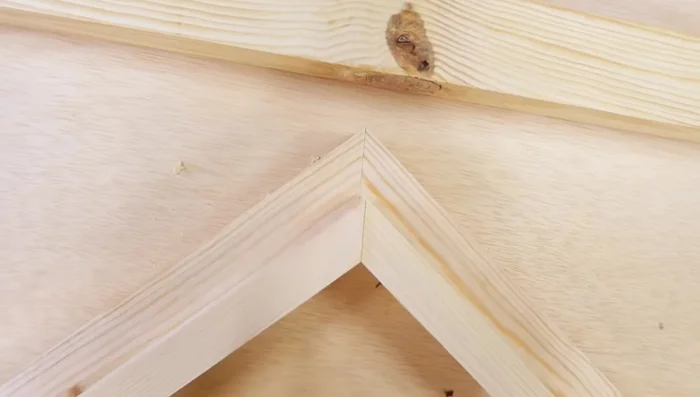
- Cut miters at 40° for the main parts (41 1/2 inches long). Cut inside supports at 50°. Glue, nail, and screw together. Make two identical outside trusses and one center truss with a 3/4 inch top board.
- Attach 3/4 inch strips at 40° to the top of the outside trusses to hold roofing.
- Attach the center and back trusses to ensure the back truss is over the back wall and the center truss is over the front header.
- Install false front truss.
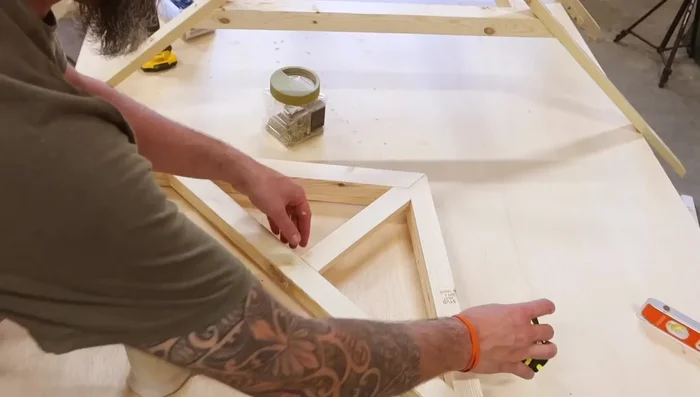
Construct Roof Trusses Create Doors
- Cut eight 66 3/4-inch pieces and six 21 3/4-inch pieces. Add pocket holes and assemble with 1 1/4-inch pocket hole screws.
- Install trim and shiplap to doors.
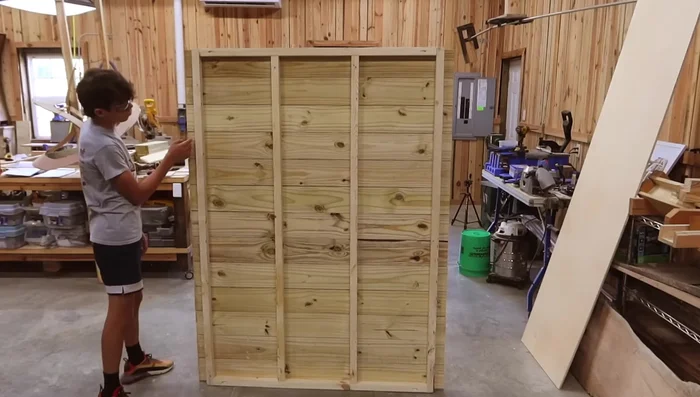
Create Doors Assemble Shed Exterior
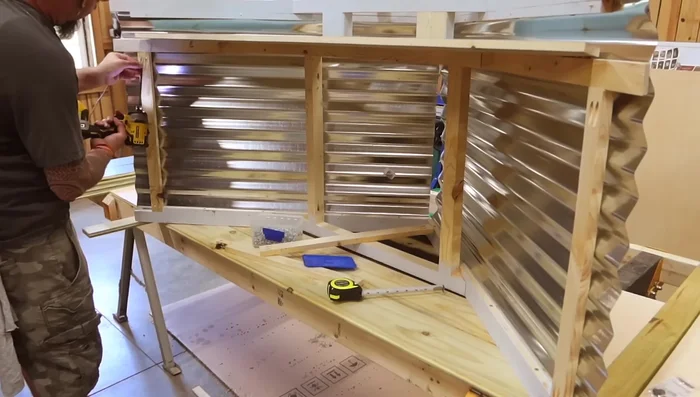
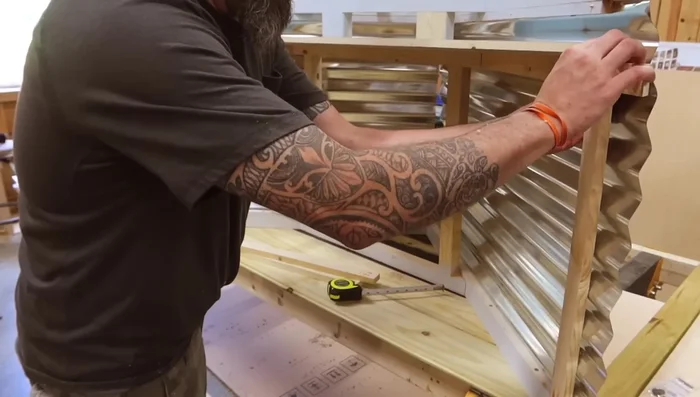
- Install shiplap boards onto side walls using exterior wood glue, brad nails, and washers as spacers (about 1/8 inch thick).
- Install shiplap boards onto back wall. Use 48-inch long boards to create a 2-inch overhang on each side.
- Install jointed trusses, mark walls, cut shiplap for trusses.
- Install shiplap to trusses, leaving a vent on the front.
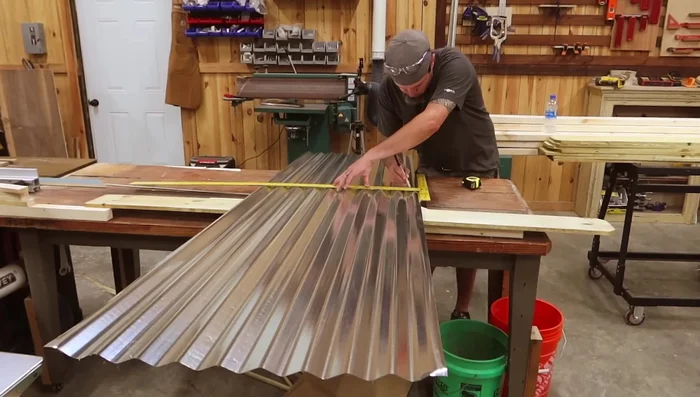
Assemble Shed Exterior Install Roofing
- Install corrugated metal roofing, pre-drilling holes and using a drill bit starter.
- Add support boards to trusses.
- Install ridge cap (drip edge).
Install Roofing Finishing Touches
- Install top, using trust ties in corners.
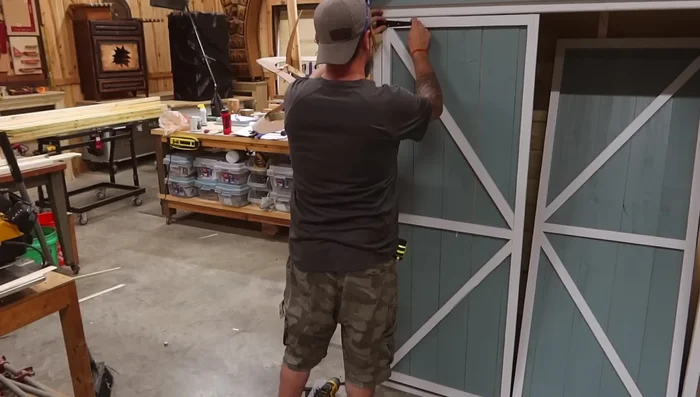
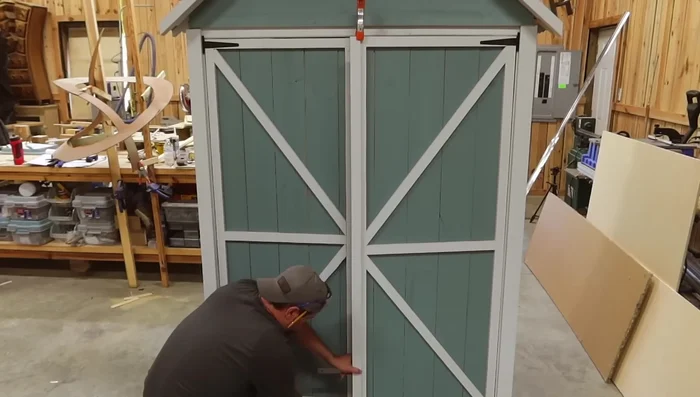
- Install doors, using shims for spacing and strap hinges.
- Install trim and fix gap between doors with an overlay board.
Finishing Touches
Read more: Build a Sag-Proof Wood Fence Gate: The Ultimate DIY Guide
Tips
- Staging is key for efficient building.
- Use pre-drilled pocket holes for faster assembly.
- Working off sawhorses makes the build easier.
- Consider using a dado blade or single blade method for creating shiplap.
- Use washers as spacers for consistent gaps in shiplap.