Transform your living space with stunning, oversized fabric wall art without breaking the bank! Tired of generic, mass-produced décor? Craving a unique and personalized touch for your home but worried about the cost? Then you've come to the right place. This guide demonstrates how to create impressive, large-scale fabric art using readily available materials and simple techniques. Forget expensive prints and canvases; we'll show you how to unleash your creativity and craft a captivating focal point that reflects your personal style.
This DIY project is perfect for beginners and seasoned crafters alike, offering a fun and rewarding way to personalize your home. From choosing the perfect fabric to mastering the finishing touches, we'll walk you through every step of the process, providing clear instructions and helpful tips along the way. Ready to get started on your own breathtaking, budget-friendly wall art? Let's dive into the step-by-step instructions below.
Preparation and Safety Guidelines
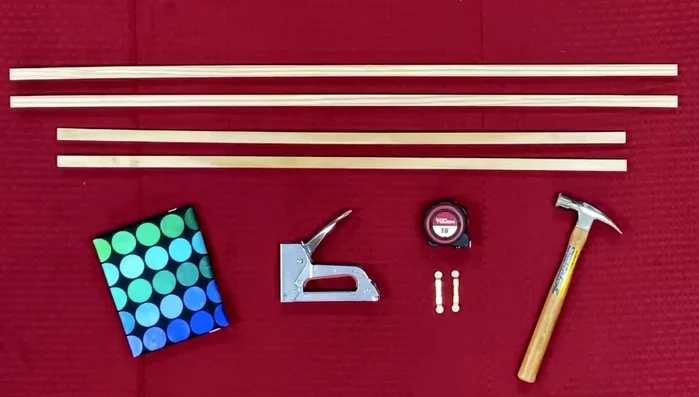
- Two 8-foot long pieces of 1/2 inch by 3/4 inch wood
- Staple gun
- Staples
- Measuring tape
- Panel of fabric (36 inches by 43 inches)
- Hammer
- Sawtooth picture hangers
- Always use sharp fabric scissors to prevent fraying and ensure clean cuts. Dull scissors can cause uneven cuts and increase the risk of injury.
- If using a hot glue gun, exercise extreme caution. Hot glue can cause serious burns. Work on a heat-resistant surface and keep children and pets away.
- Ensure adequate ventilation when working with fabric paints or sprays. Read and follow all manufacturer safety instructions and wear appropriate protective gear (e.g., mask, gloves).
Step-by-Step Instructions
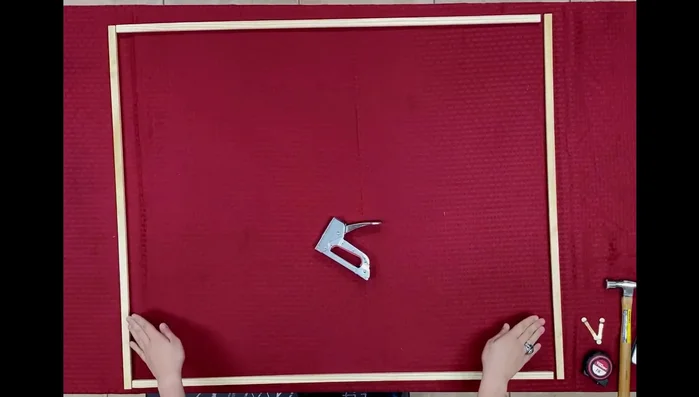
Prepare the Frame
- two 41-inch pieces and two 35-inch pieces.
- Assemble the wooden frame by stapling the 35-inch pieces inside the 41-inch pieces.

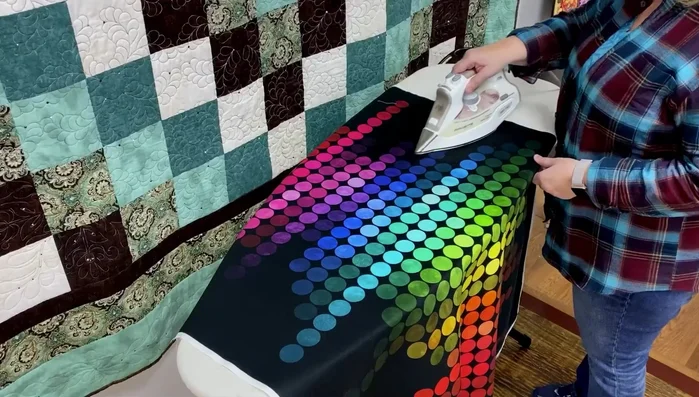
Prepare the Frame Prepare the Fabric
- Iron the fabric panel.
Prepare the Fabric Attach Fabric to Frame
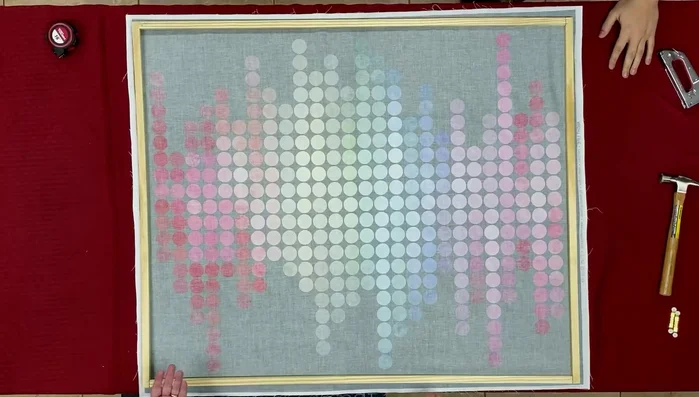
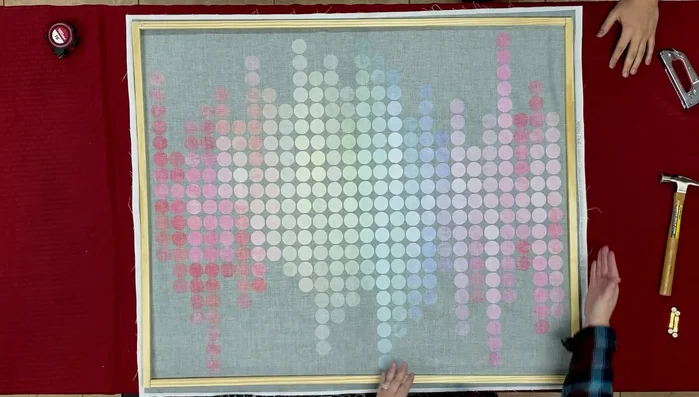
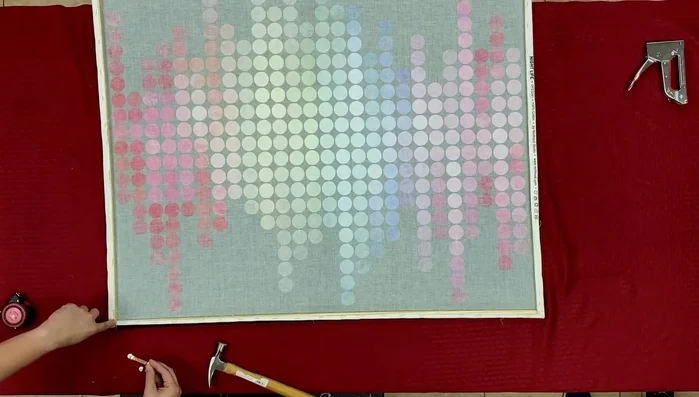
- Lay the fabric panel upside down and place the frame on top. Align the fabric with the frame edges.
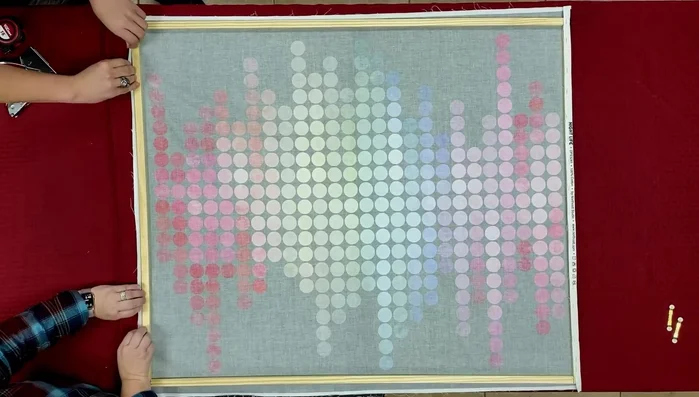
- Start stapling one side of the fabric to the frame, working your way down. Stretch the fabric evenly as you go.
- Repeat step 5 for the opposite side.
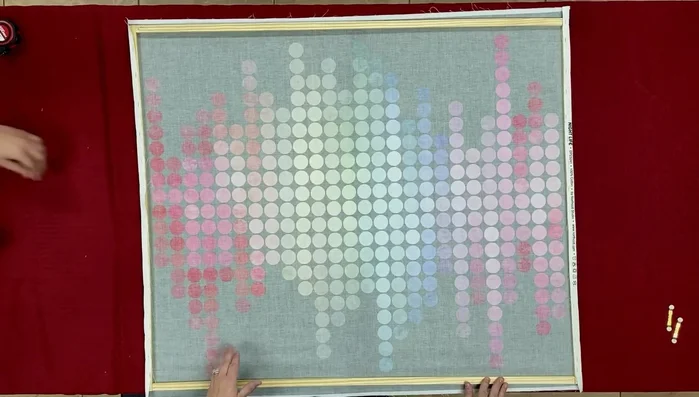
- Staple the top and bottom edges of the fabric to the frame, stretching the fabric evenly. Tuck the corners to create a neat finish and staple them securely.
Attach Fabric to Frame Secure and Finish
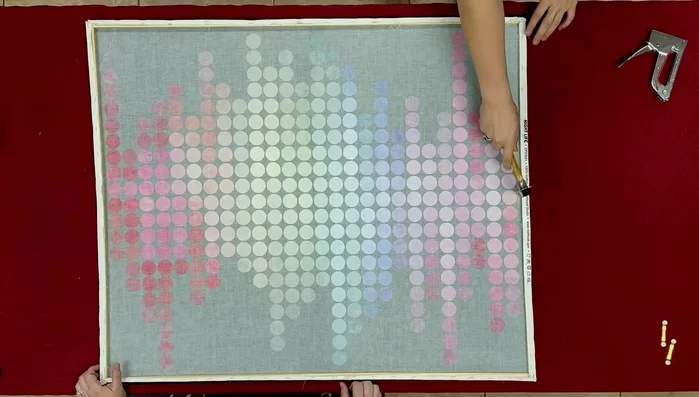
- Hammer down all the staples to secure them into the wood.
- Attach sawtooth picture hangers a couple of inches in from each corner of the frame.
Secure and Finish
Read more: Build a Giant Toy Box: DIY Playroom Organization
Tips
- Use a 5/16 inch staple for the frame.
- Space staples approximately three to four inches apart.
- Stretch the fabric evenly as you staple to prevent wrinkles and ensure a taut finish.
- Begin stapling the side with the least amount of fabric first to help with even stretching.
- Leave about two to three inches of fabric untucked at the corners for easier folding and stapling.