Escape the everyday and transform your backyard into a tranquil oasis with a DIY hammock pergola. Imagine yourself gently swaying in a hammock, surrounded by the calming sounds of nature, shielded from the sun's harsh rays by your own handcrafted pergola. This project offers a rewarding blend of creativity and relaxation, allowing you to design a personalized outdoor retreat that perfectly complements your existing landscape and style. Building your own pergola isn't as daunting as it might seem; with readily available materials and a little patience, you can create a stunning focal point for your garden.
This comprehensive guide provides a step-by-step process, complete with helpful diagrams and tips, to guide you through building your very own hammock pergola. From selecting the right materials and planning your design to the final assembly and finishing touches, we'll cover everything you need to know to create this beautiful and functional addition to your outdoor living space. Let's get started on building your personal slice of paradise!
Preparation and Safety Guidelines
- 8x8 rough cut cedar (12 feet long)
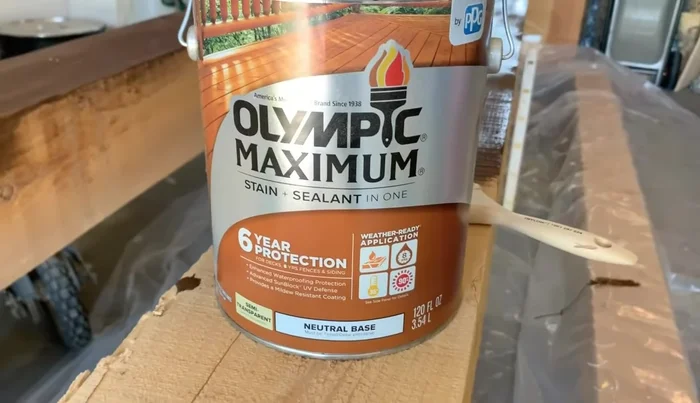
- Outdoor stain and sealant
- String
- Level
- Stakes
- Straps with crank
- String level (optional)
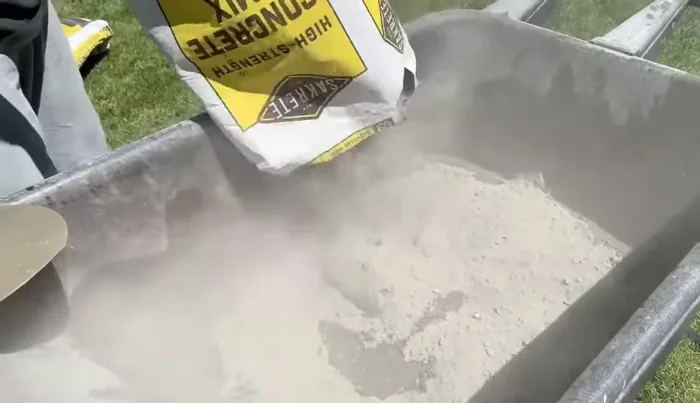
- Bags of concrete
- 2x8 (6 feet long)
- Miter saw
- Circular saw
- Lag screws (5/8 inch thick, 5 inches long)
- 10-inch lag screw
- Clamps
- 8x8 (40 inches long)
- Metal brackets
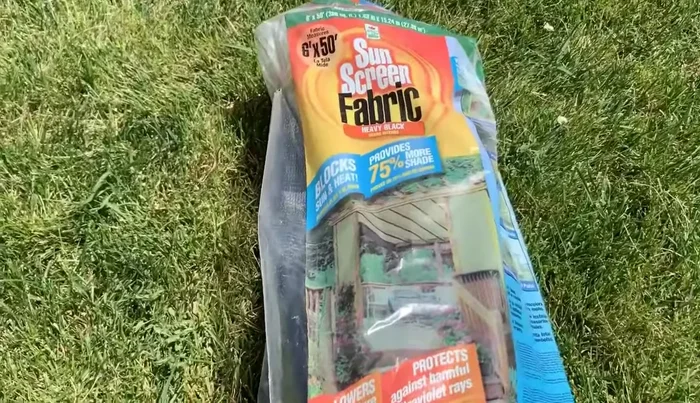
- Sunscreen fabric (6 feet wide)
- 2x4s (6 feet long)
- 3-inch wood screws
- Lag eye bolt (10 inch)
- Shovel
- Measuring tape
- Always ensure the pergola's posts are securely anchored in the ground using concrete footings. Improper anchoring can lead to collapse.
- Use pressure-treated lumber or other rot-resistant materials for all parts of the pergola, especially those in contact with the ground. This will significantly extend its lifespan.
- Follow all manufacturer's instructions for any hardware or fasteners you use. Incorrect installation can compromise structural integrity and lead to injury.
Step-by-Step Instructions
Prepare the Posts
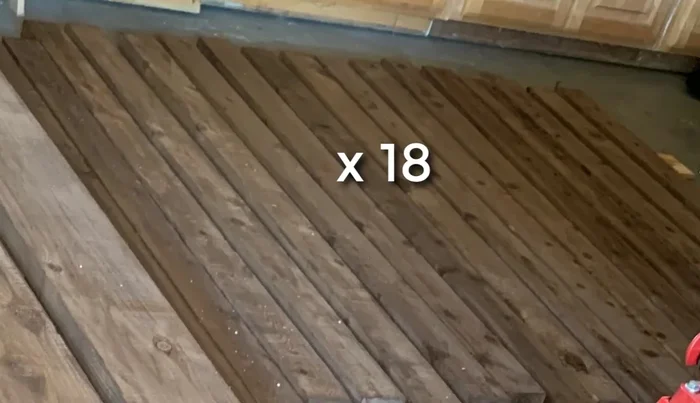
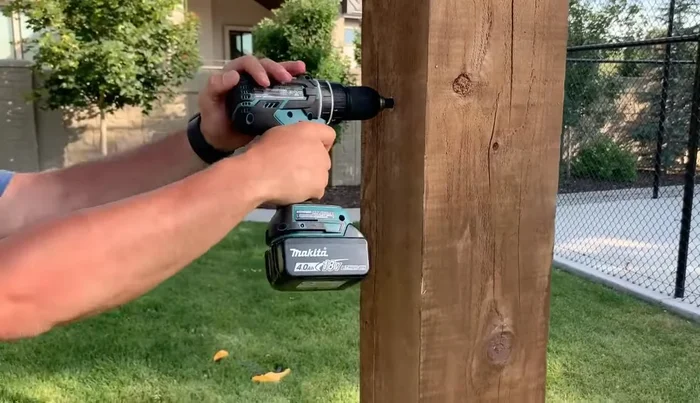
- Weatherproof and stain the 8x8 cedar post.
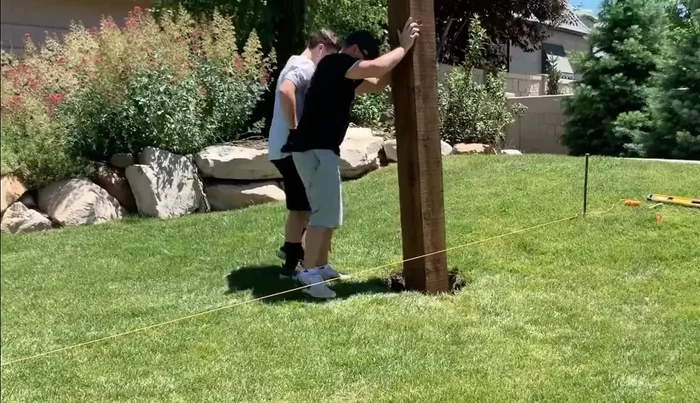
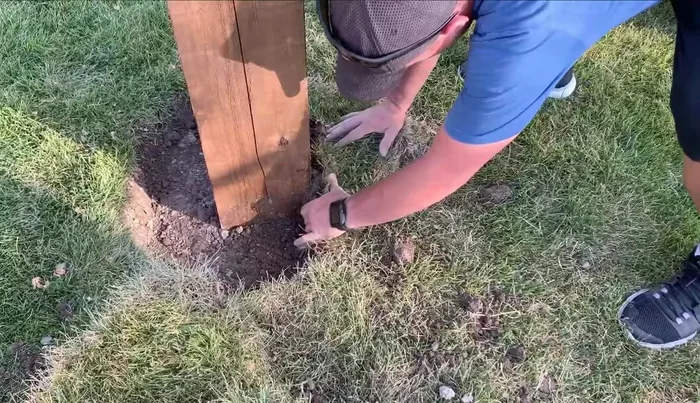
- Choose the location and dig holes (3-3.5 feet deep) for the posts.
- Set the first post in the hole, using stakes and straps to keep it level and square.
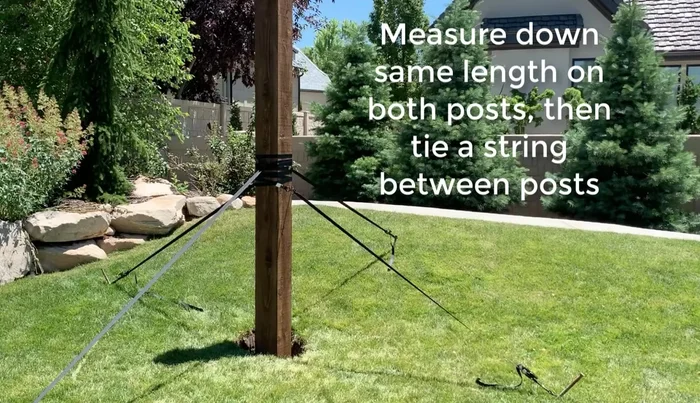
- Measure and level the second post to match the first post's height. Ensure the distance between the inside of the posts is 14 feet 2 inches.

Prepare the Posts - Fill the holes with concrete and let it set for a day.
Prepare the Posts Install Cross Braces and Angled Supports
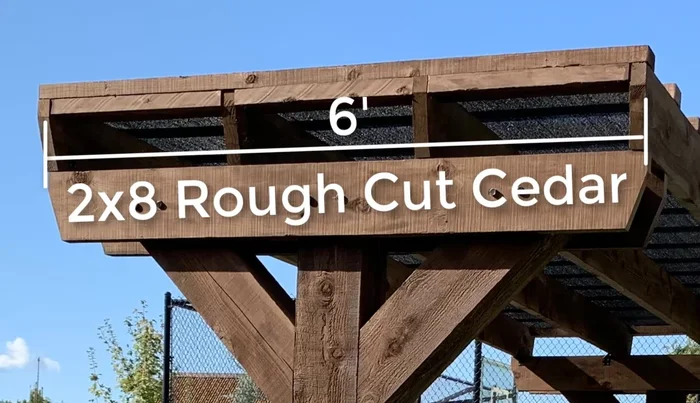
- Cut and stain the four 2x8 cross braces (6 feet long, with a corner cut for aesthetics).
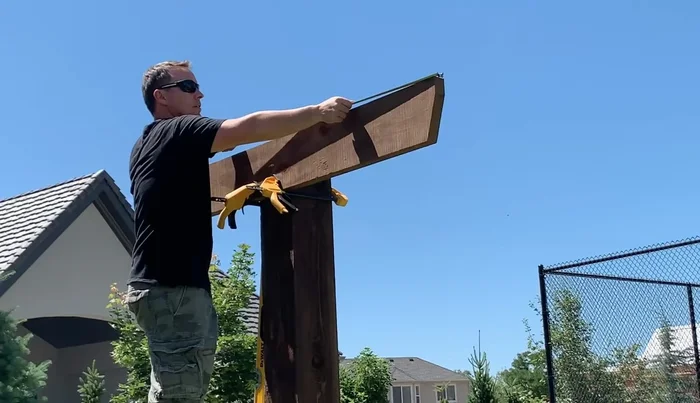
- Install the cross braces, ensuring they are centered and level.
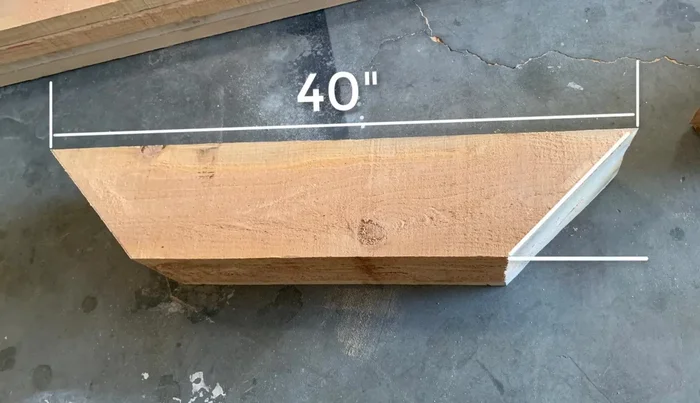
- Cut and stain the four angled supports (8x8, 40 inches long, 45-degree angles on both ends).
- Install the angled supports, ensuring they are level with the cross braces.
Install Cross Braces and Angled Supports - Install the inside cross braces.
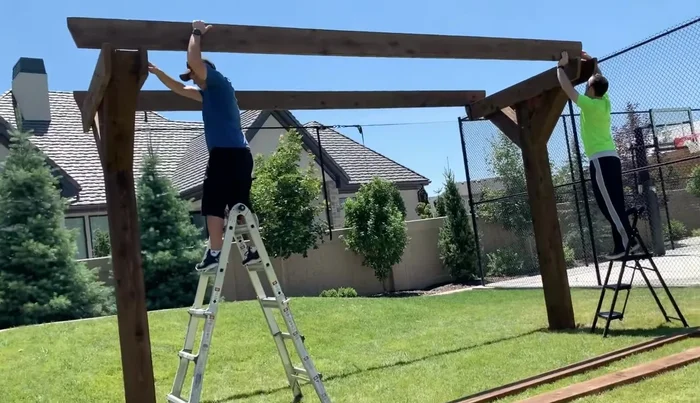
Install Cross Braces and Angled Supports Install Long Supports
- Cut and stain the four long supports (2x8, 16 feet long, with corner cuts).
- Ensure both sides of the pergola are the same length. Adjust if necessary using straps.
- Install the long supports, spacing them evenly and attaching with metal brackets.
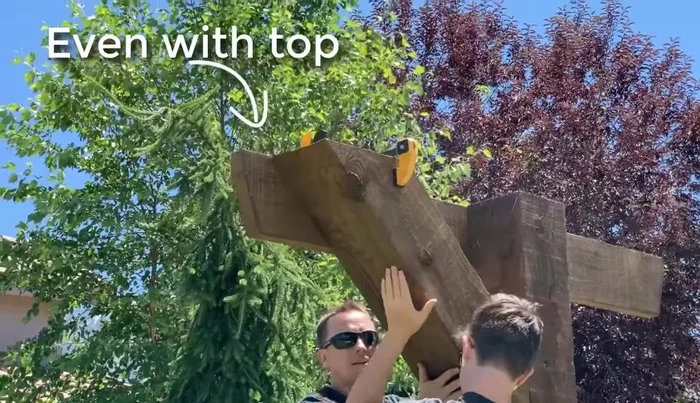
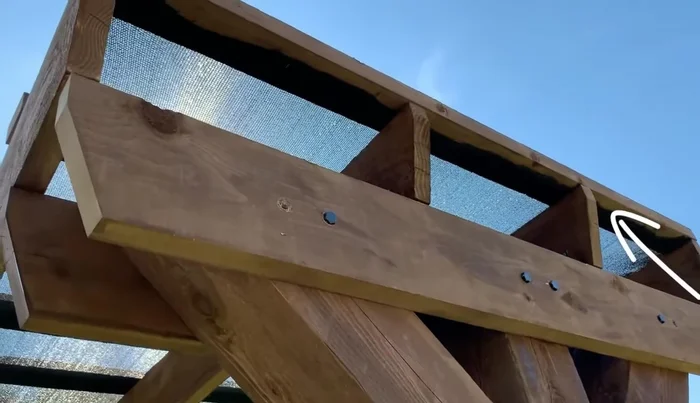
Install Long Supports Add Finishing Touches
- Install the sunscreen fabric, stapling it securely. Consider two layers for added strength and sun protection.
- Install the top boards (2x4s, 6 feet long), spacing them evenly and screwing them in place.
- Add 2x4 pieces to cover the cut ends of the screen fabric for a cleaner finish.
- Drill a hole for the lag eye bolt (10-inch) at about 4 feet 8 inches off the ground to hang the hammock.
Add Finishing Touches - Replace the grass and soil around the posts, water well.
Add Finishing Touches


Read more: Build a Sag-Proof Wood Fence Gate: The Ultimate DIY Guide
Tips
- Brush up drips of stain to avoid them showing in the final product.
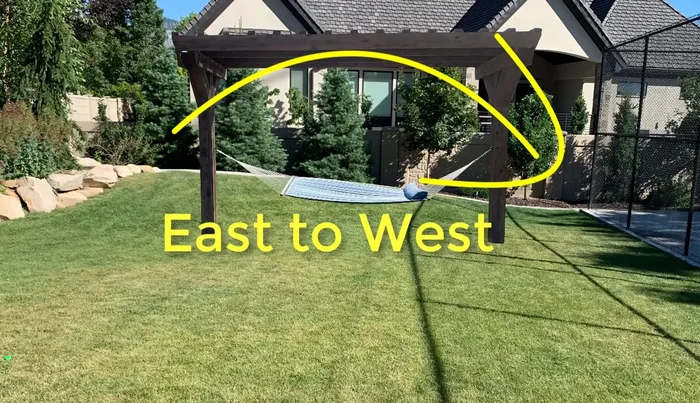
- Orient the pergola east-west for maximum shade.
- Use less water when mixing concrete for increased strength.
- Double-check level and squareness throughout the construction process.
- Use clamps where possible to make the installation easier.