Love the look of lush, hanging plants but intimidated by the price tag of store-bought planters? Fear not, green thumbs! This tutorial will show you how to craft your own adorable and incredibly affordable hanging planter, transforming ordinary materials into charming additions to your home décor. Whether you're a seasoned DIY enthusiast or a complete beginner, this project is surprisingly simple and requires minimal tools and supplies – perfect for a relaxing weekend project or a quick burst of creative energy. You'll be amazed at how much personality you can inject into your space with a little bit of ingenuity and these easy-to-follow instructions.
Forget expensive, mass-produced planters; let's get crafty and create something truly unique! We'll guide you through each step, from gathering the necessary materials to proudly displaying your finished masterpiece. Get ready to unleash your inner artist and create a stunning hanging planter that will elevate your home's aesthetic. Ready to get started? Let's dive into the step-by-step process!
Preparation and Safety Guidelines
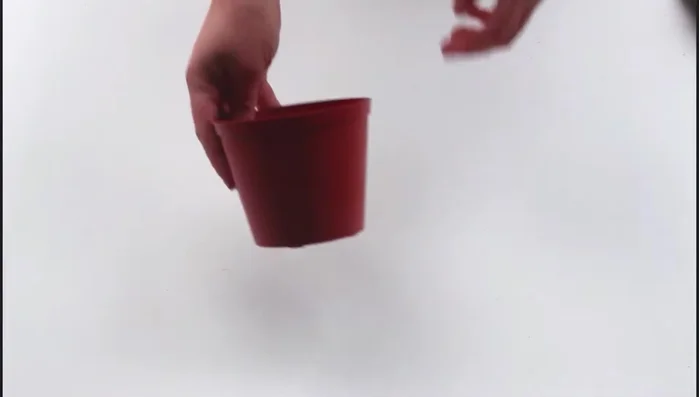
- Planter (Dollar store)
- Gold metallic spray paint (Walmart)
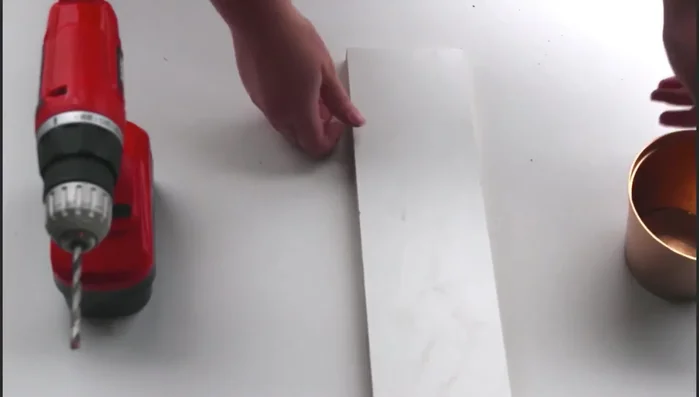
- Drill
- Piece of wood or hard surface
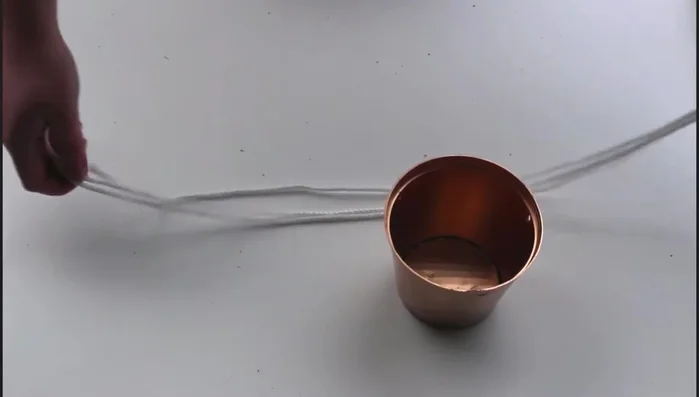
- Rope
- Scissors
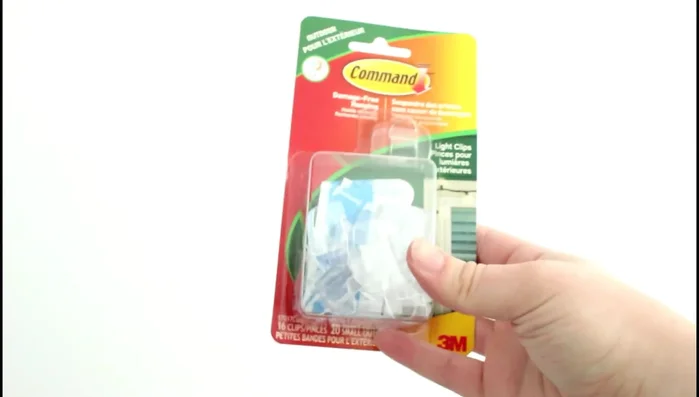
- Damage-free hanging light clips
- Circular piece of cardboard
- Always ensure the hanging mechanism is strong enough to support the weight of the planter and its contents. Overfilling can lead to accidents.
- Use appropriate materials for hanging. Avoid materials that could rot or weaken over time, especially if placed outdoors.
- Position your hanging planter away from areas with high foot traffic to prevent accidental damage or injury.
Step-by-Step Instructions
Gather Supplies
- planter, spray paint, drill, wood/hard surface, rope, scissors, hanging clips, cardboard.
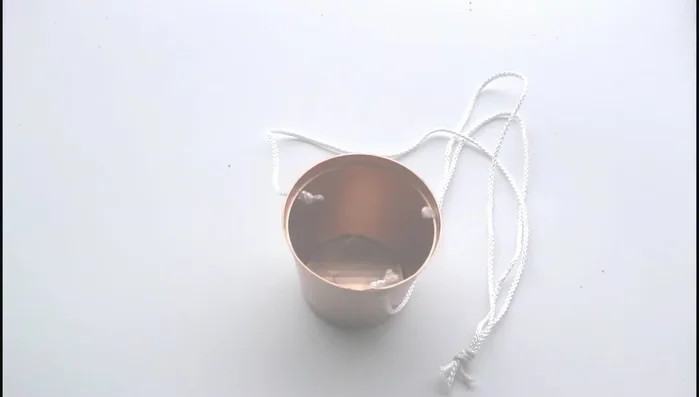
Prepare the Planter
- Spray paint the planter completely. Add cardboard to the bottom for drainage.

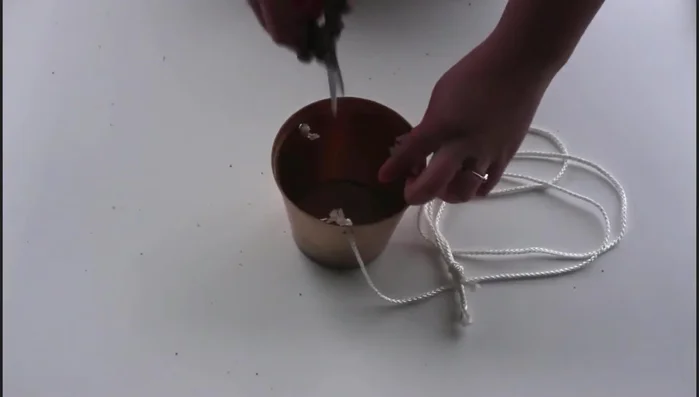
Prepare the Planter Mark and Drill Holes
- Mark three evenly spaced dots on the planter where you'll drill holes for the ropes.
- Drill holes at the marked spots using the drill and a hard surface.
Mark and Drill Holes Prepare the Hanging Ropes
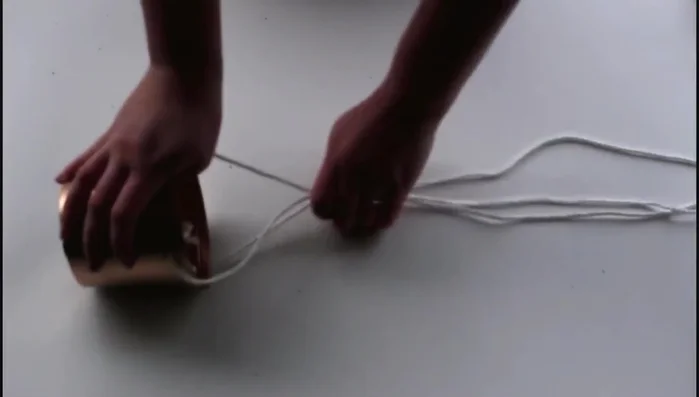
- Measure and cut three equal-length pieces of rope.
Prepare the Hanging Ropes Attach Ropes to Planter
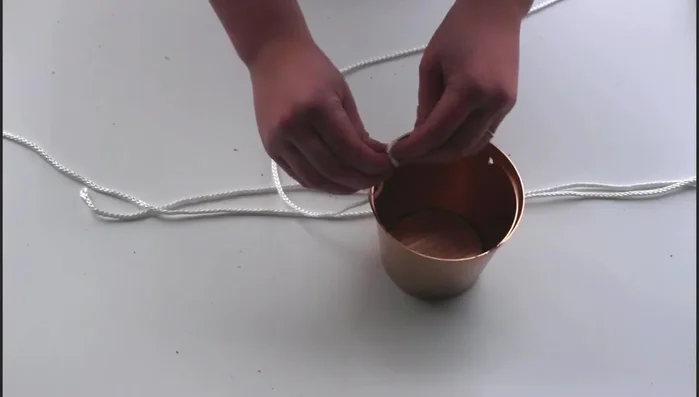
- Thread the ropes through the holes in the planter.
Attach Ropes to Planter Hang the Planter
- Pull the ropes tight to ensure the planter hangs level.
- Trim the ends of the ropes for a neat look.
- Attach damage-free hanging light clips to the ceiling.
- Hang the planter using the ropes and clips.
Hang the Planter
Read more: Ultimate Guide to Harmonious Bedroom Furniture Arrangement
Tips
- Use a circular piece of cardboard at the bottom to prevent water from damaging your surface.
- Ensure the holes for the ropes are evenly spaced for a balanced hang.
- Trim the rope ends for a cleaner appearance.