Adding charming and functional storage to your home doesn't have to break the bank or require advanced carpentry skills. With just a few readily available materials and a little elbow grease, you can craft a beautiful DIY hanging shelf that perfectly complements your existing décor. This project is ideal for beginners, offering a satisfying blend of creativity and practicality. Forget expensive, mass-produced shelves; you'll be surprised at how easy it is to create a unique piece that reflects your personal style.
This easy rope and wood hanging shelf tutorial guides you through each step, from selecting the right materials to securely hanging your finished creation. Whether you're looking to add extra storage in a small space, showcase cherished plants, or simply add a touch of rustic elegance to your room, this project is perfect for you. Let's get started with the simple, step-by-step instructions below!
Preparation and Safety Guidelines
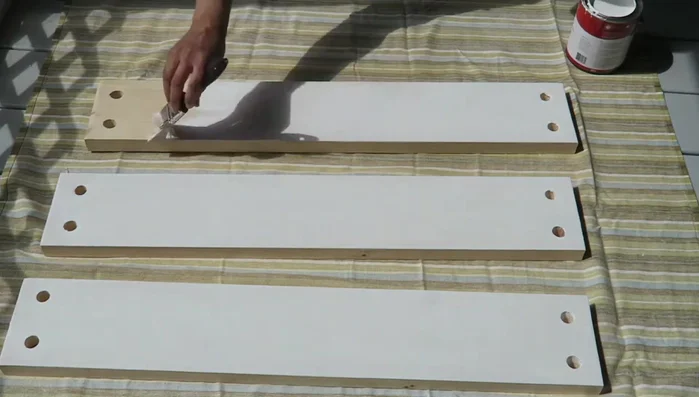
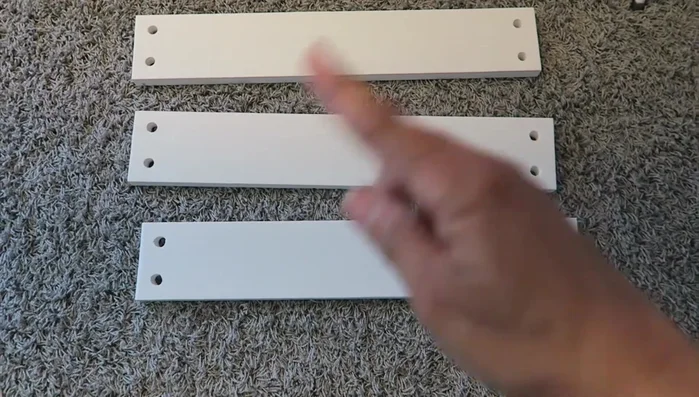
- Three 32-inch long boards
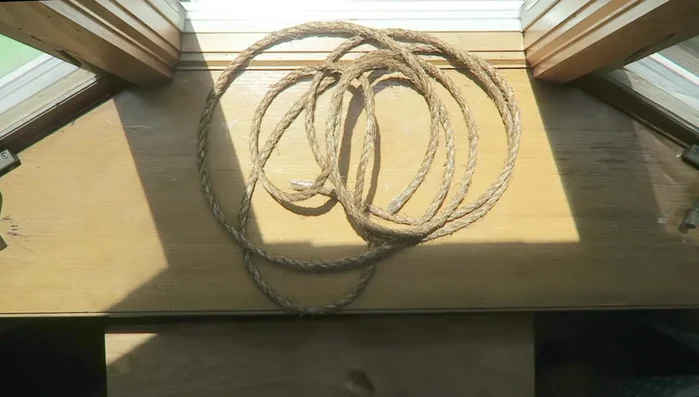
- Rope (18 feet each, two pieces)
- Hooks
- Glue
- Twine
- Drill with 3/4 inch bit
- Rubber band
- Level
- Ensure the rope is rated for the weight you intend to place on the shelf. Use a rope with a high weight capacity, and consider the combined weight of the shelf, the items you plan to display, and the rope itself.
- Securely fasten the knots at both ends of the rope to prevent slippage. Use appropriate knotting techniques (e.g., a bowline knot) and double-check their tightness before hanging the shelf.
- Inspect the wall or ceiling where you will hang the shelf to ensure it can support the weight. Avoid hanging the shelf in areas with fragile drywall or plaster.
Step-by-Step Instructions
Prepare the Hanging Ropes
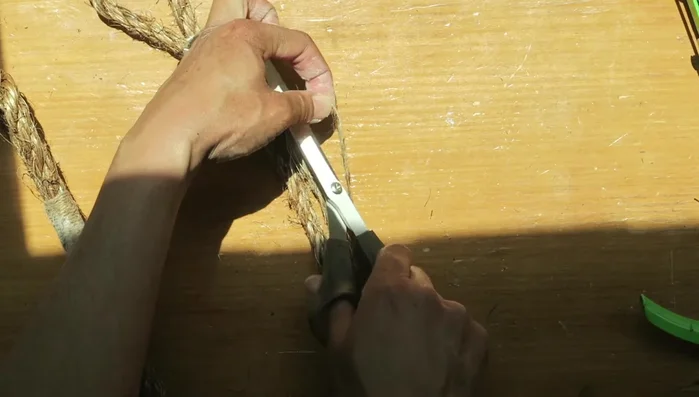
- Double each 18-foot rope, creating a loop at the top. Secure the loop with glue and twine.
- If using ropes of varying thicknesses, combine sections of different ropes to achieve a consistent look (gluing and wrapping with twine).

Prepare the Hanging Ropes Prepare the Wood Shelves
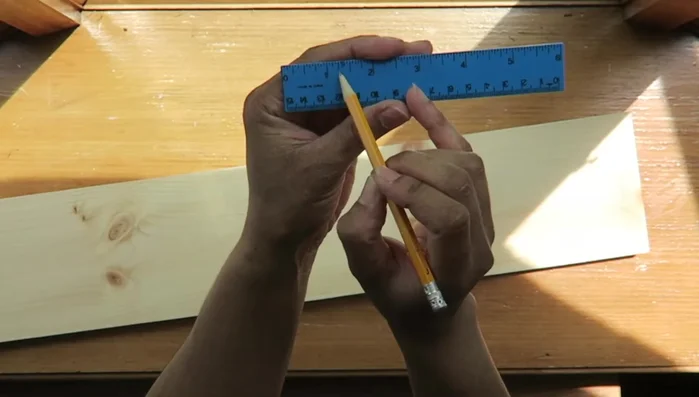
- Drill two 3/4-inch holes on each end of the boards, slightly more than 1 1/4 inches apart, ensuring the holes are centered.
- Paint the boards while the rope is hanging to get a sense of the shelf's placement.
Prepare the Wood Shelves Mark Wall and Attach Ropes
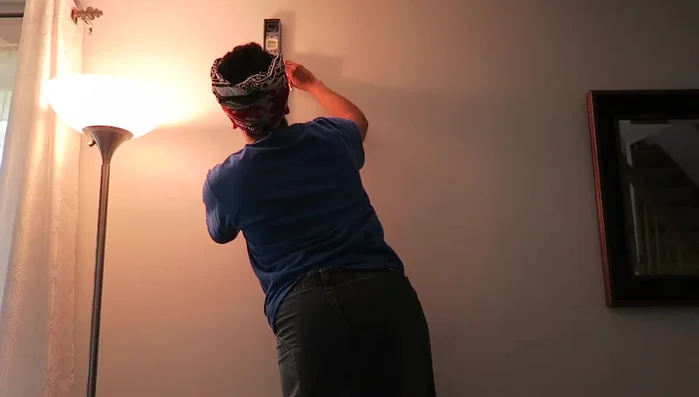
- Mark the wall where you want to place the shelf. Indicate hook positions.
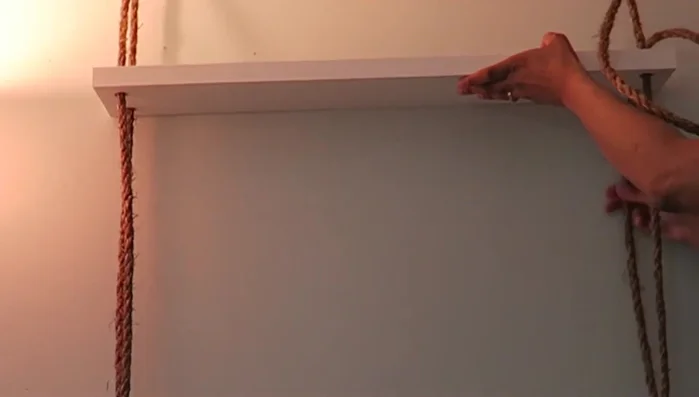
- Securely tie the prepared rope loops to the holes in the boards. Use a level to ensure even hanging.
Mark Wall and Attach Ropes Hang the Shelf
- Hang the finished shelf using the hooks on the wall.
Hang the Shelf
Read more: Ultimate Guide to Harmonious Bedroom Furniture Arrangement
Tips
- Use a rubber band to help determine the even placement of the rope loop before gluing.
- A level is crucial for ensuring your shelf hangs straight.