Building your own bunk bed can seem daunting, but with the right plan and a little elbow grease, it's a surprisingly achievable project. Not only will you save a significant amount of money compared to buying a pre-made bunk bed, but you'll also gain the satisfaction of creating a unique piece of furniture perfectly tailored to your space and needs. This DIY project offers the added advantage of incorporating optimized storage solutions, maximizing functionality in even the smallest bedrooms. Imagine the clever shelving, hidden drawers, and clever cubbies you can build in!
Forget about generic, mass-produced bunk beds; this guide will walk you through each step of the process, from selecting the right materials to the final touches of sanding and finishing. Let's dive into our detailed, step-by-step guide to crafting a sturdy, stylish, and incredibly practical bunk bed bursting with smart storage ideas.
Preparation and Safety Guidelines
- 2x4s
- Plywood (3/4 inch)
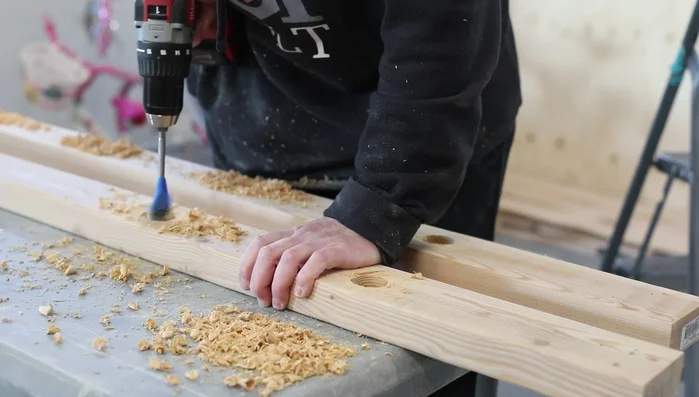
- Pocket hole jig
- Circular saw
- Jigsaw
- Straight edge clamping system
- 90-degree clamp
- Primer
- Paint
- Cedar pickets
- Concealed hinges
- Ball bearing slides
- Screws
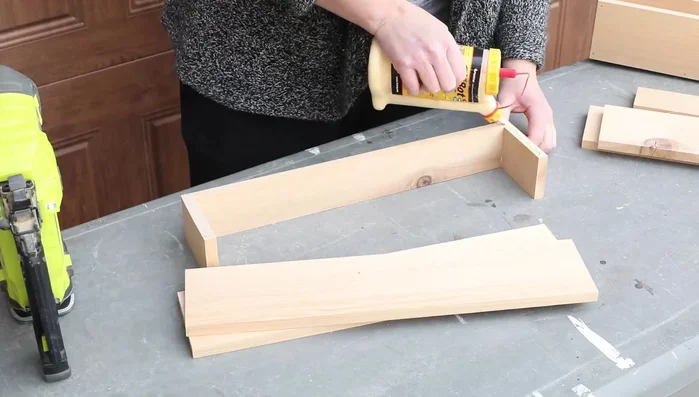
- Glue
- Dowels
- Ladder materials
- Cedar shingles
- Trim
- Always use strong, pressure-treated lumber and secure all joints with appropriate fasteners (screws, bolts, and wood glue) to ensure stability and prevent collapse. Regularly check for looseness and retighten as needed.
- Ensure the bunk bed meets or exceeds all relevant safety standards and building codes, particularly regarding guardrail height and spacing. Guardrails must be a minimum of 5 inches high to prevent falls. Secure all guardrails to prevent separation.
- Never allow children to play, jump, or climb on the bunk bed, and always supervise children while they are using it. Make sure the bed is placed away from windows or other hazards.
Step-by-Step Instructions
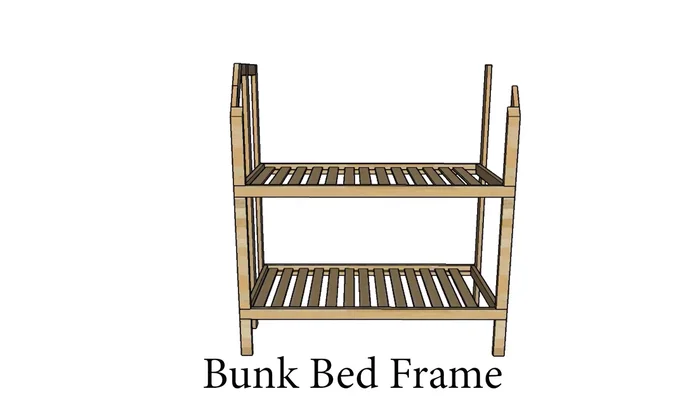
Frame Construction
- Create a basic frame with a 60-degree angled top for the pitched roof. Front windows are popped out for design.
- Secure the frame using 2.5-inch screws and ensure it's square.

Frame Construction Mattress Support Installation
- Securely fasten the mattress supports to the bed rails with glue and screws.
Mattress Support Installation House Shell Creation
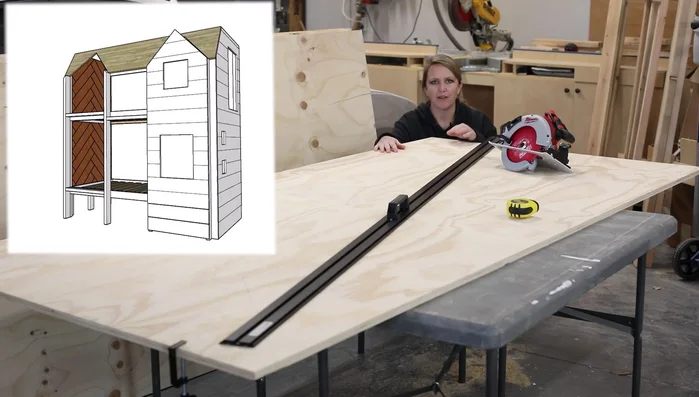
- Use 3/4-inch plywood for the house structure. Use a straight edge clamping system and circular saw for efficient cutting of unique shapes.
- Use a circular saw with a shallow depth to create the shiplap appearance on the exterior panels. Note considerations for blade distance and cutting direction.
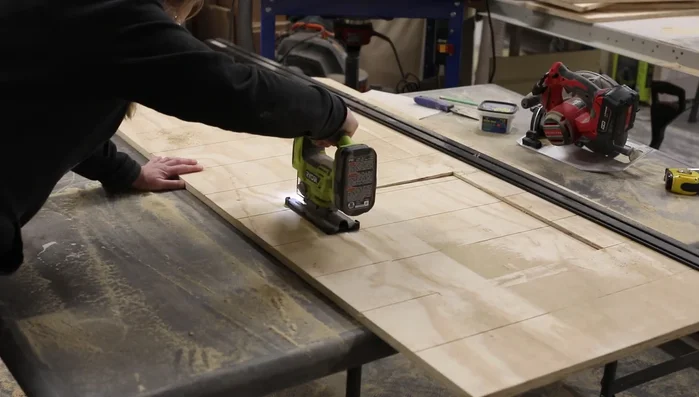
- Use a straight edge and circular saw for the majority of the window cuts and a jigsaw for the corners.
- Use a 90-degree clamp to ensure square cuts while assembling the eaves.
House Shell Creation Finishing and Painting
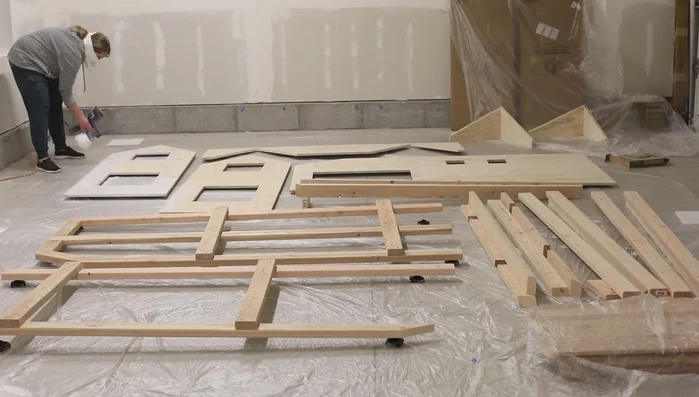
- Apply two coats of primer, sanding between coats, followed by a coat of satin finish paint to all pieces.
Finishing and Painting Bed Frame Assembly
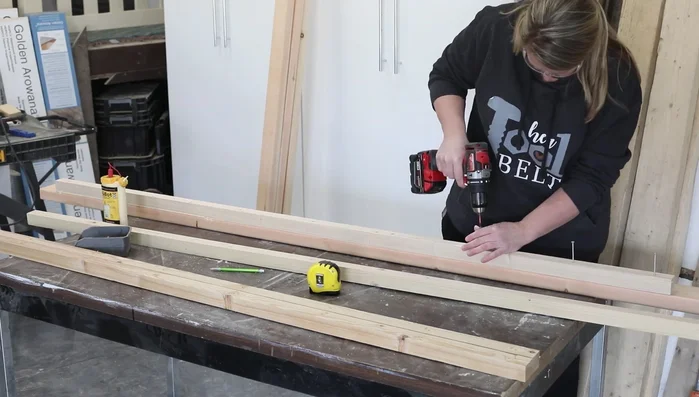
- Assemble the bed frame in sections, using clamps for support until screws can be added.
- Connect the headboard, footboard, and bed rails. Secure the panels, roof, and eaves with screws.
Bed Frame Assembly Headboard Installation
- Install cedar pickets in a herringbone pattern on the headboard; plane pickets smooth and cut to size.
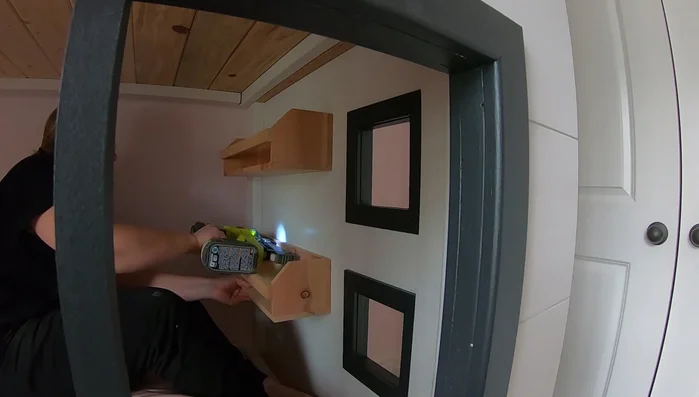
Headboard Installation Hidden Access Installation
- Use a jig to easily install concealed hinges on the front panels for easy access to the bed.
Hidden Access Installation Trim and Detailing
- Add trim to windows and doors for a modern farmhouse look.
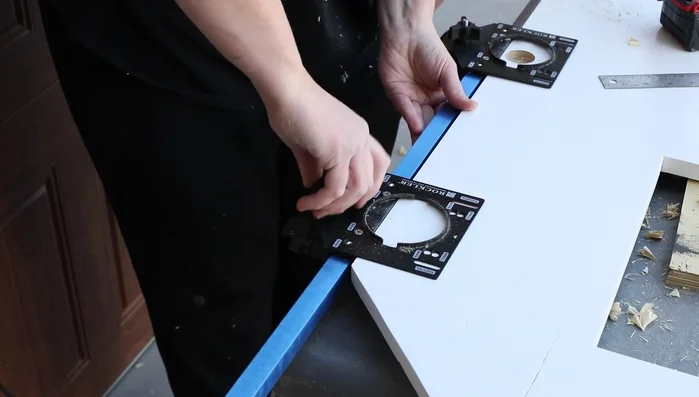
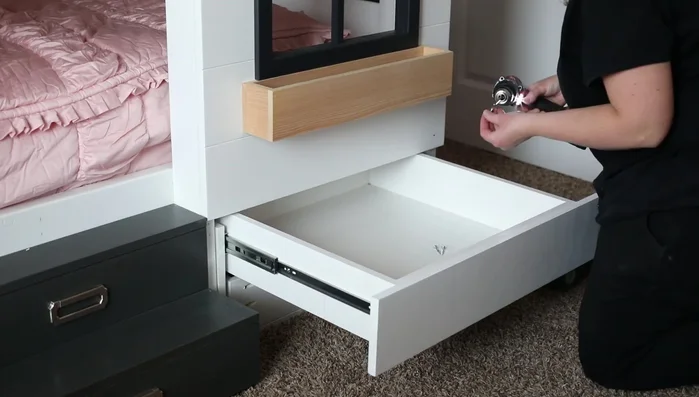
Drawer Construction and Installation
- Build simple drawers using pocket holes for assembly. Attach ball bearing slides for smooth operation.
- Install drawer fronts to match shiplap panel style.
Drawer Construction and Installation Ladder Construction and Installation
- Build and attach the ladder using 2x4s and dowels.
Ladder Construction and Installation Exterior Additions
- Build and attach simple cedar flower boxes and a timber portico/pergola.
Exterior Additions Top Bunk Support
- Install tongue and groove boards for top bunk mattress supports.
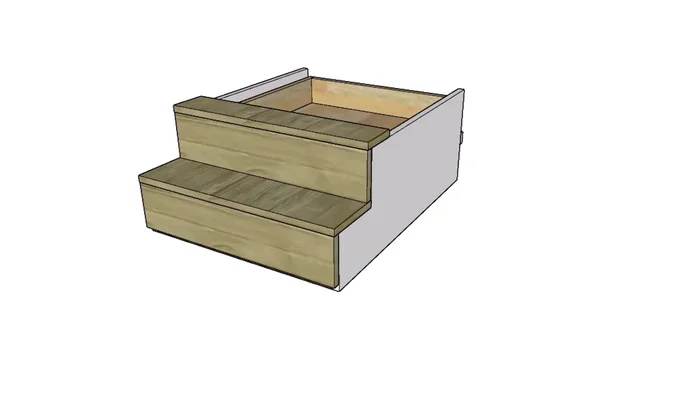
Top Bunk Support Shelving Installation
- Add simple cedar shelves at the foot of the bed.
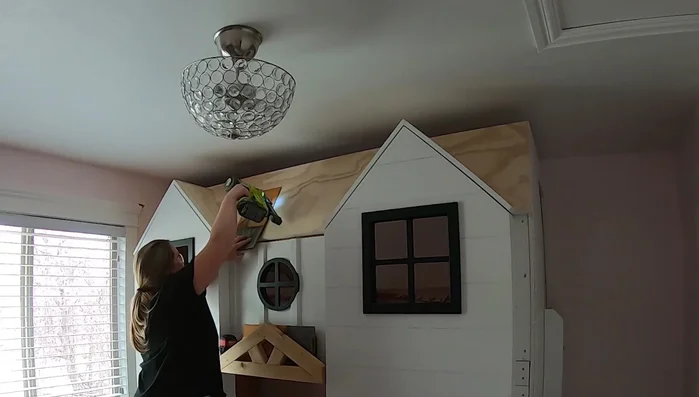
Shelving Installation Roofing
- Add weathered cedar shingles to the roof.
Roofing


Read more: Build a Giant Toy Box: DIY Playroom Organization
Tips
- Use a straight edge clamping system for precise cuts on the plywood.
- Consider using a scroll saw for intricate circle cuts instead of a circular saw.
- Pre-plan cuts to minimize plywood waste.
- Use concealed hinges for adjustability and forgiveness during installation.
- Use ball bearing slides for smooth and strong drawer operation.