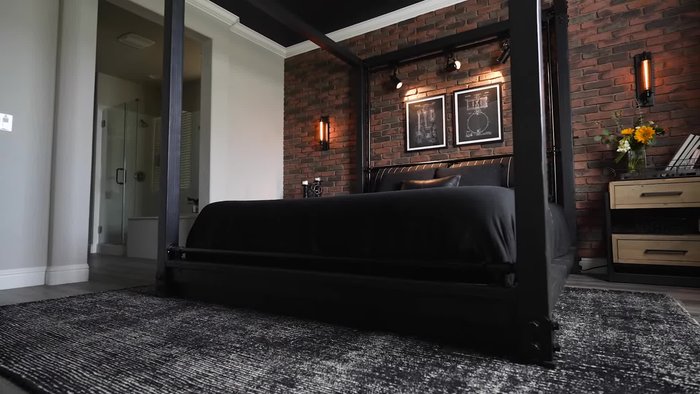
Transform your bedroom into an industrial chic haven with this comprehensive guide to building a DIY canopy bed featuring integrated directional lighting. Forget overpriced, mass-produced furniture; this project empowers you to craft a unique, statement piece tailored perfectly to your space and style preferences. The satisfying blend of raw materials and modern functionality creates a dramatic focal point, adding both character and practicality to your sleeping sanctuary. Imagine waking up gently bathed in the soft glow of custom-placed lighting, all seamlessly integrated into your handcrafted bed frame.
This detailed tutorial will walk you through each stage of construction, from sourcing materials and cutting the metal to wiring the lights and assembling the frame. We'll cover everything you need to know to successfully build this stunning and functional bed, regardless of your prior DIY experience. Let's dive into the step-by-step process and create your dream industrial canopy bed.
Preparation and Safety Guidelines
- 4x4 Doug fir lumber
- Exterior pergola corner brackets
- Decking post bases
- Twin saddles
- Pipe fittings (1-inch)
- Flanges
- Directional wall lights
- Paint (satin black)
- Wood filler
- Bondo
- Sandpaper (80, 180, 220 grit)
- Jigsaw
- Rotary tool with routing blade
- Drill (with mini drill press attachment)
- Clamps
- Screws (various sizes)
- Allen wrench
- Circular saw
- Pocket hole jig
- Contour gauge
- Furniture levelers
- Wire nuts
- Romex wire
- Dimmer switch
- Paint rollers
- Drop cloths
- Painters tape
- Step drill bit
- Flexible wire tubing
- Square aluminum stock
- Always ensure that electrical wiring is correctly installed and meets all local building codes. Improper wiring can lead to fire or electric shock. Consult a qualified electrician if you are unsure about any aspect of the electrical work.
- Use appropriate safety equipment, such as eye protection and work gloves, throughout the entire construction process. Power tools can cause serious injury if not handled correctly.
- Securely fasten all components, especially the bed frame and lighting fixtures, to prevent collapse or accidental detachment. Ensure all screws and bolts are tightened appropriately.
Step-by-Step Instructions
Planning and Preparation
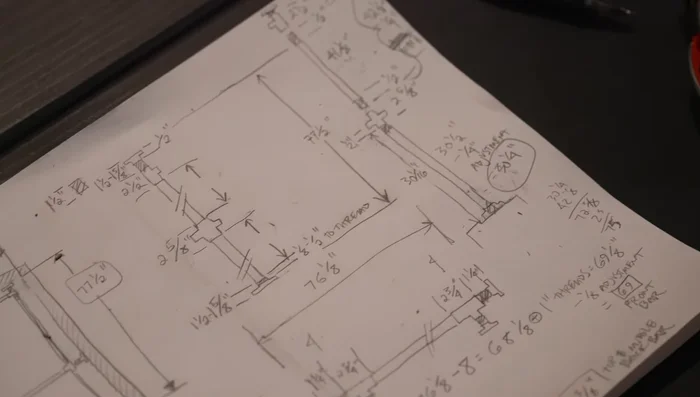
- Create a mock-up using painter's tape and gather measurements. Transpose to a visual mock-up in Illustrator.
- Move and center the ceiling fan.
- Paint ceiling vents and covers black. Retrofit recessed lights with black trim.

Planning and Preparation Frame Construction
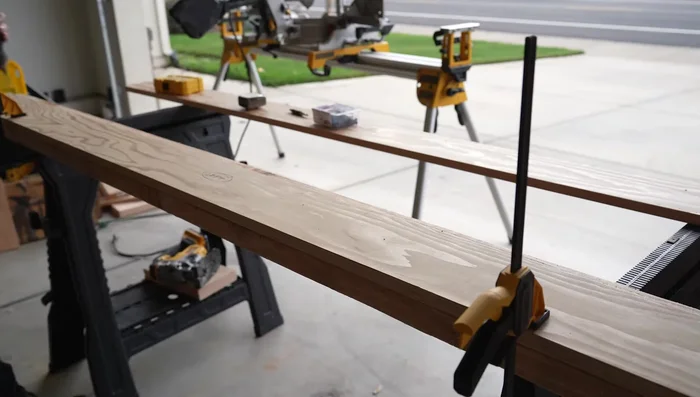
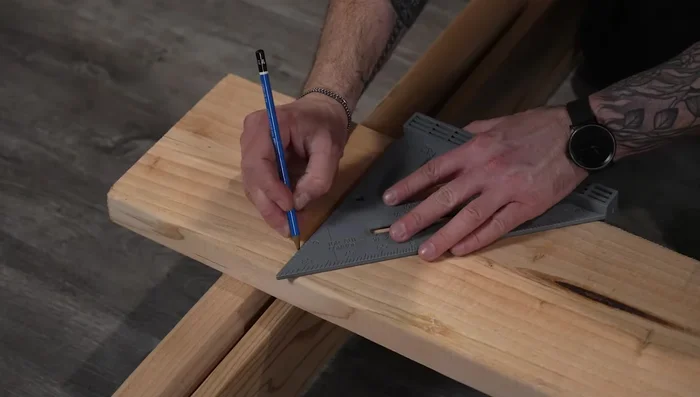
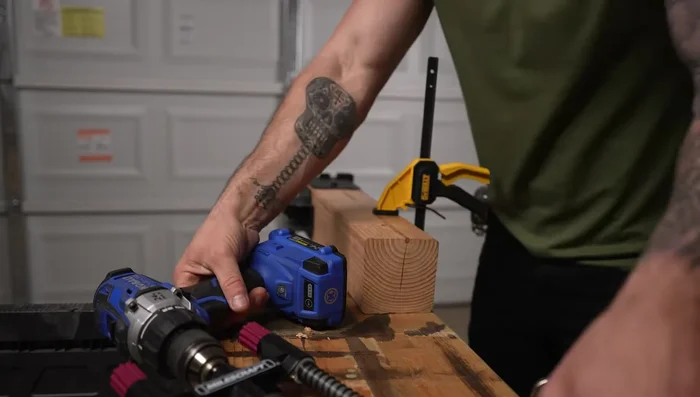
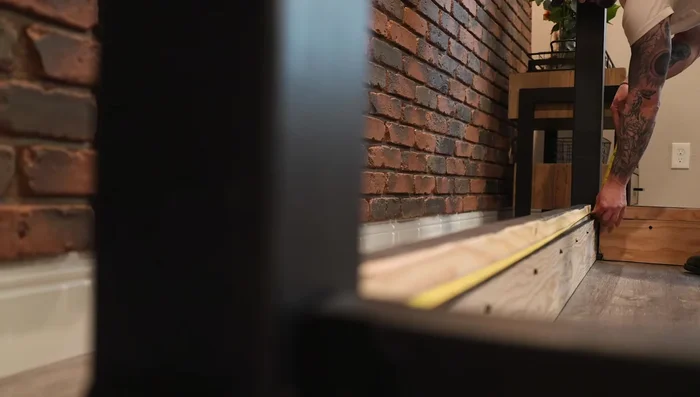
- Select dried Doug fir lumber. Cut posts and rails. Create a mock-up in the garage to test hardware attachment.
- Assemble the bed frame using post bases and 2x4 rails.
- Assemble the frame inside to check level and scale. Add 1x6 skirt around the base.
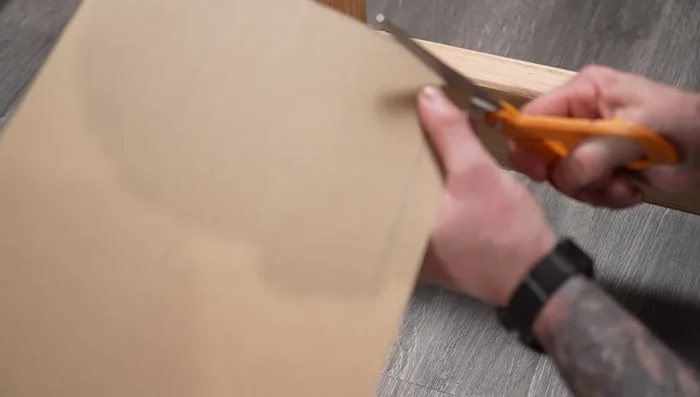
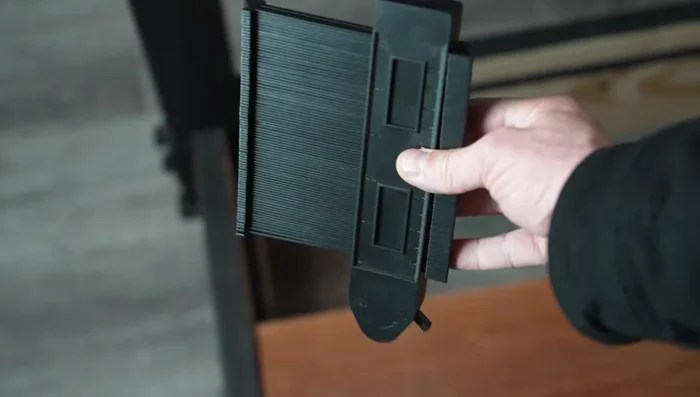
- Cut and shape the 1x6 skirts to fit around the post bases. Use cardstock templates.
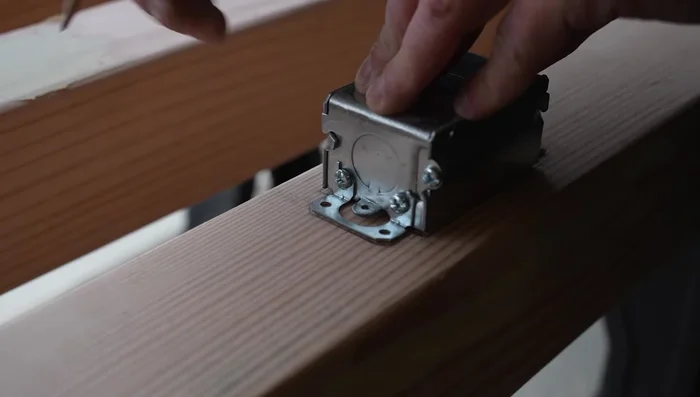
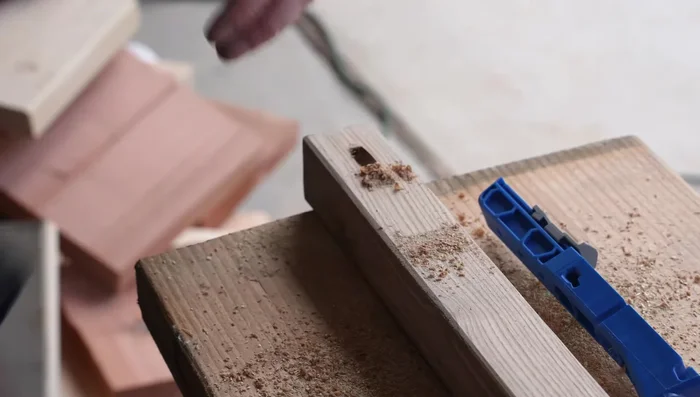
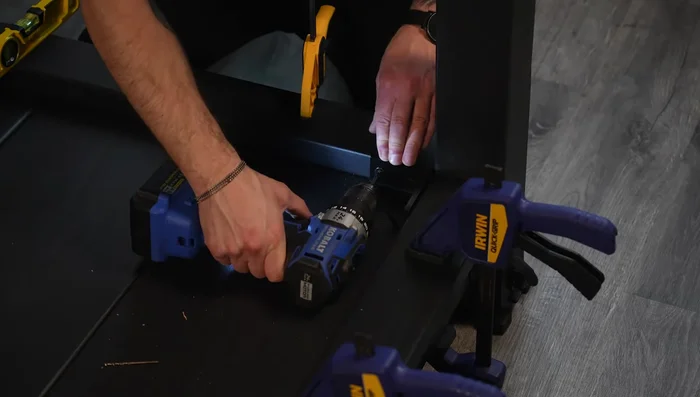
Frame Construction - Drill pilot holes in the skirts for attaching to the rails. Route out saddle shapes in the skirts.
- Assemble the skirt support structure.
- Trim posts to desired height.
- Attach corner brackets to the tops of posts; drill pilot holes for bolts.
Frame Construction Surface Finishing
- Fill surface imperfections with wood filler and Bondo.
- Determine dimmer switch location; route out recess for electrical box.
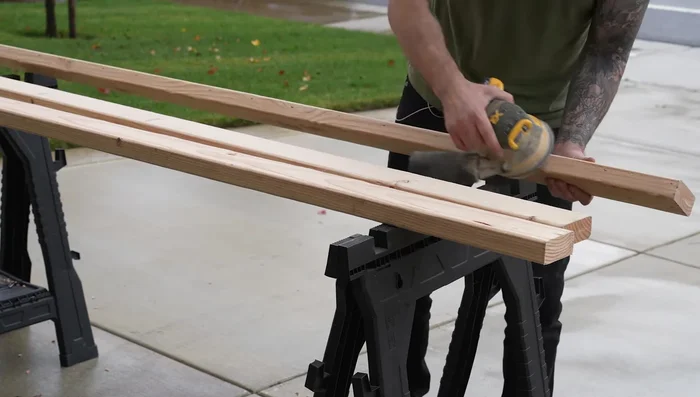
- Sand all surfaces (80, 180, 220 grit). Clean surfaces.
- Paint all wood pieces with two coats of satin black paint.
Surface Finishing Frame Assembly and Adjustment
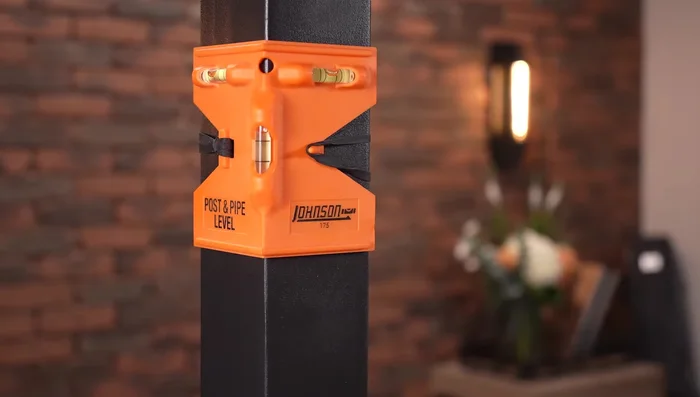
- Assemble the bed frame, hand-tightening screws initially.
- Level posts and fully tighten screws.
Frame Assembly and Adjustment Skirt Installation
- Attach skirts to the frame.
Skirt Installation Beam and Slat Installation
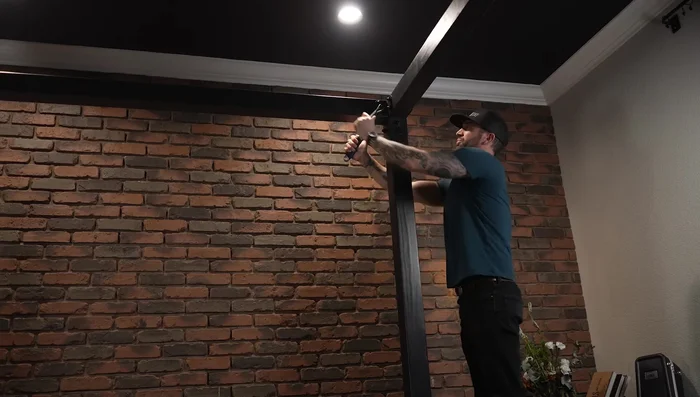
- Assemble beams and attach to the posts.
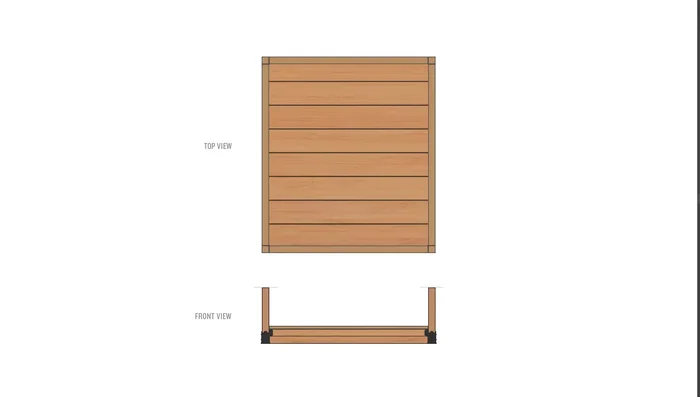
- Cut and shape slats to fit.
- Make and attach legs.
- Attach center support.
Beam and Slat Installation - Rip down slat; sand and paint.
- Attach slats to skirts and support.
- Add trim; attach to posts and slats.
Beam and Slat Installation Electrical and Lighting Installation
- Route channel for power cord in post.
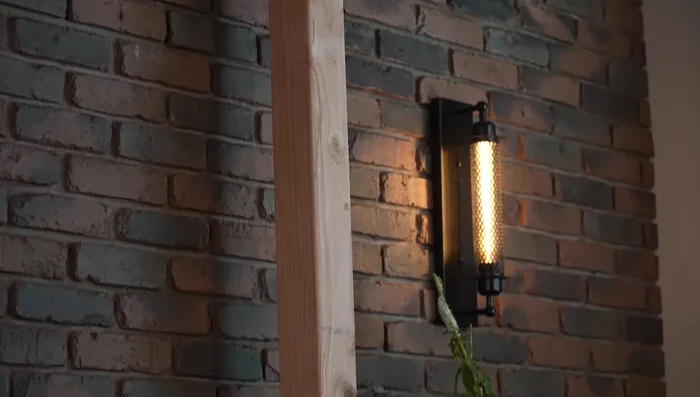
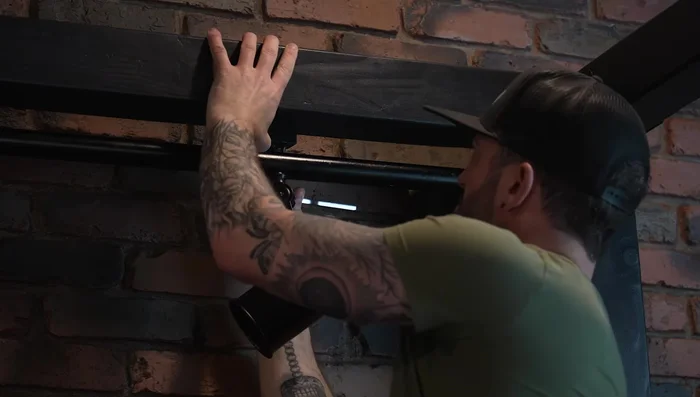
- Assemble pipe lighting accents.
- Wire lights; attach to pipe.
- Attach pipe assembly to bed frame; connect wiring to dimmer switch.
Electrical and Lighting Installation Final Touches
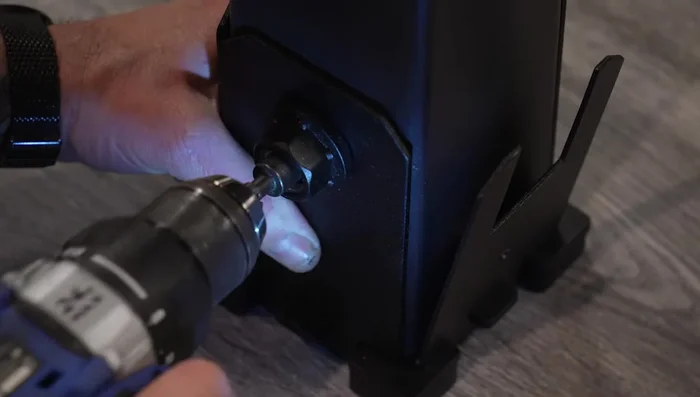
- Tighten all bolts and nuts.
- Add decorative touches (artwork, etc.).
Final Touches


Read more: Ultimate Guide to Harmonious Bedroom Furniture Arrangement
Tips
- Don't try to save a trip to the hardware store by using a sanding bit to replace a broken routing blade; you'll just make a lot of smoke.