Tired of cramped closets and disorganized clothes? Dreaming of a stylish and functional wardrobe that perfectly fits your space and budget? Then building your own DIY modular wardrobe closet might be the perfect solution! This project offers a fantastic opportunity to unleash your inner designer and create a personalized storage system tailored to your exact needs and aesthetic preferences. Forget expensive, pre-fabricated solutions that often fall short of expectations; this guide empowers you to take control and build a closet you'll love for years to come.
This step-by-step guide will walk you through the entire process, from initial planning and material selection to the final assembly and finishing touches. Whether you're a seasoned DIY enthusiast or a complete beginner, we'll provide clear instructions and helpful tips to ensure a successful and enjoyable building experience. Let's dive in and transform your storage space from cluttered chaos to organized elegance!
Preparation and Safety Guidelines
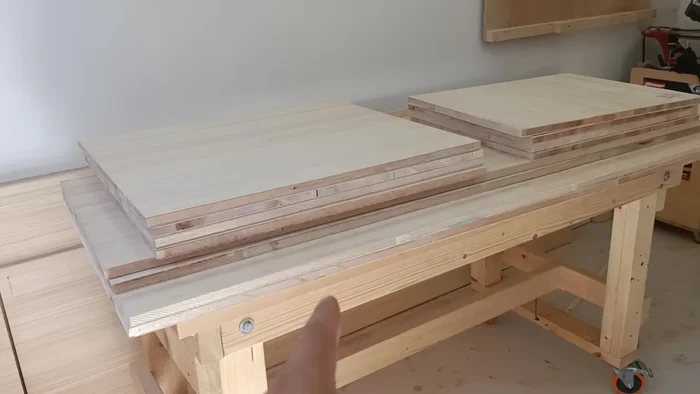
- 18mm plywood
- 18mm melamine board
- 1/4" backboard
- top rail
- bottom rail
- sliding mechanism wheels
- guides
- aluminum hanger
- concealed hinges
- adjustable feet
- wall putty
- wood glue
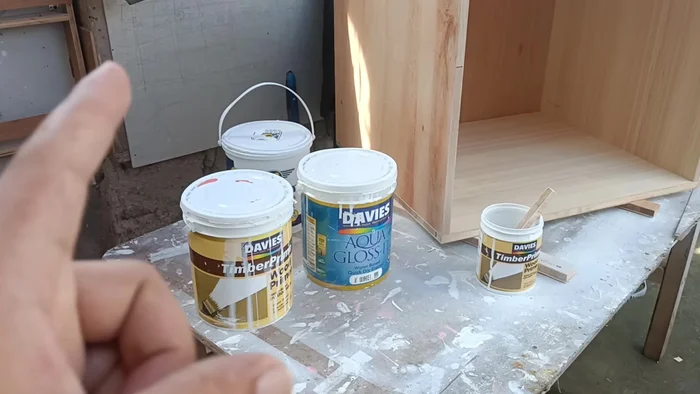
- Davis Timber Prime wood primer
- Davis aqua gloss
- Always ensure the wardrobe's weight is evenly distributed on the floor and wall supports to prevent tipping or collapse. Use appropriate anchors and fasteners for your wall type.
- Wear safety glasses and gloves when using power tools or handling sharp materials. Follow all manufacturer's instructions for tools and materials.
- Before drilling into walls, check for electrical wiring and plumbing to avoid damage and potential injury. Use a stud finder to locate wall studs for secure fastening.
Step-by-Step Instructions
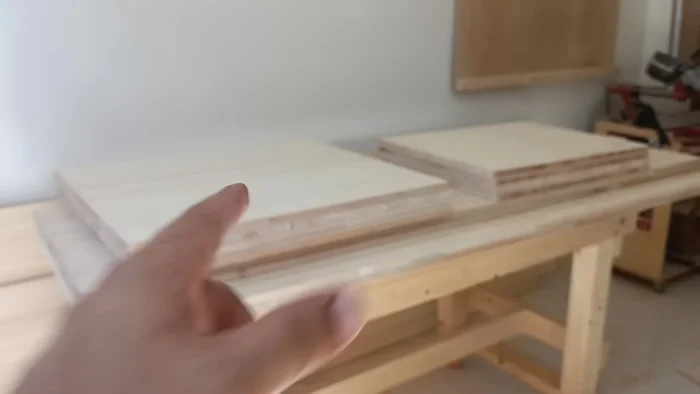
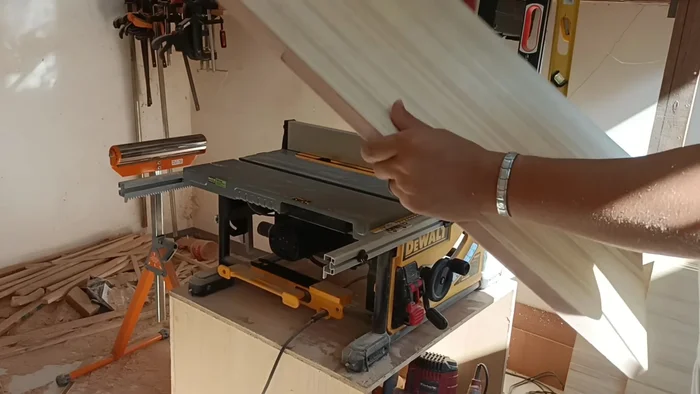
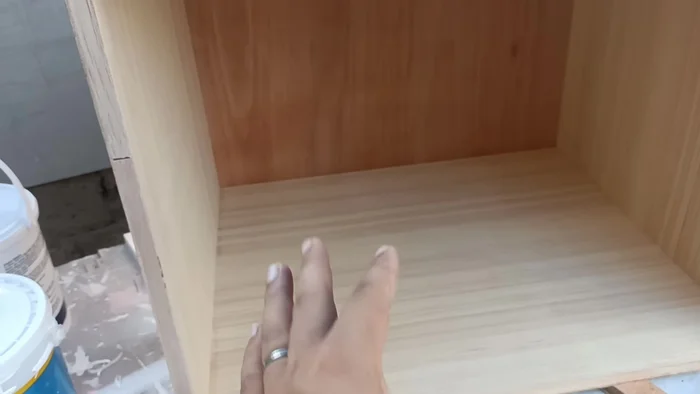
Prepare the Panels
- Cut out all panels according to your design.
- Create channels in the side panels for the backboard (5mm deep channel recommended).

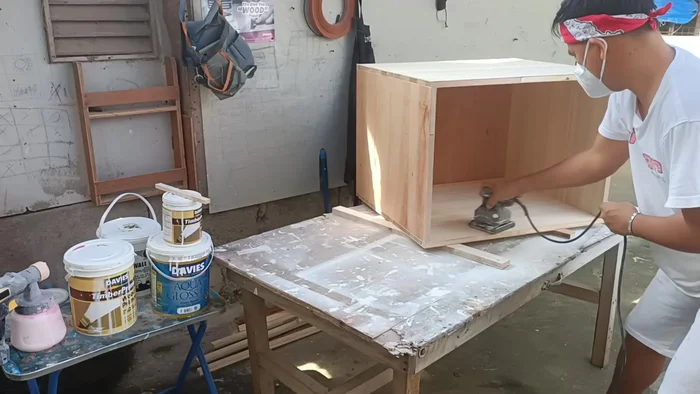
Prepare the Panels Assemble the Wardrobe Body
- Assemble the wardrobe body using the cut panels and wood glue. Clamp the pieces together and let them dry.
- Install the backboard into the channels.
- Ensure the wardrobe body is level before attaching it to the wall using screws.
Assemble the Wardrobe Body Install Doors
- Attach the doors (sliding and swing) to the assembled body.
Install Doors Paint the Wardrobe
- Prime the entire wardrobe using Davis Timber Prime wood primer. Sand between coats for a smooth finish.
- Apply a top coat using Davis aqua gloss for a water-based, quick-drying finish.
Paint the Wardrobe Install Interior Features
- Install adjustable shelves and hangers.
Install Interior Features


Read more: DIY Pantry Door Spice Rack: Organize Your Spices in Minutes!
Tips
- Ensure the wardrobe body is assembled loosely to allow for easy door installation, especially for sliding doors.
- Check for levelness throughout the assembly process to ensure a stable and functional wardrobe.
- Use clamps during assembly to ensure tight joints before screwing; this prevents misalignment.