Transform your bedroom from drab to fab with a stunning, handcrafted rug – and the best part? No sewing required! Tired of the same old flooring and yearning for a touch of personalized style? A DIY no-sew rug is the perfect project to inject personality and comfort into your space without breaking the bank or requiring advanced crafting skills. Whether you're a seasoned DIY enthusiast or a complete beginner, this project is surprisingly accessible and allows for incredible creative freedom. You can experiment with different materials, colors, and textures to create a rug that perfectly complements your existing bedroom décor.
Forget expensive store-bought rugs; unleash your inner artist and create a unique floor covering that reflects your individual taste. This guide will walk you through a simple and stylish no-sew rug project, perfect for adding warmth and character to your bedroom. Ready to get started? Let's dive into the step-by-step process and create your dream rug!
Preparation and Safety Guidelines
- Rotary cutter
- Cutting mat
- Seam gauge
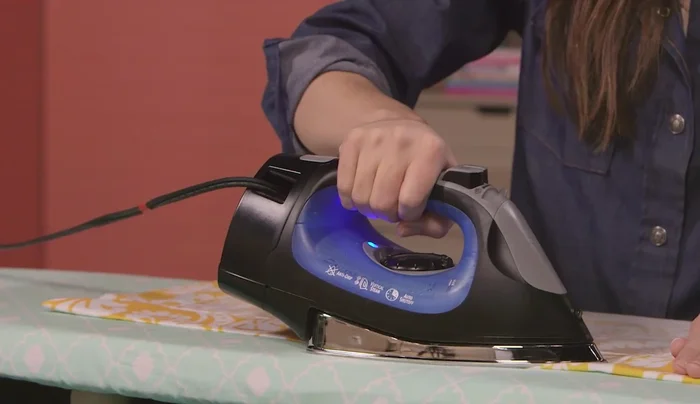
- Iron
- Pins
- Sewing machine
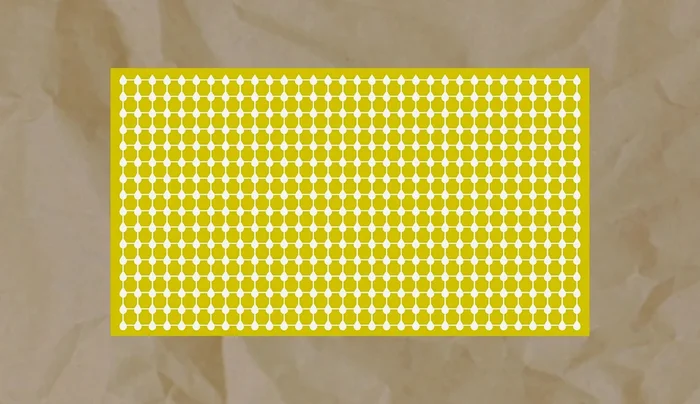
- Fabric (heavier weight recommended)
- Non-slip rug backer (optional)
- Always supervise children around the rug-making materials, especially if using sharp objects like scissors for trimming or hot glue guns.
- Ensure the chosen rug base (e.g., fabric, burlap) is strong and durable enough to support the weight and intended use of the rug. Avoid using materials that are easily torn or damaged.
- If using a hot glue gun, exercise extreme caution to avoid burns. Allow ample cooling time before handling the finished rug.
Step-by-Step Instructions
Cut and Prepare Fabric
- Cut a 30in x 42in piece of heavier weight fabric (duck cloth recommended).
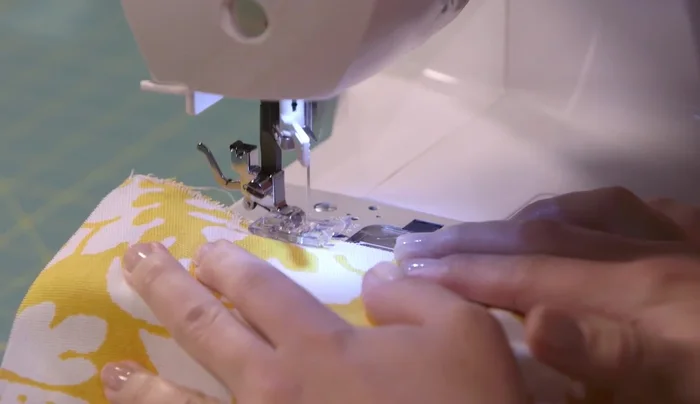
- Sew a tight zigzag stitch around all four raw edges to prevent fraying (or serge the edges). Trim loose threads.

Cut and Prepare Fabric Hem Long Sides
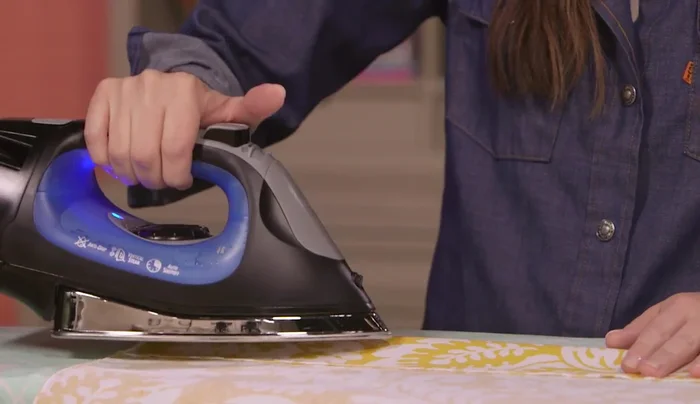
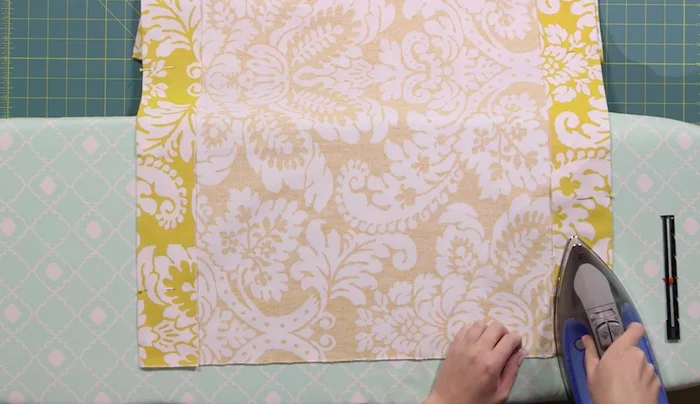
- Fold up 3 inches on each long side, press, and pin.
Hem Long Sides Miter Corners
- For each short side, fold the right corner up at a 45° angle, press; repeat for the left corner. Then fold the entire edge up 3 inches, press and pin.
Miter Corners Sew Hems
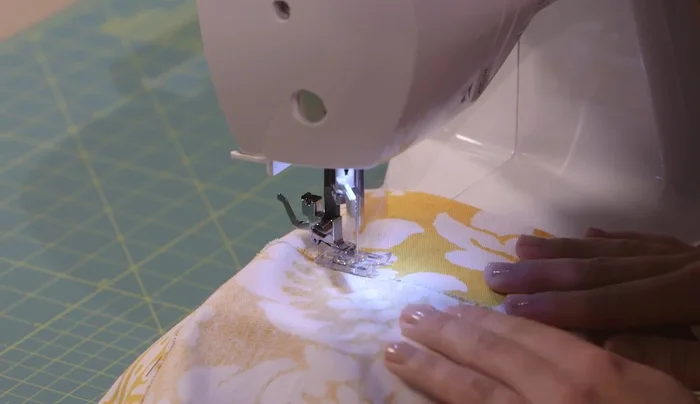
- Set your sewing machine to a straight stitch. Sew along all four edges, keeping the needle just to the right of the zigzag stitches. Pivot at corners to create neat mitered corners. Backstitch at the beginning and end.
Sew Hems Press and Finish Hems
- Press all hems and corners flat. Add fabric adhesive to the underside of mitered corners and press again.
Press and Finish Hems Add Non-Slip Backing (Optional)
- For added stability on hard floors, attach a non-slip backing to the underside of the rug. Hand tacking at the corners is recommended for easy removal for washing.
Add Non-Slip Backing (Optional)
Read more: Ultimate Guide to Harmonious Bedroom Furniture Arrangement
Tips
- Use a thicker, stiffer fabric for a more durable rug.
- Refer to videos on using rotary cutters and cutting mats for assistance.
- Use a seam gauge to ensure accurate 3-inch hems.
- Remove pins as you sew to prevent needle breakage.