Transform your outdoor space into a relaxing oasis with this easy-to-follow guide on building your own DIY outdoor bench. Tired of overpriced, mass-produced seating? You'll be surprised how affordable and achievable it is to craft a beautiful and sturdy bench tailored to your exact needs and style, using readily available materials. Forget expensive garden furniture – this project empowers you to create a personalized piece that perfectly complements your outdoor décor, all while saving a significant amount of money. We'll guide you through each step, ensuring even beginners can achieve professional-looking results.
This detailed guide provides clear instructions, helpful tips, and accompanying visuals, making the entire process straightforward and enjoyable. From selecting the right wood to mastering the finishing touches, we've covered everything you need to know to build your dream outdoor bench. Ready to get started? Let's dive into the step-by-step building process outlined below.
Preparation and Safety Guidelines
- 2x4s
- Miter saw
- Pocket hole jig (optional)
- 2-inch wood screws
- 2 1/2-inch pocket hole screws
- Clamps
- Waterproof deck stain (or outdoor clear coat/paint)
- Scrap wood (5/8 inch thick)
- Always wear safety glasses and gloves when using power tools or handling sharp materials like wood.
- Ensure the bench is stable and level before using it to avoid injury from tipping or collapse. Properly secure all joints and legs.
- Use treated lumber for outdoor projects to prevent rot and insect damage. Follow the manufacturer's instructions for handling and applying any necessary finishes.
Step-by-Step Instructions
Cut Lumber
- Cut the 2x4s according to the cut list (detailed in build plans). Many pieces are cut at a 15° angle, others at 90°.

Cut Lumber Plan & Mark
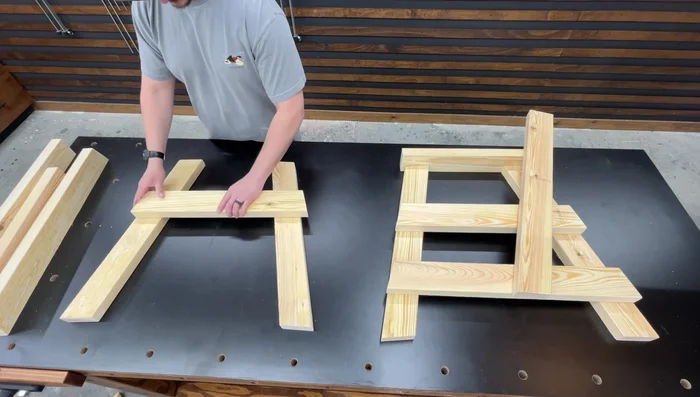
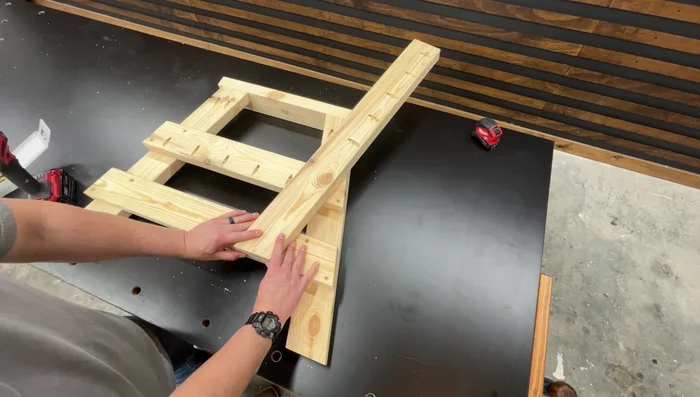
- Lay out both side frame assemblies to mark pocket hole locations. Ensure the frames are mirror images of each other.
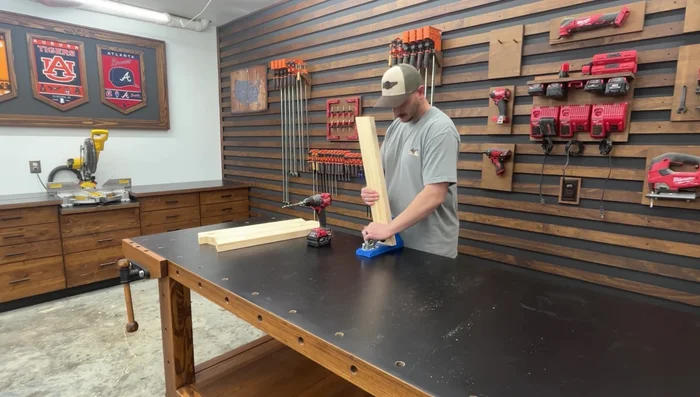
Plan & Mark Drill Pocket Holes
- Drill pocket holes in the marked pieces using a pocket hole jig or deck screws.
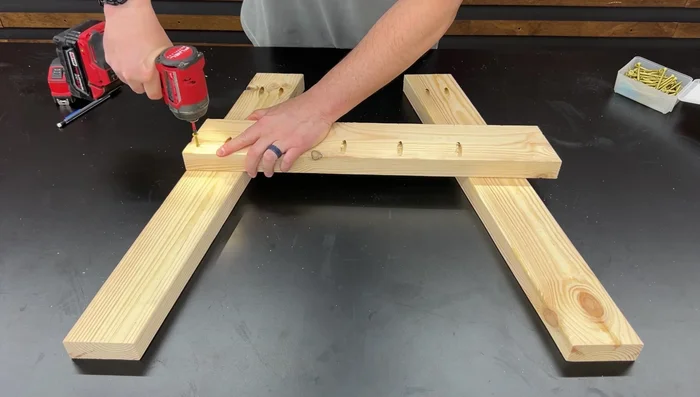
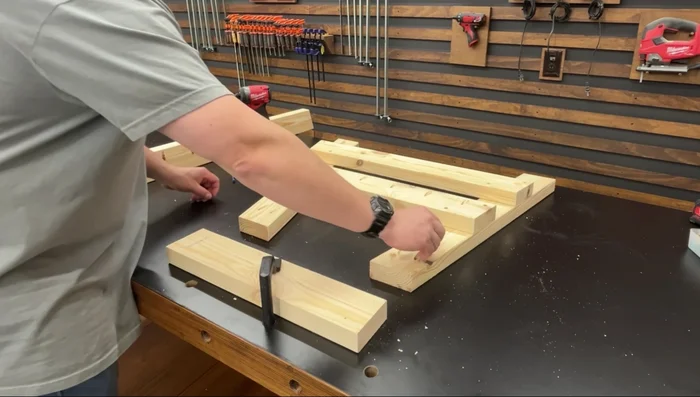
Drill Pocket Holes Assemble First Side Frame
- Attach seat supports to the legs using 2-inch wood screws. Attach the bottom support flush to the leg edges.
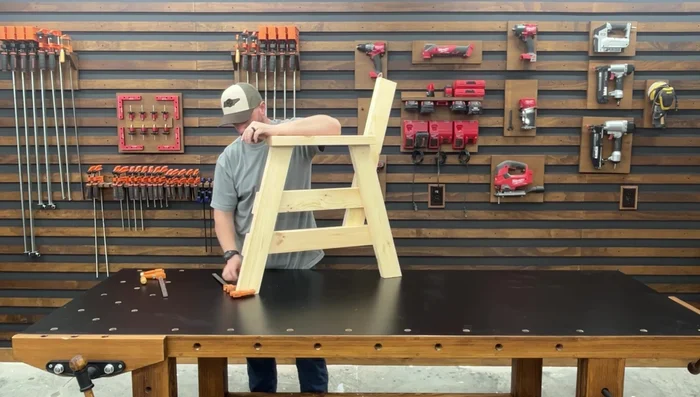
- Clamp the armrest, stand the frame on top, ensure flush edges, and fasten with pocket hole screws.
- Position the backrest support flush against the bottom support and top corner of the seat support, fasten with 2-inch wood screws.
Assemble First Side Frame Assemble Second Side Frame
- Repeat steps 4-6 to create the second side frame assembly.
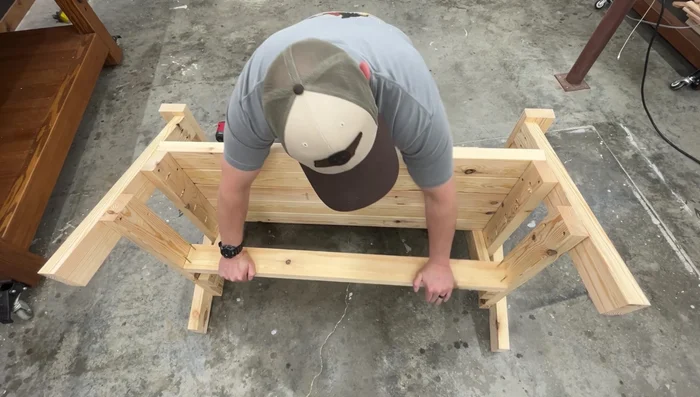
Attach Seat Slats
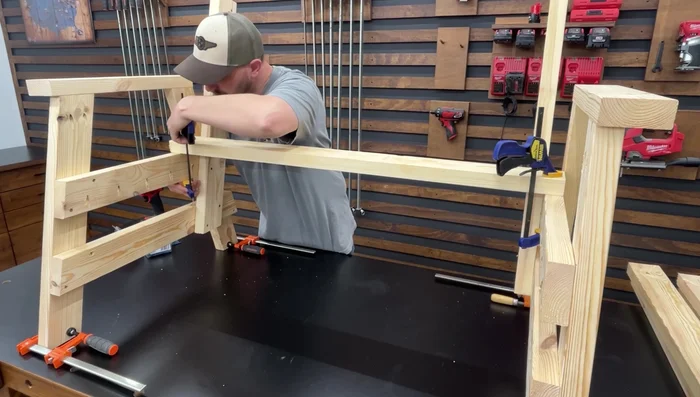
- Clamp the side frame assemblies to the workbench for stability while attaching the seat slats.
- Rest the first slat against the backrest supports and flush with the seat supports. Clamp, space using 2-inch screws, and fasten with 2 1/2-inch pocket hole screws. Repeat for remaining slats.
Attach Seat Slats Attach Backrest
- Space the first board from the seat using a 5/8-inch thick scrap wood. Fasten with pocket hole screws. Repeat for remaining boards, spacing with 2-inch screws. The top three boards overhang the armrests.
Attach Backrest Add Support Stretcher
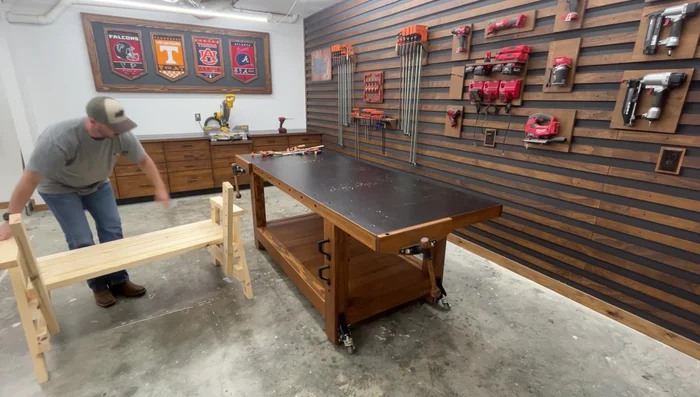
- Attach a stretcher underneath the seat to add strength and prevent swaying. Fasten with 2-inch screws.
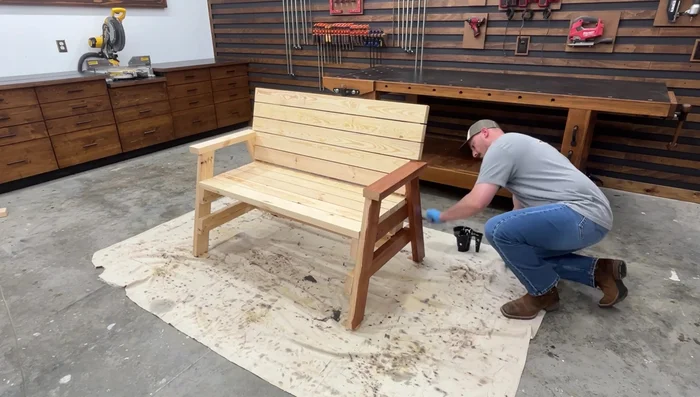
Add Support Stretcher Apply Finish
- Apply a waterproof deck stain, outdoor clear coat, or paint to protect the bench from the elements.
Apply Finish

Read more: Build a Sag-Proof Wood Fence Gate: The Ultimate DIY Guide
Tips
- Use clamps to stabilize the side frame assemblies during seat slat installation.
- The side frame assemblies are mirror images of each other; ensure proper alignment.