Transform your outdoor space into a magical haven with the soft, enchanting glow of DIY glass jar lanterns! These charming decorations are surprisingly simple to create, requiring only a few readily available materials and a touch of creativity. Imagine the warm ambiance they'll bring to your patio, garden, or even a backyard gathering, casting a beautiful, flickering light against the twilight. Whether you're looking for a cost-effective way to enhance your outdoor décor or a fun weekend project, crafting these lanterns is a rewarding experience for all skill levels.
Forget expensive store-bought decorations; this guide provides a clear and concise step-by-step process to crafting your own elegant and personalized glass jar lanterns. From selecting the perfect jars and embellishments to safely incorporating light sources, we’ll cover everything you need to know to create stunning outdoor lighting that reflects your unique style. Let's get started!
Preparation and Safety Guidelines
- Glass jars
- 2mm wire
- Tea light
- 19mm plywood
- 16mm rope
- Bandsaw (or jigsaw)
- Drill
- Scroll saw (or file)
- Router table (optional)
- Sandpaper
- Wood glue
- Shellac
- Frosting sprayer
- Beach pebbles (optional)
- Always use battery-operated LED tea lights or other low-heat light sources inside the glass jars. Never use candles or open flames, as this presents a significant fire hazard.
- Ensure the jars are clean and dry before use to prevent accidents. Wet surfaces increase the risk of breakage.
- Place the finished lanterns on a stable, level surface away from flammable materials, including overhanging branches or dry leaves.
Step-by-Step Instructions
Prepare the Plywood Top
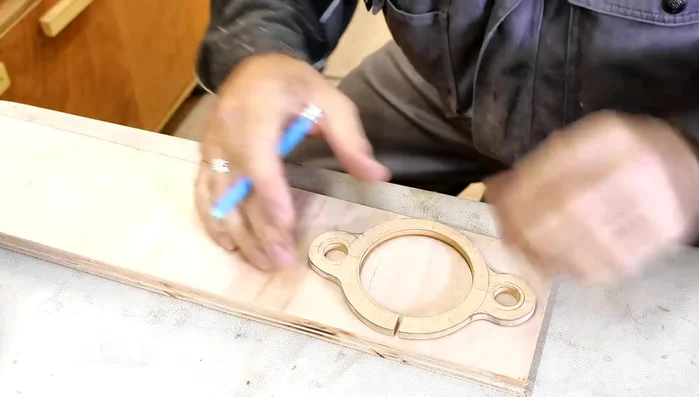
- Create a template for the plywood top.
- Trace and cut out three plywood shapes using a bandsaw (or jigsaw).
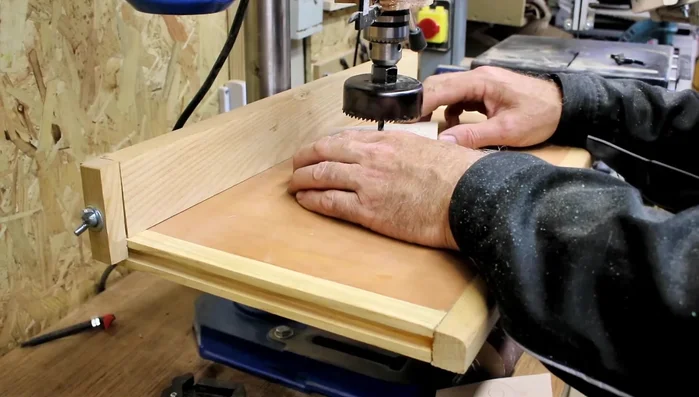
- Drill and recess holes for the rope handle.
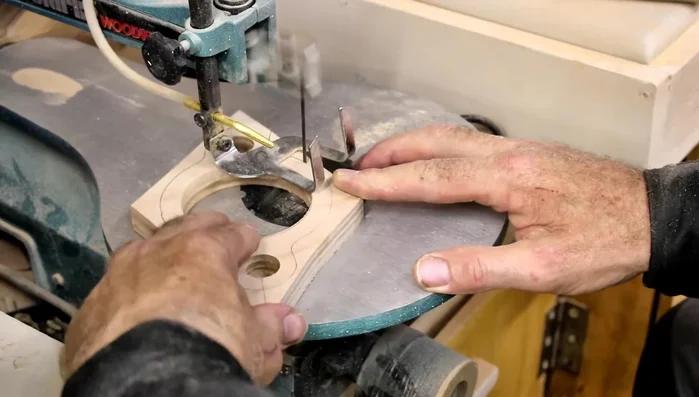
- Shape the plywood pieces using a scroll saw (or file) and sand them down.

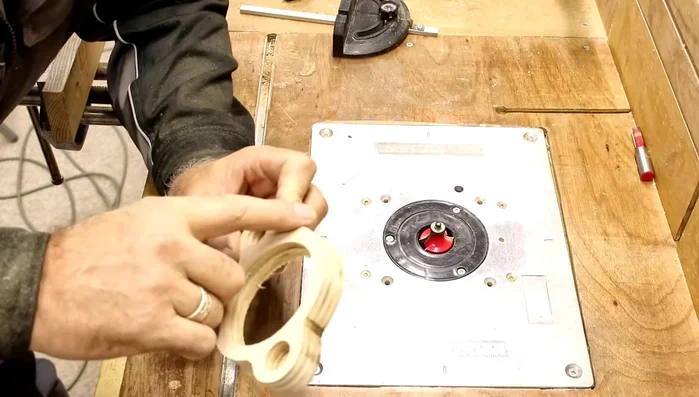
Prepare the Plywood Top - Use a router table (optional) to chamfer the edges.
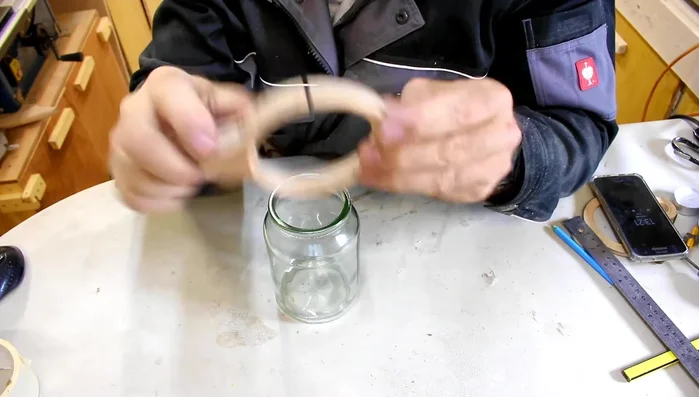
- Cut a slot in the plywood to allow it to clamp onto the jar rim.
Prepare the Plywood Top Attach the Plywood Top
- Glue and clamp the plywood top onto the jar.
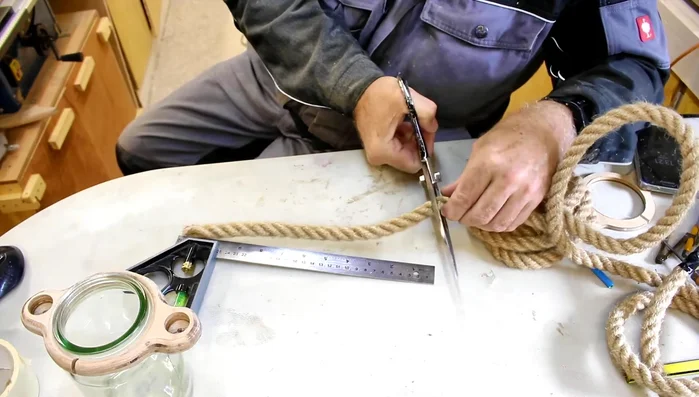
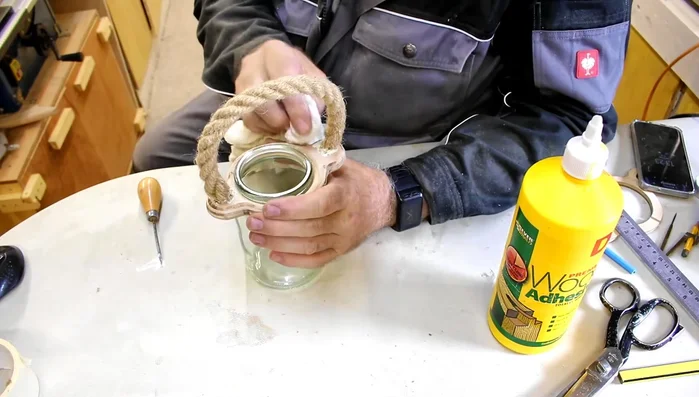
Attach the Plywood Top Add the Handle
- Cut and glue the rope handle in place.
Add the Handle Seal and Finish the Wood
- Apply shellac to seal and protect the plywood.
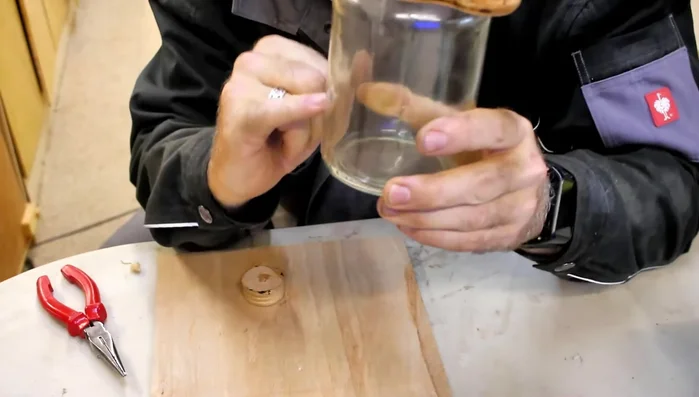
Seal and Finish the Wood Make the Tea Light Holder
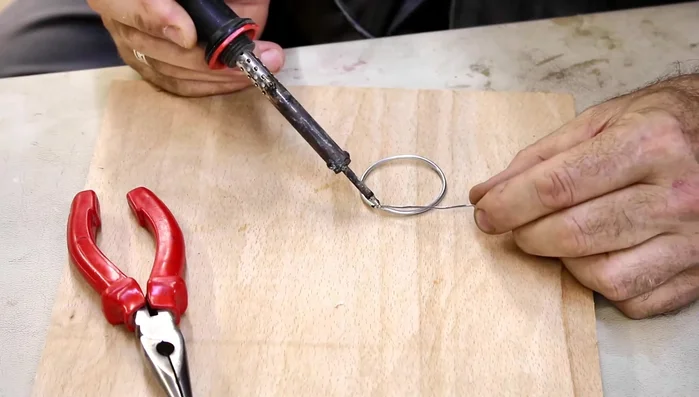
- Create a wire holder for the tea light using 2mm wire.
- Assemble and solder the wire holder.
- Bend the wire holder to the desired height.
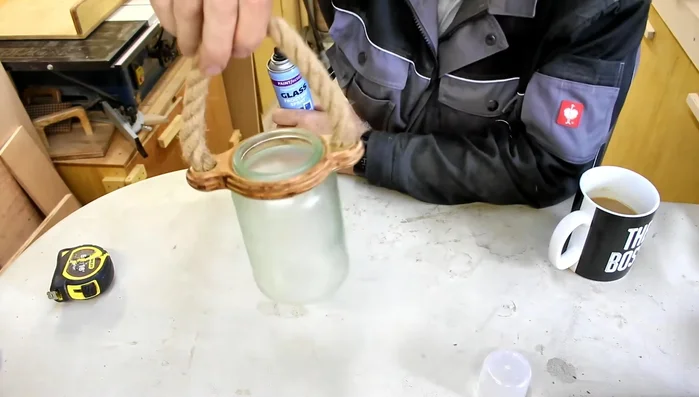
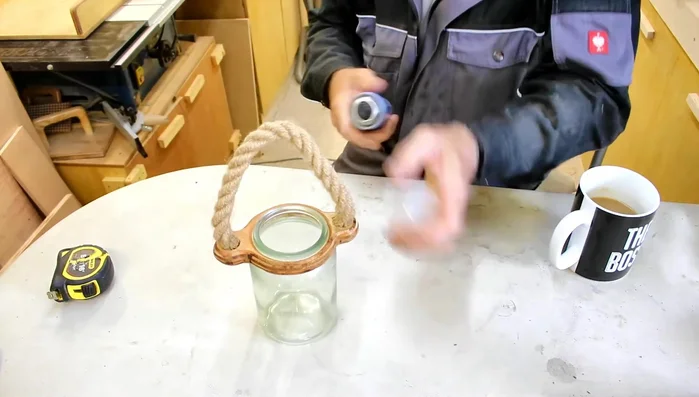
Make the Tea Light Holder Decorate and Finalize
- Add decorative elements like beach pebbles.
- Frost the jars (optional).
Decorate and Finalize

Read more: Build a Sag-Proof Wood Fence Gate: The Ultimate DIY Guide
Tips
- If you don't have power tools, a jigsaw and file can be used for shaping the plywood.
- Shellac protects the plywood from the elements, even if it's not going to be left in direct rain.
- Use tape to protect the jar from glue when assembling.