The pandemic brought many unexpected challenges, forcing us to adapt and improvise in countless ways. One area that saw a surge in creativity was home organization, as suddenly finding and maintaining essential supplies became paramount. Among the items that gained newfound importance were humble paper towels – leading many to re-evaluate their storage solutions. This project, born from the necessity of a readily accessible and stylish paper towel dispenser, utilizes readily available scrap wood and simple tools. It’s a testament to how resourceful we can be when faced with a challenge, transforming discarded materials into something functional and beautiful.
This DIY project offers a satisfyingly simple solution to a common household need, transforming scrap lumber into a personalized and attractive paper towel dispenser. Forget flimsy plastic dispensers; we'll show you how to craft a sturdy, unique piece that adds a touch of rustic charm to your kitchen or bathroom. Ready to get started? Let's dive into the step-by-step instructions below.
Preparation and Safety Guidelines
- Scrap wood
- Gorilla wood glue
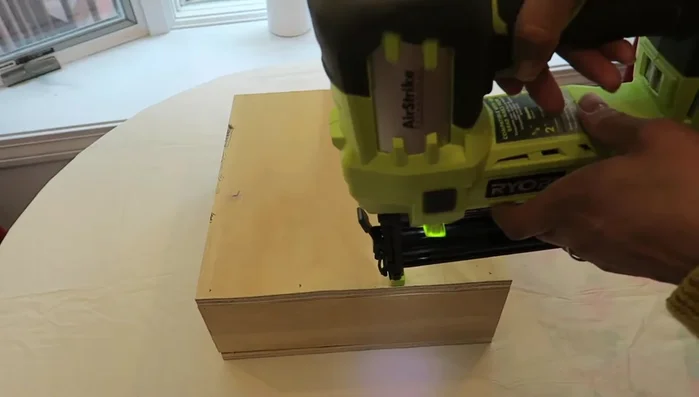
- Nailer (or drill)
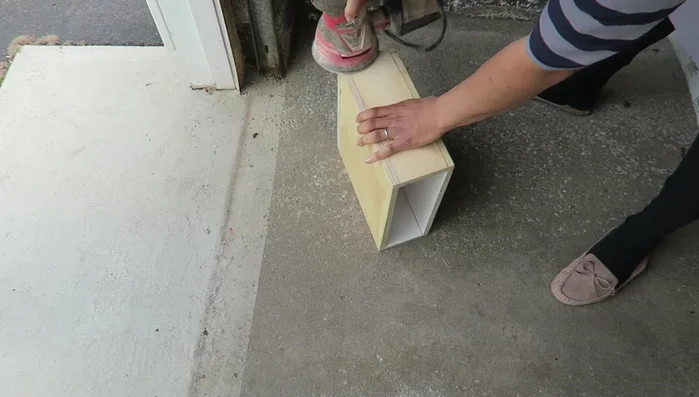
- Contact paper
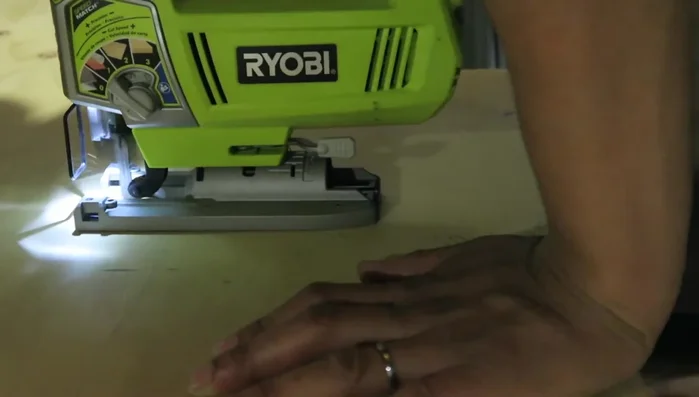
- Jigsaw
- Hinges
- Hooks
- White chalk paint
- Measuring tape
- Pencil
- Sandpaper
- Spring from a notepad (optional)
- Always wear safety glasses when using power tools like saws and sanders. Wood dust and flying debris can cause serious eye injuries.
- Ensure proper ventilation when sanding or using any finishes. Wood dust is a respiratory irritant, and fumes from finishes can be harmful.
- Use caution when handling sharp tools like chisels or knives. Keep your fingers clear of the blade and always cut away from your body.
Step-by-Step Instructions
Prepare the Wood
- Two 11.25" x 10.5", two 11.25" x 4.5", and two 3.5" x 10.5".

Prepare the Wood Assemble the Box
- Glue all the wood pieces together using Gorilla wood glue. Let it dry overnight.
- Nail the pieces together using a nailer (or drill).
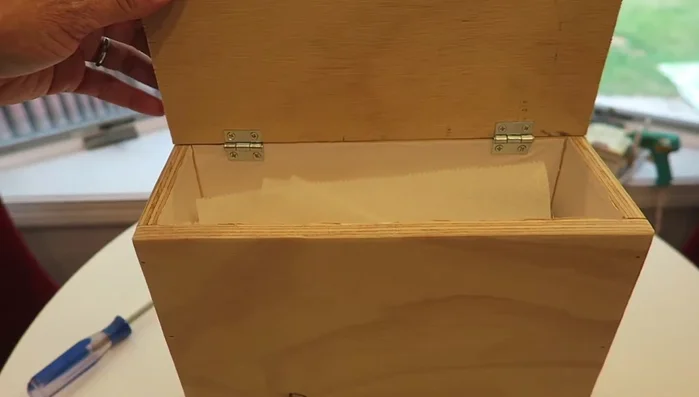
Assemble the Box Protect the Interior
- Line the inside of the dispenser with contact paper to protect the paper towels from the wood.
Protect the Interior Cut the Dispensing Opening
- Create a template for the bottom opening, making the middle section wider for easy paper towel access. Cut the opening using a jigsaw.
Cut the Dispensing Opening Smooth the Edges
- Sand all the edges and corners to remove any sharp edges.
Smooth the Edges Add Dispensing Mechanism (Optional)
- Insert a spring from a notepad inside the dispenser to aid paper towel dispensing.
Attach the Lid
- Attach hinges to the lid, ensuring it doesn't press against the wall when opened.
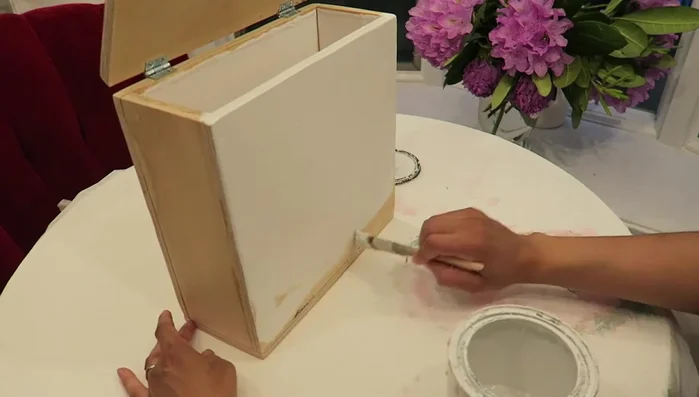
Attach the Lid Paint and Finish
- Paint the entire dispenser white (or any desired color).
Paint and Finish


Read more: DIY Pantry Door Spice Rack: Organize Your Spices in Minutes!
Tips
- If using a nailer, it provides quicker and more satisfying results than a drill.
- The spring from the notepad helps paper towels dispense more easily.