Ahoy, mateys! Ever dreamed of owning a treasure chest worthy of Captain Blackheart himself? One overflowing with gleaming doubloons, shimmering jewels, and maybe even a slightly dusty map leading to untold riches? Forget flimsy plastic imitations – it's time to build your own authentic pirate chest, a sturdy, beautiful piece of craftsmanship that will be the envy of every buccaneer. This isn't just a box; it's a statement, a conversation starter, and the perfect centerpiece for your next swashbuckling adventure (or a rather stylish storage solution).
Forget scouring antique shops for an overpriced, possibly-termite-infested relic. This comprehensive DIY guide provides everything you need to create a truly stunning pirate's chest from scratch. We’ll walk you through each step, from selecting the perfect wood to adding those all-important finishing touches like rusty hinges and a sturdy lock. Ready to embark on this thrilling build? Let's dive into the step-by-step instructions!
Preparation and Safety Guidelines
- Table saw
- Band saw
- Router table
- Clamps
- Belt sander
- Random orbit sander
- Double-sided tape
- Glue
- Cabinet screws
- Hinges
- Handles
- Satin lacquer finish
- Sandpaper (various grits)
- Dato bit
- Pattern cutting bit
- Vix bit
- Center punch
- Drill
- Screwdriver
- Wood putty
- Chains
- Antique reproduction lock
- Safety First: Always use appropriate safety gear (eye protection, gloves) when using tools like saws, chisels, and drills. Sharp edges and splinters are a real risk.
- Secure Construction: Ensure all joints are strong and well-secured with appropriate glue and fasteners (screws, nails) to prevent the chest from falling apart. Consider using wood glue for increased strength.
- Finish Properly: Use a sealant or varnish to protect the wood from moisture and wear. This will extend the life of your pirate chest and improve its appearance.
Step-by-Step Instructions
Prepare the Materials
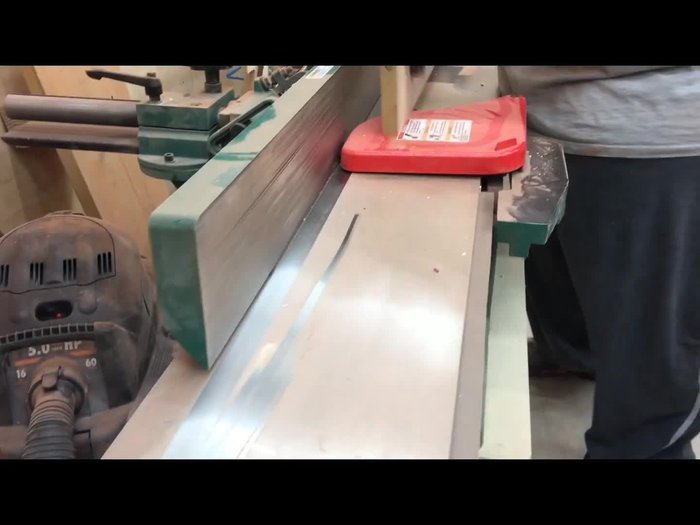
- Prepare the lumber by jointing straight edges.

Prepare the Materials Create the Lid
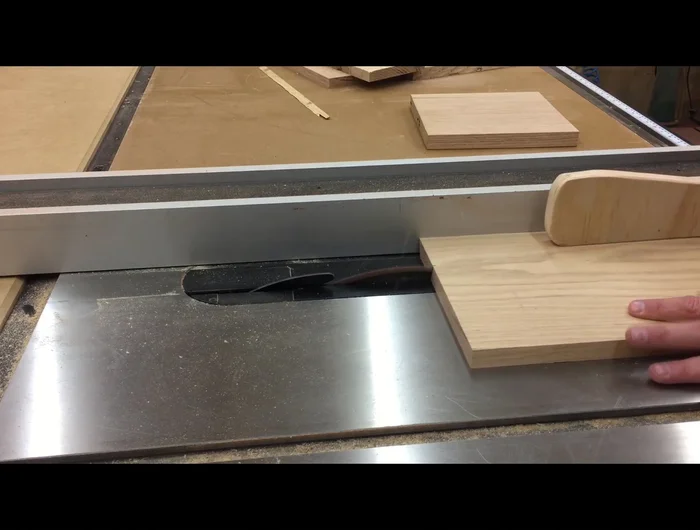
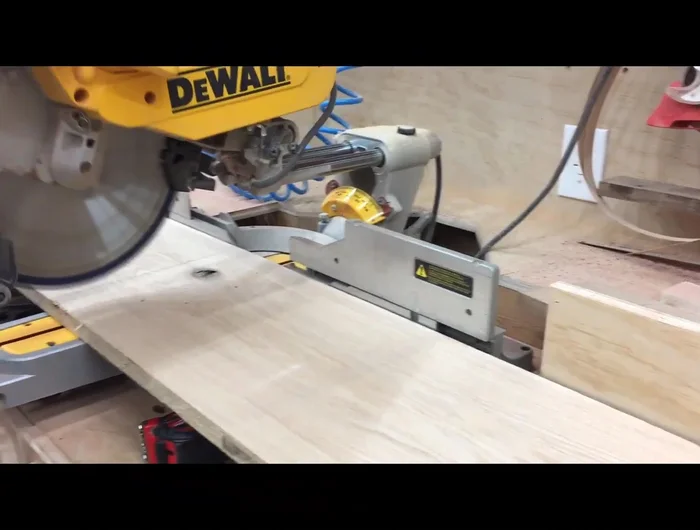
- Cut the lid slats, calculating angles and setting bevels on the table saw.
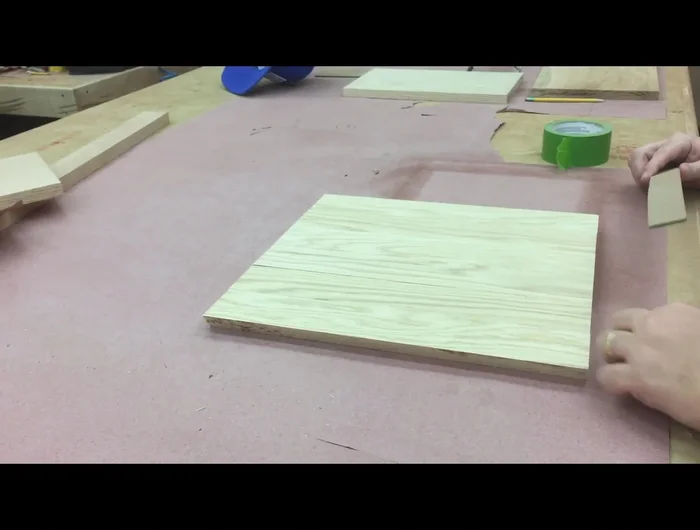
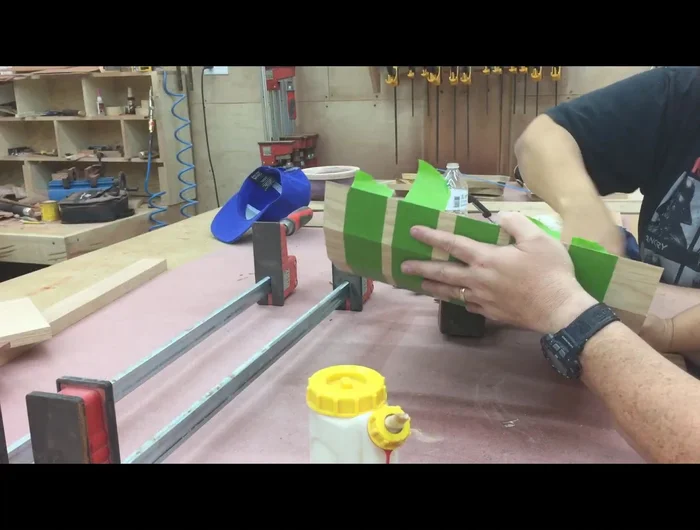
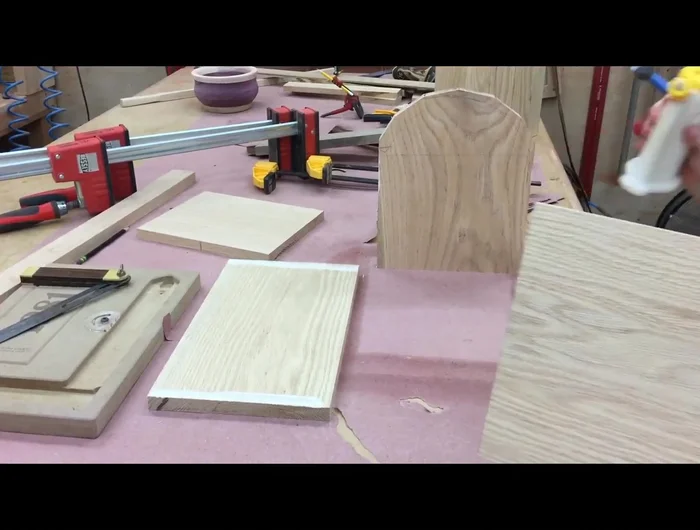
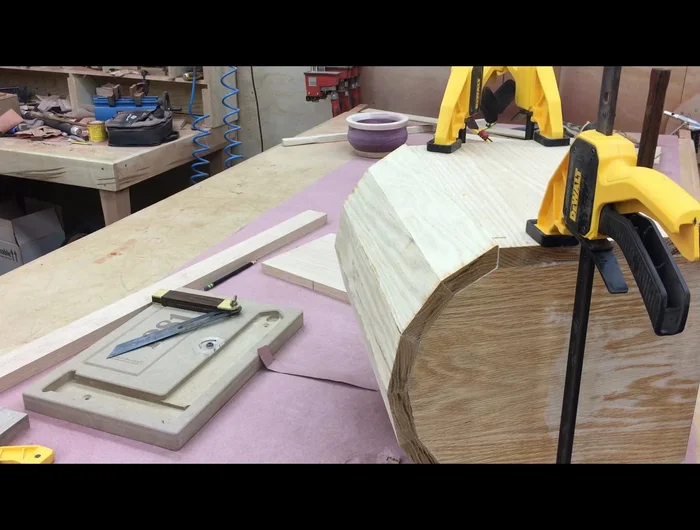
- Assemble and glue the lid pieces, aligning the grain and taping the backs together.
- Clamp the lid loosely, ensuring it will fit the box, and add weight for even glue pressure.
Create the Lid Construct the Box Sides
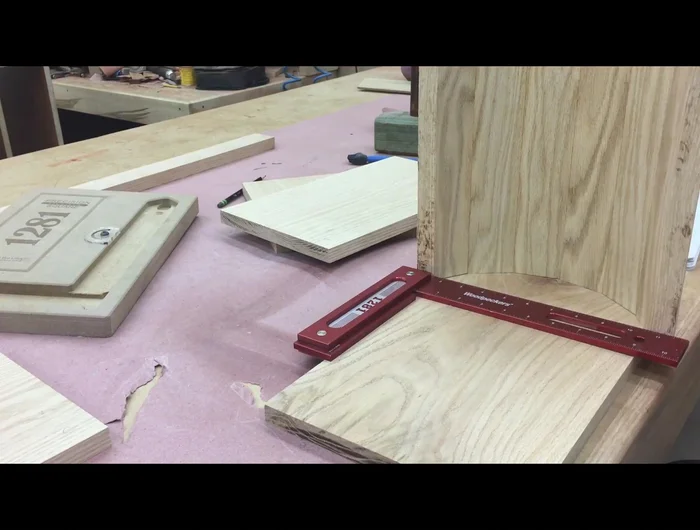
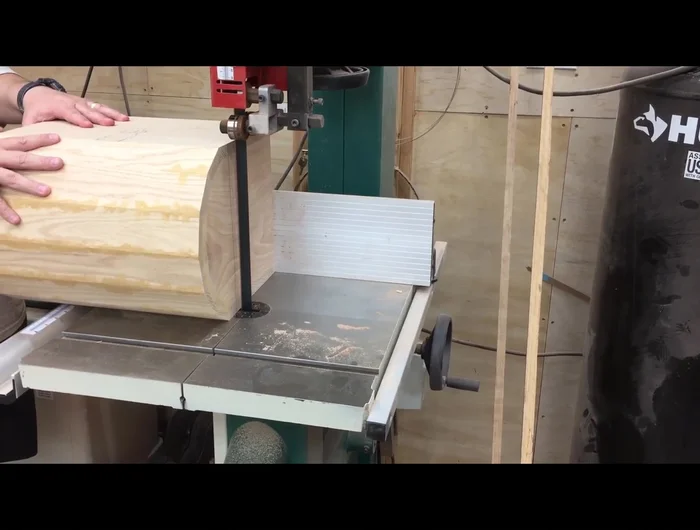
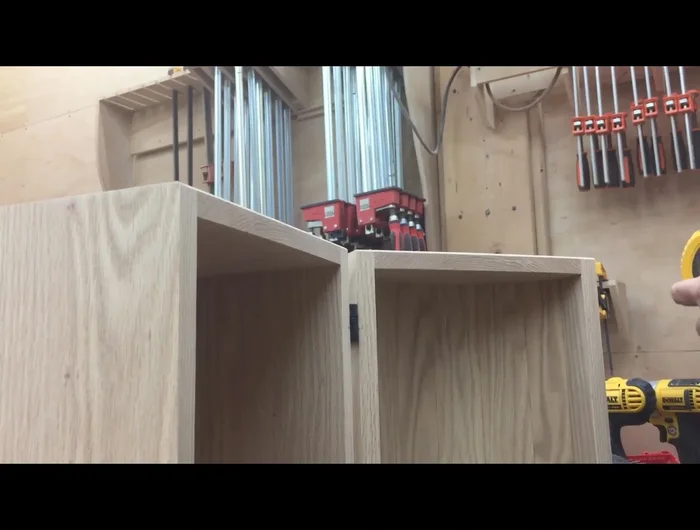
- Trace the lid shape onto side pieces, cut them precisely on the band saw, and then use a router table with a pattern cutting bit to cut the second side to match.
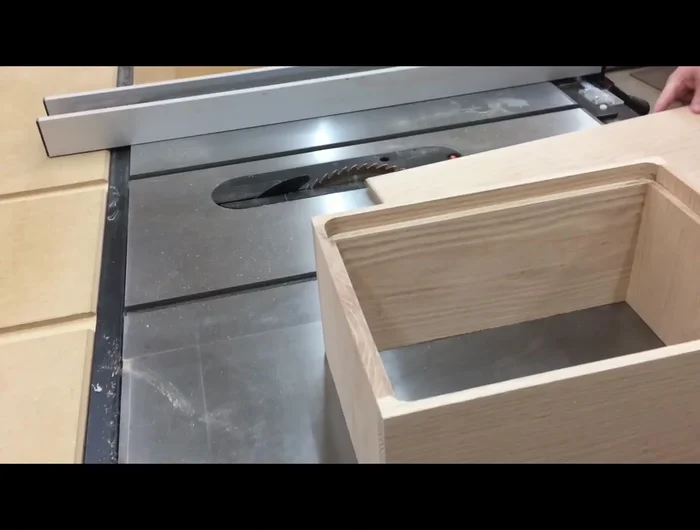
- Cut the front and back pieces of the box using a miter saw.
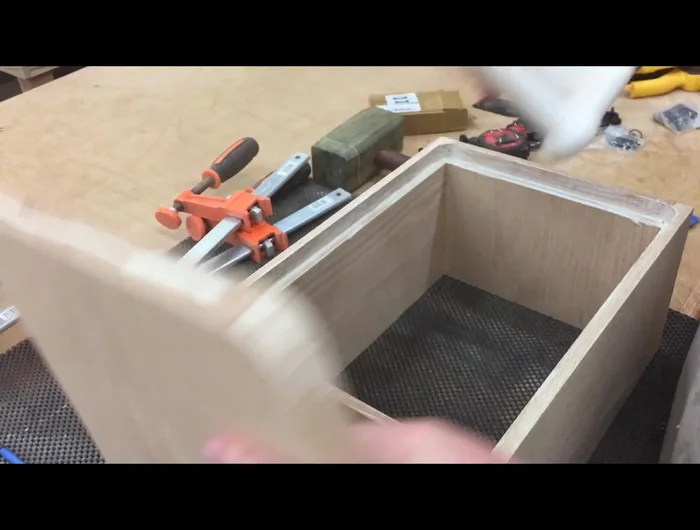
Construct the Box Sides Assemble the Box
- Glue and assemble the box, applying generous glue to all surfaces.
- Clamp the box, ensuring tight joints. Fill any minor gaps with wood putty.
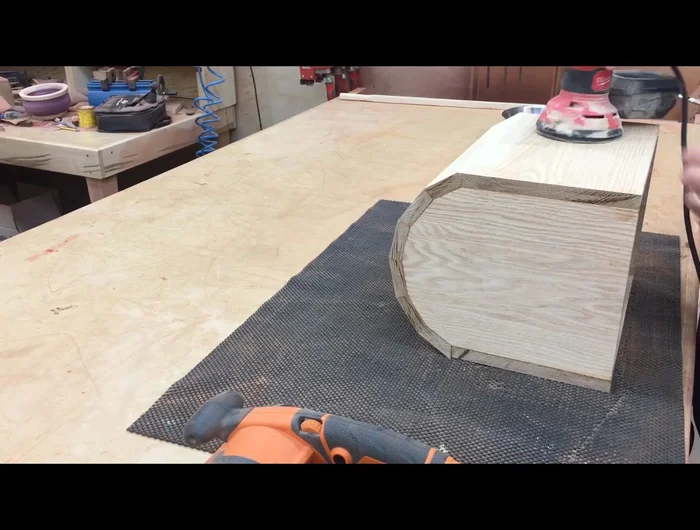
- Sand the box, starting with a belt sander, then a random orbit sander, finishing with 220-grit sandpaper.
Assemble the Box Prepare for the Lid
- Cut the lid off the box using a band saw.
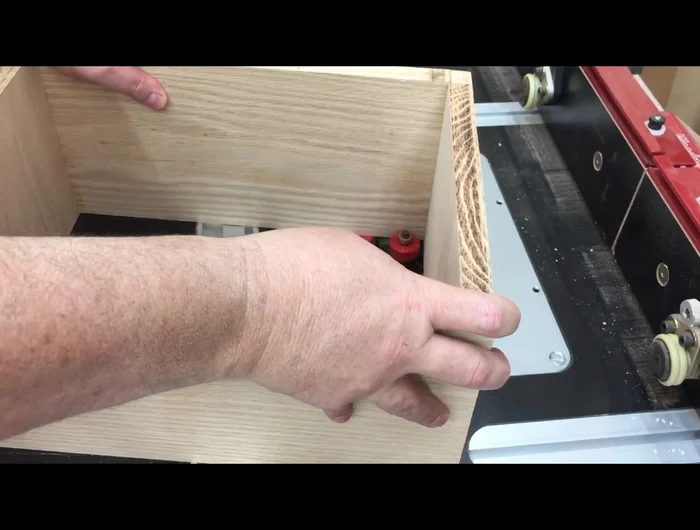
- Create a rabbit around the inside of the box using a router table and dato bit to fit the bottom flush.
- Cut and sand the box bottom to fit the rabbit perfectly.
- Glue the bottom into the box.
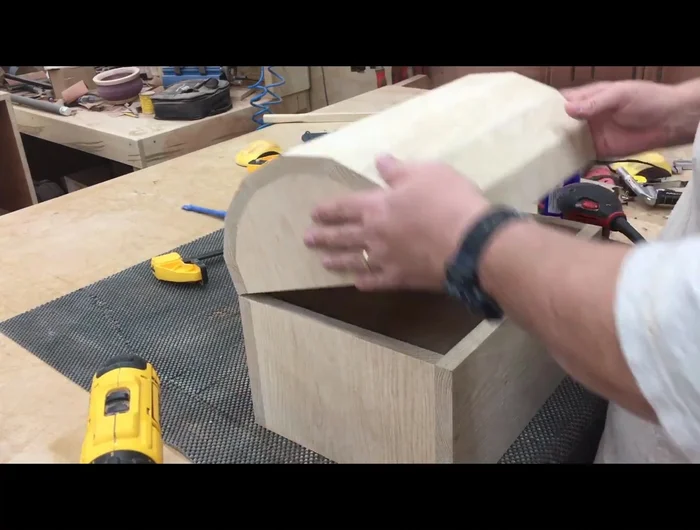
Prepare for the Lid Fine-tune the Fit
- Create a large sanding block to sand the lid and body flush for a tight fit.
Fine-tune the Fit Install Hardware
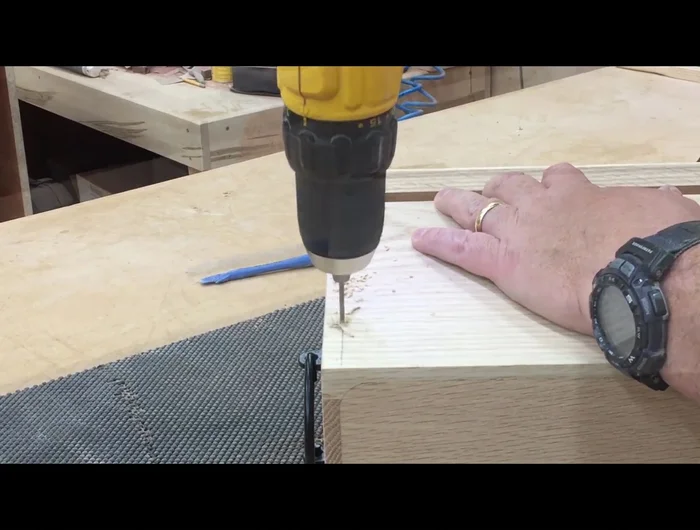
- Install hinges using CA glue for temporary hold before screwing.
- Install handles and lock using a self-centering (vix) bit for accurate screw placement.
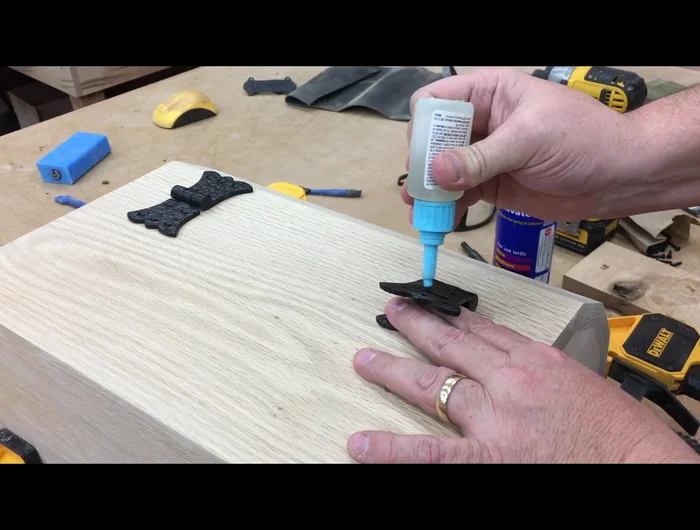
Install Hardware Add Finishing Touches
- Apply a bevel where the lid meets the body.
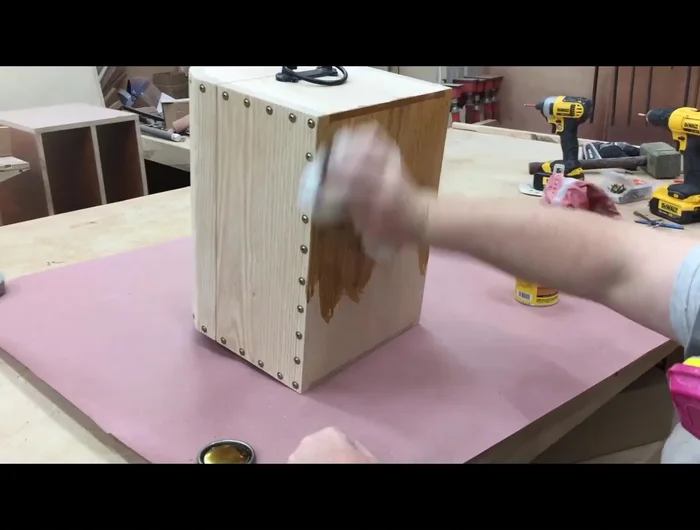
- Reinforce the box by screwing around the entire perimeter of the butt joints.
- Apply Golden Oak stain, allowing it to dry fully before topcoating.
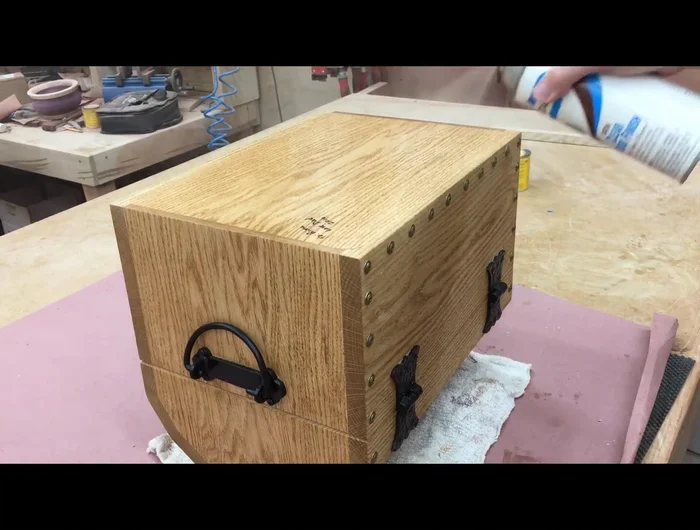
- Install the hasp using CA glue and accelerator for temporary positioning before screwing.
Add Finishing Touches - Apply four coats of satin lacquer finish, sanding between coats (400 to 2000 grit).
Add Finishing Touches

Read more: Build a Giant Toy Box: DIY Playroom Organization
Tips
- Use extra hands for gluing and clamping.
- Wipe off excess glue as soon as possible.
- Cut backwards on the router table to prevent tear out.
- Apply glue generously to all surfaces for strong joints.
- Use a self-centering bit (vix bit) for installing hinges and handles for accurate placement.