Transforming discarded materials into stunning home décor is incredibly rewarding, and this project is the perfect example. We'll guide you through creating a unique and rustic mirror using reclaimed bourbon barrel staves and rich walnut wood. This combination of materials offers a sophisticated yet rugged aesthetic, ideal for adding a touch of rustic charm to any room, from a farmhouse kitchen to a modern living space. The warm tones of the bourbon barrel wood, imbued with the lingering essence of its former contents, pair beautifully with the deep, elegant grain of the walnut, creating a piece with undeniable character.
This DIY project is surprisingly manageable, even for beginners with some basic woodworking skills. Ready to get started on creating your own one-of-a-kind reclaimed bourbon barrel and walnut mirror? Let's dive into the step-by-step instructions below!
Preparation and Safety Guidelines
- Wire brush
- Polycrylic
- Planer
- Track saw
- Biscuit joiner
- Wood glue
- Damp rag
- Circle cutting jig
- Bandsaw
- Random orbit sander
- Chamfer tool
- Foil tape
- LEDs
- Starbond CA glue
- Accelerator
- Construction adhesive
- Sawtooth hanger
- Drywall anchors
- Hammer
- Always wear safety glasses and a dust mask when working with wood, especially when sanding or using power tools. Wood dust is harmful if inhaled.
- Use caution when handling reclaimed bourbon barrels. Staves can be splintered and sharp. Wear gloves to protect your hands.
- Ensure adequate ventilation when working with stains, paints, or sealants. Follow the manufacturer's instructions carefully and work in a well-ventilated area or wear a respirator.
Step-by-Step Instructions
Prepare Barrel Hoop
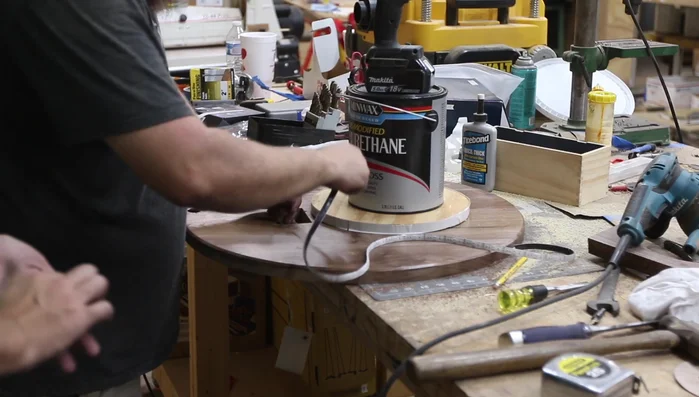
- Remove surface rust with a wire brush and apply a few coats of polycrylic to seal and prevent further rust.
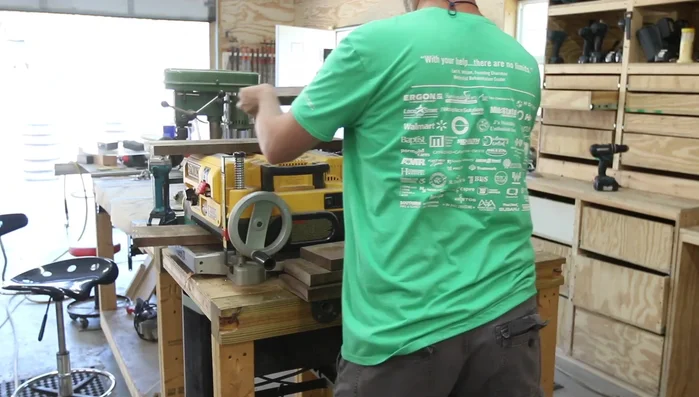
Prepare Walnut Wood
- Cut walnut boards to length, plane them to make them mostly flat, and use a track saw to joint the edges for gluing.
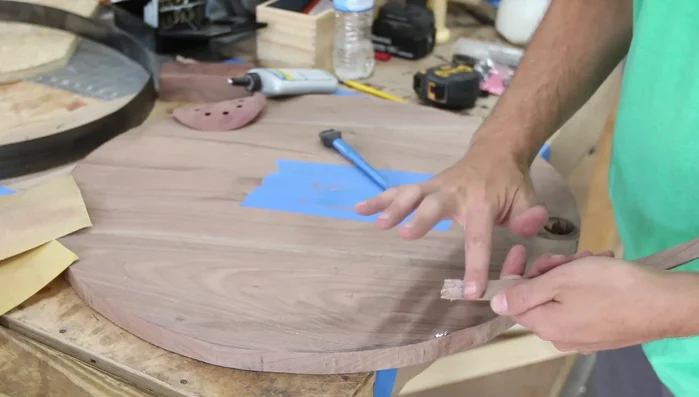
- Fill any voids in the walnut board with Starbond CA glue and accelerator to prevent crumbling.

Prepare Walnut Wood Assemble Walnut Panel
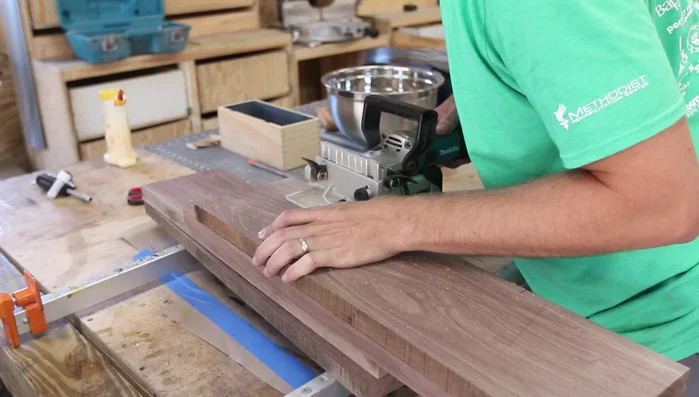
- Create biscuit slots for alignment, apply glue, insert biscuits, and clamp the panel together. Clean up excess glue immediately.
Assemble Walnut Panel Cut and Shape Walnut Circle
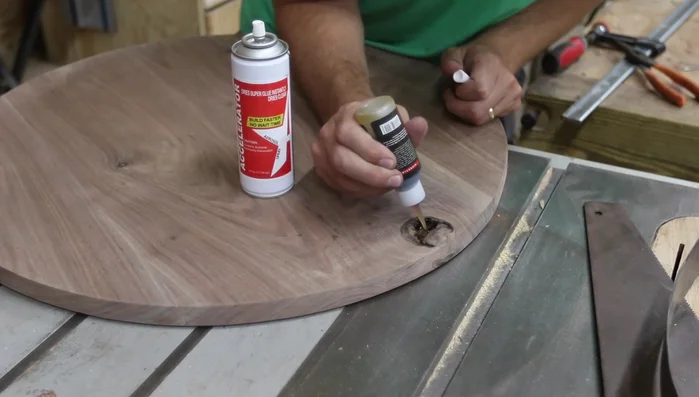
- Use a circle cutting jig to accurately cut the walnut panel to the desired circular shape.
- If the wood slips during cutting, patch any holes with glue and walnut sawdust.
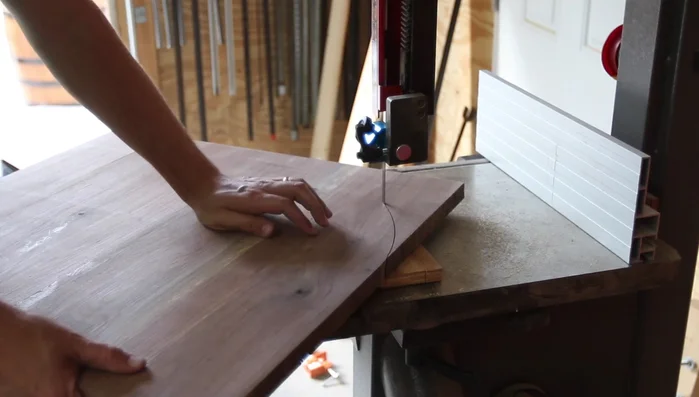
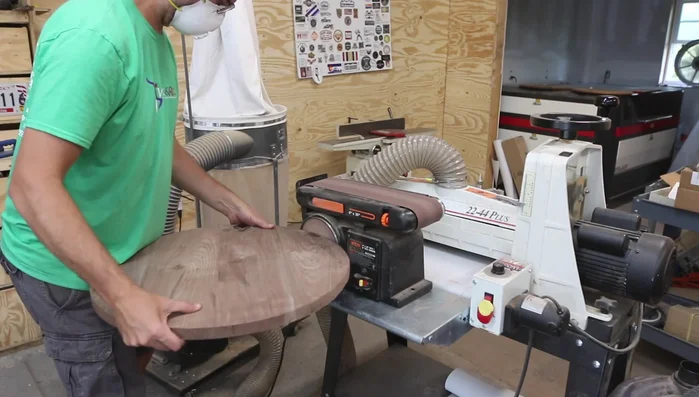
- Smooth the edges using a bandsaw and random orbit sander. Apply a chamfer to the edges.
Cut and Shape Walnut Circle Prepare for Mirror Installation
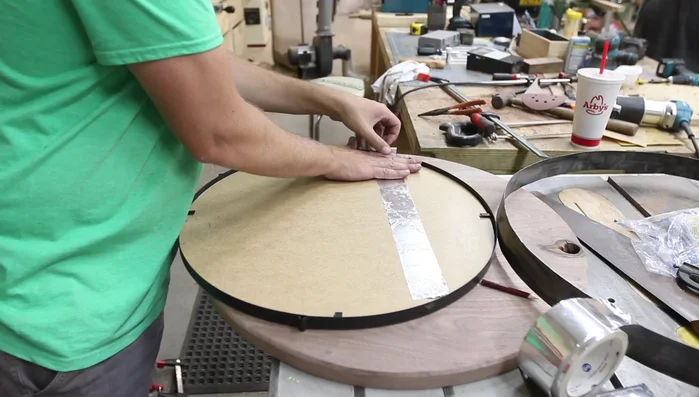
- Apply foil tape to the back of the mirror for increased reflectivity (Note: this step proved less effective in the video).
Prepare for Mirror Installation Install LEDs (if applicable)
- Cut an access hole for the LED battery pack (if using LEDs).
Install LEDs (if applicable) Mount Mirror and LEDs
- Install a particle board offset for LED mounting. Attach the LEDs and the mirror using construction adhesive.
Mount Mirror and LEDs Attach Barrel Hoop
- Secure the hoop to the walnut circle; it may require gentle tapping with a hammer.
Attach Barrel Hoop Install Hanger
- Attach a sawtooth hanger to the back for wall mounting.
Install Hanger


Read more: Miniature Spider Welding Tutorial: Crafting a Tiny Metal Arachnid
Tips
- Always wipe up excess glue immediately for easier cleanup.
- Using a track saw to joint the edges of the walnut boards before gluing is a more efficient alternative to using a jointer.
- Consider using stronger, brighter LEDs for better illumination. The foil tape method for enhanced reflection may not be the most effective.
- Sheetrock anchors provide a simple and secure method for wall mounting.