Documenting your child's growth is a cherished tradition, but why settle for a plain, boring chart? Transform the mundane into a memorable adventure with this exciting DIY project: a rocket ship growth chart! This fun and engaging activity is perfect for a family crafting afternoon, offering a unique and personalized way to track your little astronaut's journey to adulthood. Imagine the pride on their face as they watch their height climb higher and higher, literally reaching for the stars. It’s more than just a growth chart; it’s a creative endeavor that will spark imagination and create a lasting keepsake.
Building this adorable rocket ship growth chart is easier than you think! From readily available materials to simple construction techniques, this project is perfect for all skill levels, even if your crafting experience is limited to coloring inside the lines. Get ready for lift-off as we guide you through a step-by-step process, complete with helpful tips and tricks to ensure a successful launch of your own personalized growth-tracking rocket.
Preparation and Safety Guidelines
- Pegboard
- 1x12 pine board
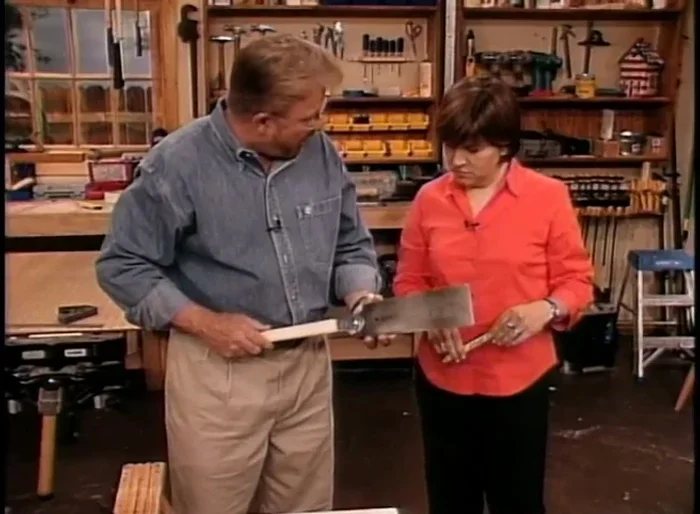
- Japanese handsaw
- Wood glue
- Wood molding
- Clamps
- Drill with depth gauge
- Quarter-inch dowels
- Paint (blue, yellow, gloss)
- Cloth sewing tape measure
- Adult supervision is required at all times, especially when using tools like saws and drills.
- Ensure all paint and varnish used are non-toxic and child-safe. Allow ample drying time before children handle the rocket.
- Securely fasten the growth chart to the wall to prevent it from falling and causing injury.
Step-by-Step Instructions
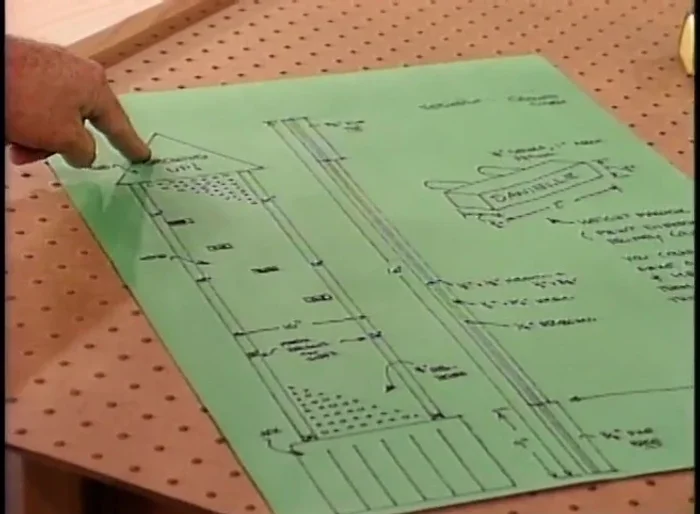
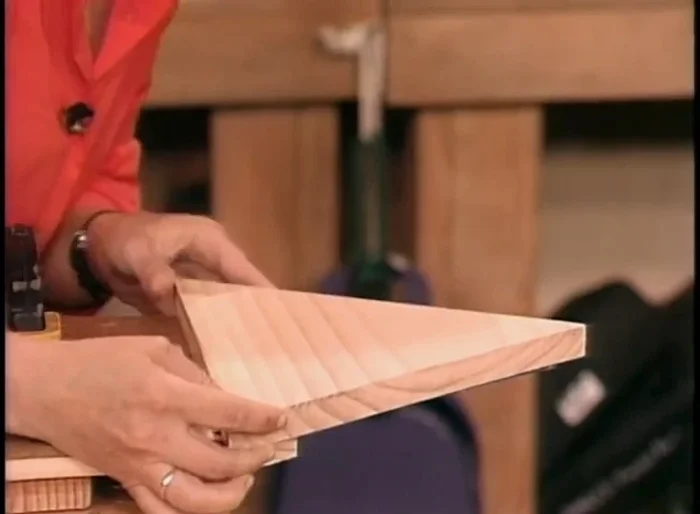
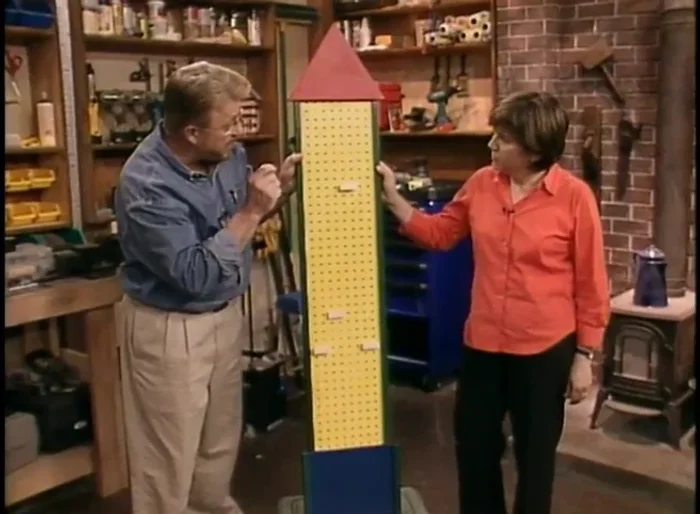
Construct the Rocket Ship Body
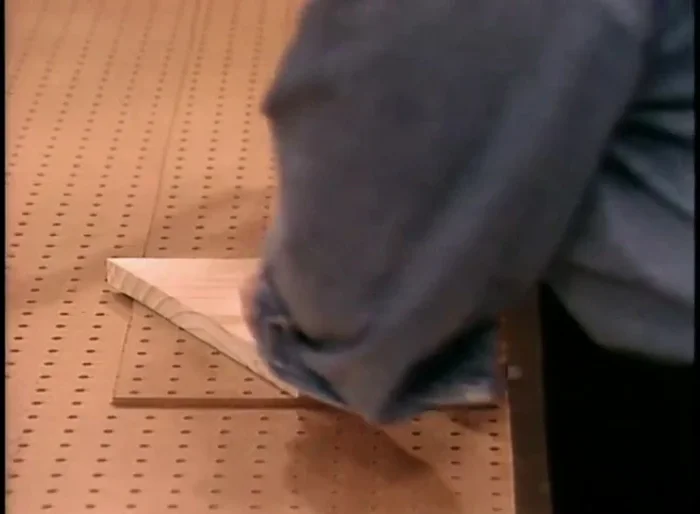
- Draw a triangular nose cone shape onto a 1x12 pine board.
- Cut out the nose cone using a Japanese handsaw (pulling the saw towards you).
- Transfer the nose cone dimensions to pegboard and trim away the excess.
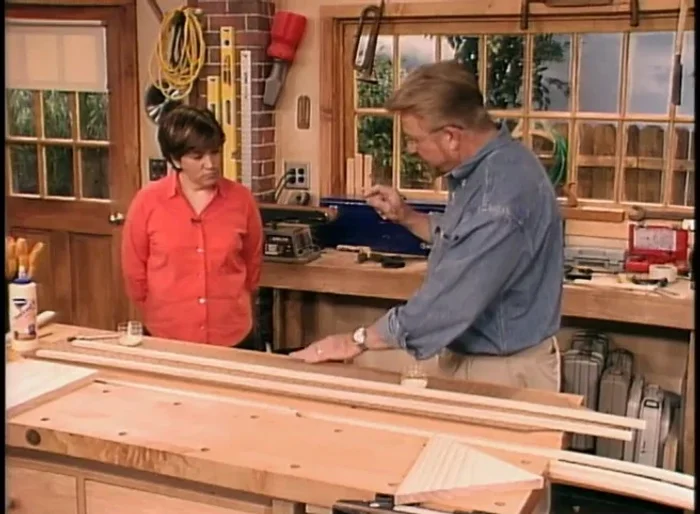
- Apply wood glue to the back of wood molding strips and attach them to the edges of the pegboard to add thickness and cover raw edges.

Construct the Rocket Ship Body - Glue the nose cone and base to the pegboard. Use clamps to hold everything in place while the glue dries.
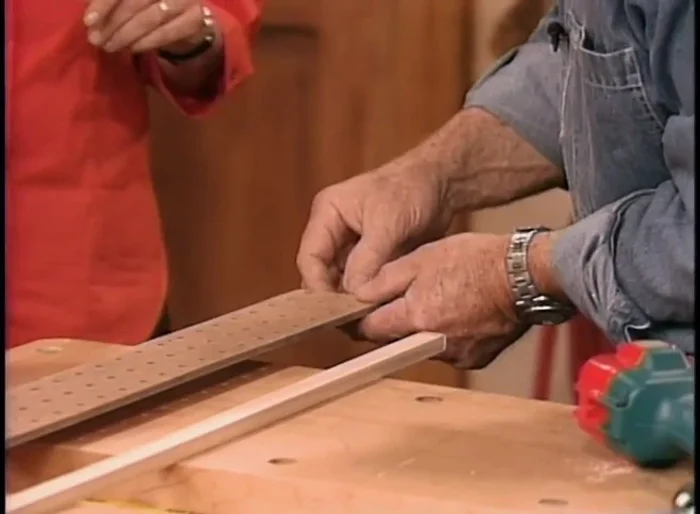
Construct the Rocket Ship Body Create Height Markers
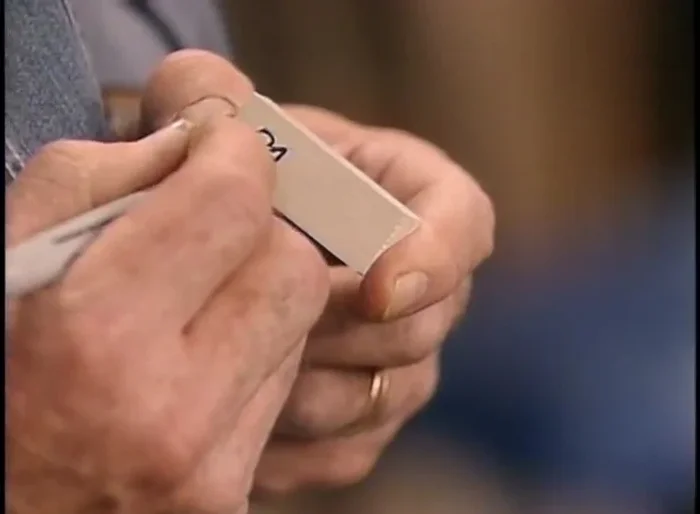
- Clamp a scrap of pegboard onto a strip of wood. Use this as a template to drill small holes (using a drill bit with a depth gauge) for dowels.
- Cut the drilled wood into short sections. Apply glue inside the holes of the markers and insert dowels.
- Test fit markers into the pegboard before glue fully sets.
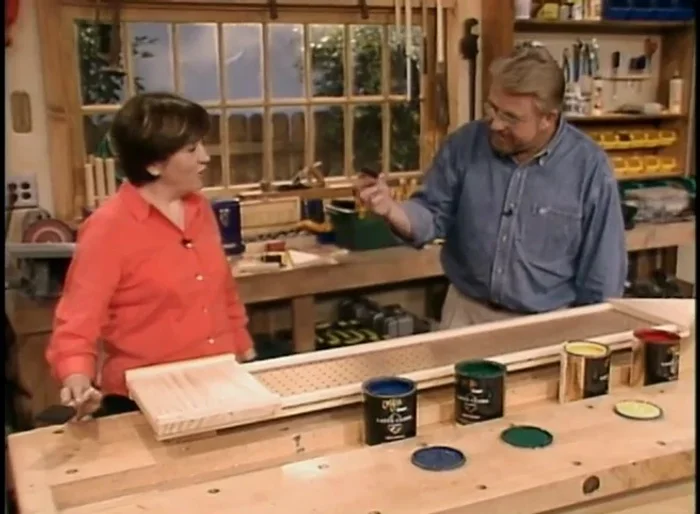
Create Height Markers Paint and Decorate
- Paint the rocket ship (base blue, pegboard yellow). Use gloss paint for easy cleaning. Use a dowel to clear excess paint from the holes.
- Decorate the rocket ship and add height measurements (paint or cloth tape measure).
- Personalize the growth chart by adding the child's name.
Paint and Decorate

Read more: Build a Giant Toy Box: DIY Playroom Organization
Tips
- Use a Japanese handsaw for easier cutting. It cuts as you pull it towards you.
- Use a depth gauge on the drill bit to prevent drilling too deep.
- Use gloss paint for easy cleaning.
- Run a dowel through each hole after painting to clear any excess paint.
- Add inspirational messages or the child's name for personalization.