Craving that charming, rustic farmhouse look but don't want to break the bank? Then you've come to the right place! This DIY project shows you how to build a stunning tiered wood shelf – perfect for displaying plants, books, or decorative items – all for under $10! Forget expensive store-bought options; we'll guide you through creating a unique piece that adds undeniable character to any room, from kitchen to bathroom to living area. Imagine the satisfying feeling of crafting something beautiful with your own hands, knowing you've saved a significant amount of money in the process.
This budget-friendly project requires minimal tools and readily accessible materials, making it ideal for beginners and experienced DIY enthusiasts alike. The rustic aesthetic is effortlessly achieved with simple techniques, ensuring a beautiful, functional, and cost-effective addition to your home. Ready to get started? Let's dive into the step-by-step instructions and transform those inexpensive materials into a gorgeous tiered shelf!
Preparation and Safety Guidelines
- 1x2 wood boards
- 1x6 wood board (optional)
- Wood stain (Jacobian and white recommended)
- Hot glue gun
- Wood glue (optional)
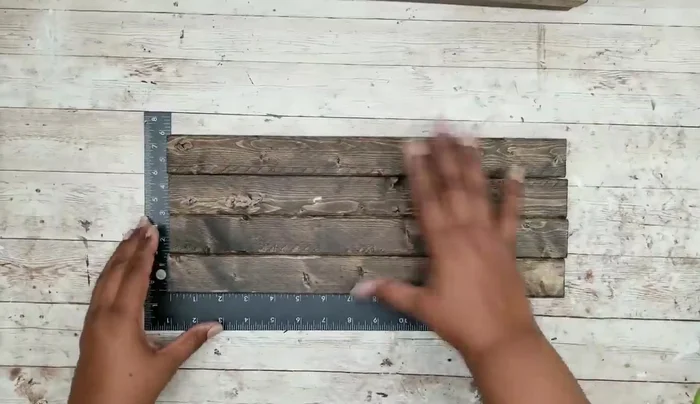
- Carpenter's square
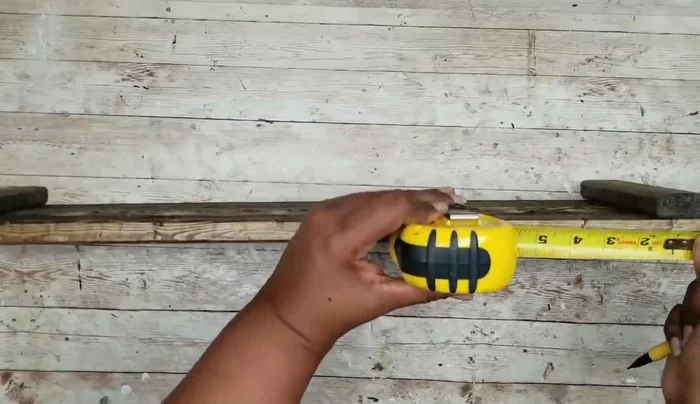
- Tape measure
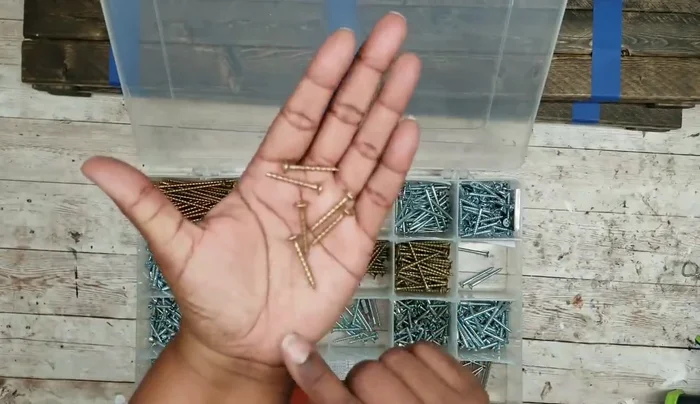
- Screws (1 1/4" wood screws)
- Drill
- Painter's tape
- Sawtooth hangers or D-ring hangers (for hanging)
- Acrylic paint (chocolate brown and black for optional screw hole concealing)
- Fine-tipped paintbrush
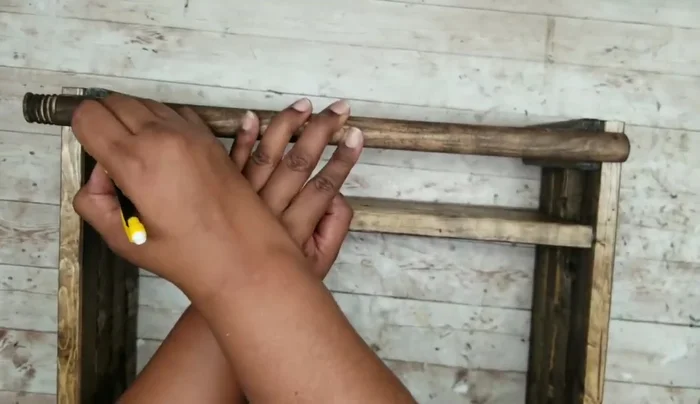
- Towel bar or dowel
- Always wear safety glasses when using saws, drills, or sanding tools. Wood dust can also be irritating, so consider a dust mask.
- Ensure proper ventilation when using paints, stains, or sealants. Follow the manufacturer's instructions carefully and work in a well-ventilated area or outdoors.
- Use caution when handling sharp tools and heavy wood pieces. Ask for help if needed, especially when lifting or maneuvering larger pieces.
Step-by-Step Instructions
Prepare the Wood
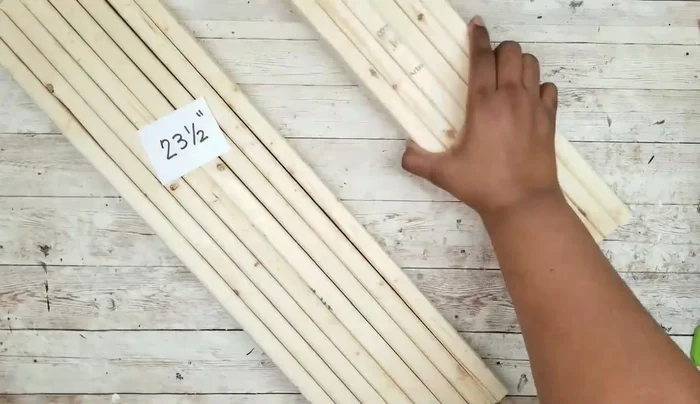
- Cut the wood. You'll need eight 23.5" pieces, twelve 15" pieces, and four 6" pieces. Alternatively, use a 1x6 board and cut two 23.5" pieces, three 15" pieces, and four 6" pieces.

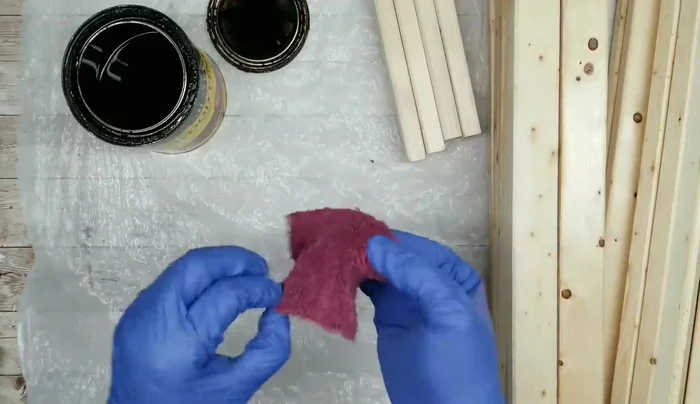
Prepare the Wood Stain the Wood
- Stain all wood pieces (including the plunger handle if using as an alternative for the towel bar) thoroughly, ensuring full coverage of all sides and ends.
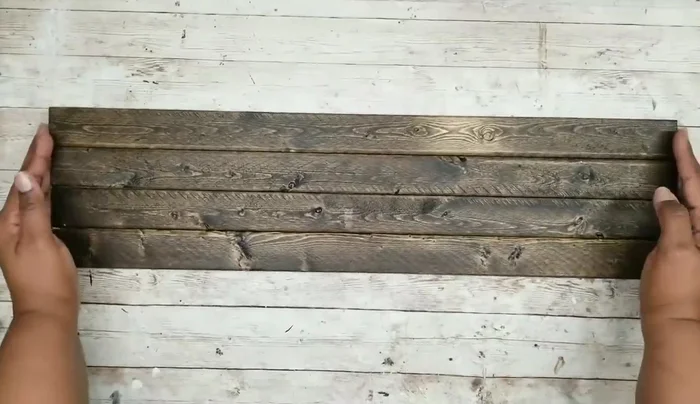
Stain the Wood Dry the Wood
- Let the stained wood pieces dry completely.
Dry the Wood Assemble Side Panels
- Use hot glue (or wood glue) to temporarily bond four 23.5" pieces together to create two side panels, ensuring evenness with a carpenter's square. Repeat for the second side.
Assemble Side Panels Add Accent Pieces
- Glue the four 6" pieces to the inside edges of each side panel.
Add Accent Pieces Assemble Shelves
- Glue four 15" pieces together for each shelf, ensuring evenness using a carpenter's square. Repeat for all three shelves.
Assemble Shelves Mark Shelf Positions
- Measure and mark 3" from the bottom and 10" from the bottom on both sides of the side panels to determine shelf positions. Transfer markings to the opposite side using a straight edge and tape.
Mark Shelf Positions Attach Shelves to Sides
- Temporarily adhere the shelves to the sides using hot glue, aligning them with the tape markings. Drill pilot holes, remove the tape, and then permanently secure the shelves using 1 1/4" wood screws. Repeat this process for both sides of the shelf.
Attach Shelves to Sides Install Towel Bar
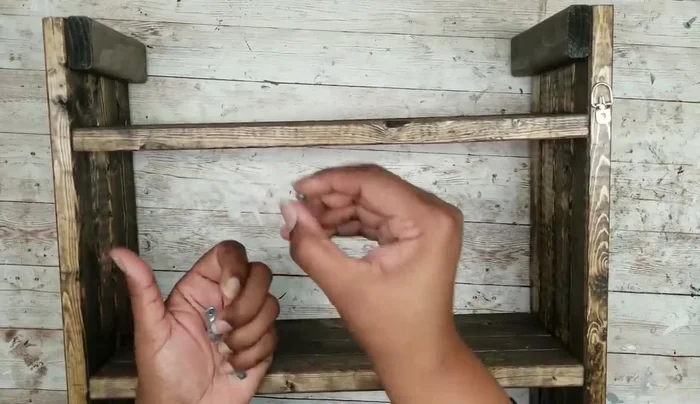
- Measure the space between the 6" pieces at the bottom. Cut a dowel or towel bar slightly larger than the measurement. Glue it in place and secure it with 2" screws.
Install Towel Bar Hang and Finish
- Attach sawtooth or D-ring hangers to the top of the shelf for hanging. Conceal screw heads with paint (optional).
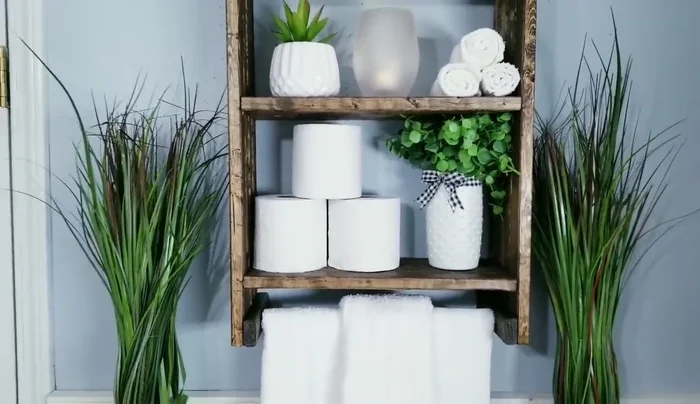
Hang and Finish Decorate
- Decorate!
Decorate

Read more: DIY Pantry Door Spice Rack: Organize Your Spices in Minutes!
Tips
- Using wood glue instead of hot glue adds extra strength but takes longer to dry.
- Don't use too much wood glue to avoid seepage.
- Measure twice before drilling or screwing to ensure accuracy.
- Conceal screw holes with paint to create a seamless finish.