Tired of overflowing closets and haphazardly piled clothes? Yearning for a stylish and functional clothing storage solution without breaking the bank? Then look no further! This DIY project guides you through creating a stunning rustic wood clothing rack that perfectly blends practicality with charming farmhouse aesthetics. Forget overpriced, mass-produced options – you can build your own unique piece that reflects your personal style and fits seamlessly into your existing décor, all while saving a significant amount of money.
This project is surprisingly accessible, even for novice DIY enthusiasts. Using readily available materials and simple tools, you'll be amazed at how easily you can transform humble wood into a beautiful and durable garment rack. Ready to get started on this budget-friendly and stylish upgrade for your home? Let's dive into the step-by-step instructions below.
Preparation and Safety Guidelines
- Rope
- Orbital sander with 120 grit sandpaper
- Drill with 1 1/8 inch hole saw
- Boiled linseed oil
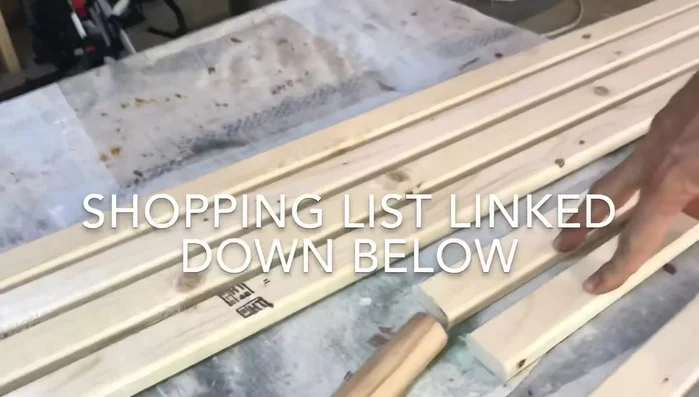
- 5 1x2x8 foot boards
- Miter saw
- Jigsaw
- Clamps
- Always wear safety glasses when sawing, sanding, or using power tools. Wood dust and flying debris can cause serious eye injuries.
- Ensure proper ventilation when working with wood stains, paints, or sealants. These products often contain volatile organic compounds (VOCs) that can be harmful if inhaled.
- Use caution when handling sharp tools like saws, chisels, and screwdrivers. Always cut away from yourself and keep your fingers clear of the blade.
Step-by-Step Instructions
Prepare the Wood
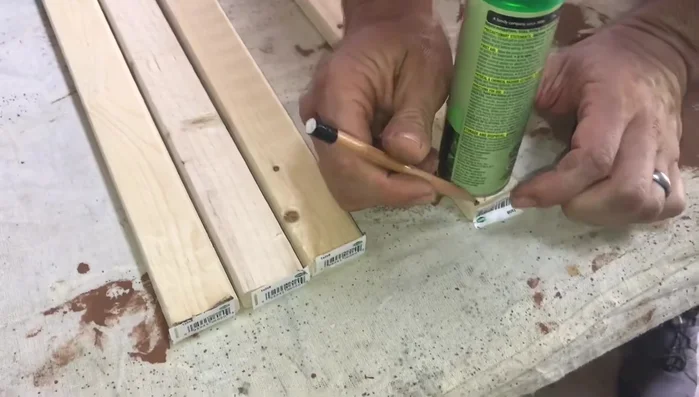
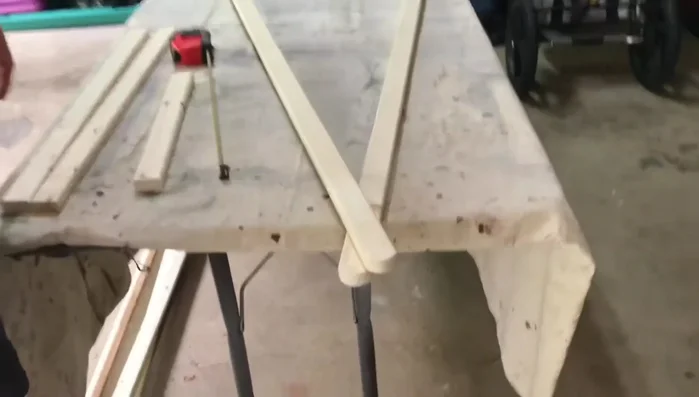
- Cut 1x2x8 foot boards into 25 1/2 inch pieces (for legs), 14 inch pieces (for shelf supports), and 4 6-foot pieces (for the top horizontal supports).

Prepare the Wood Shape the Legs
- Trace a rounded shape (e.g., using a can) onto the top of each leg. Cut along the traced line with a jigsaw and sand the edges smooth with an orbital sander.
- If the rack is too tall, cut 7.5 inches off the bottom of each leg and re-sand the cut edges to maintain the rounded shape.
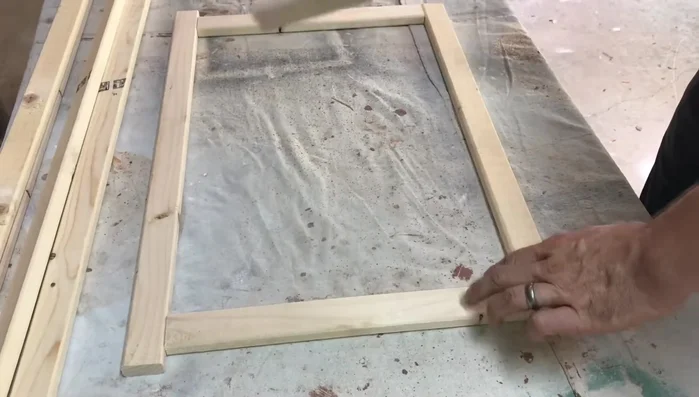
Shape the Legs Assemble the Frame
- Drill holes at the top of the leg supports to accommodate the dowel rod. Ensure the holes are aligned perfectly between the two boards.
- Attach the 14-inch shelf supports to the legs using screws, ensuring even spacing.
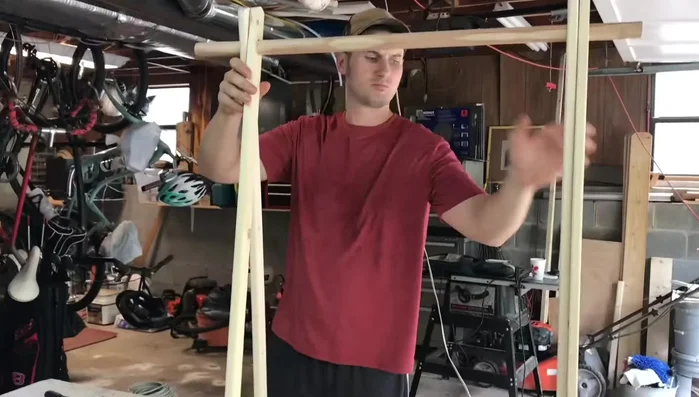
Assemble the Frame Install the Dowel Rod
- Insert the dowel rod through the holes drilled in the leg supports.
Install the Dowel Rod Add the Bottom Shelf
- Attach the bottom shelf to the legs using screws.
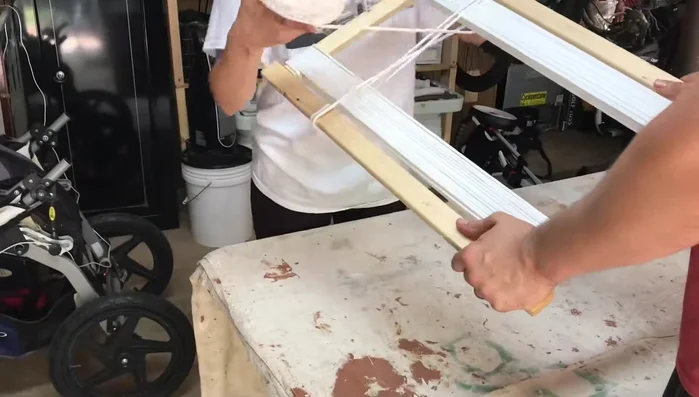
Add the Bottom Shelf Add Decorative Rope (Optional)
- Weave rope around the bottom shelf to create a decorative design. Secure the rope with staples.
Add Decorative Rope (Optional)
Read more: Ultimate Guide to Harmonious Bedroom Furniture Arrangement
Tips
- Use clamps to ensure uniform look when sanding.
- Check that the top of the legs are level before drilling for dowels.
- Use scrap wood to check for even spacing of legs before attaching shelf supports.
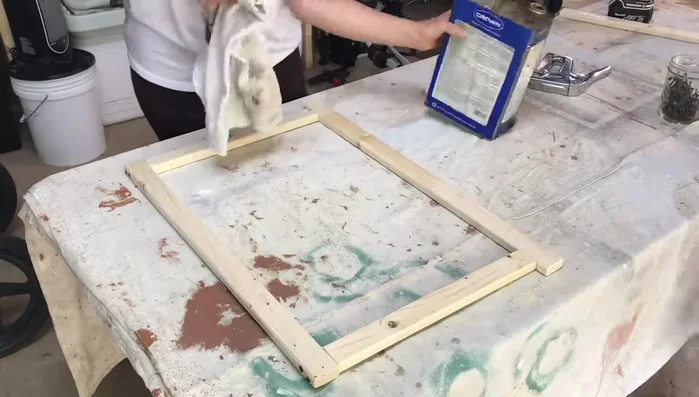
- Apply linseed oil to enhance the wood's appearance.