A cluttered workshop is a frustrating workshop. Finding the right tool at the right time can become a time-consuming scavenger hunt, hindering productivity and creativity. But what if you could transform that chaotic space into an organized haven, all while saving money and adding a unique, industrial aesthetic? The answer lies in building your own DIY salvage rack shelving. This project leverages repurposed materials, offering a sustainable and budget-friendly solution to your storage woes. Forget expensive, pre-made shelving units – with a little ingenuity and elbow grease, you can create a robust and stylish storage system perfectly tailored to your workshop's needs.
This guide provides a detailed step-by-step walkthrough on constructing your own impressive salvage rack shelving, transforming discarded materials into functional and attractive storage solutions. From sourcing materials to the final assembly, we'll cover every aspect of this rewarding project, empowering you to conquer workshop clutter and regain control of your space. Let's get started!
Preparation and Safety Guidelines
- Salvage rack
- Drill
- Bolts
- Welding equipment
- Chains
- Expanded metal
- Ladder
- Bandsaw
- Pliers
- Always wear appropriate safety gear, including safety glasses and gloves, when handling salvaged materials. Expect sharp edges, splinters, and potential hazards.
- Thoroughly inspect all salvaged wood for rot, insect infestation, or structural weakness before use. Replace any compromised pieces.
- Ensure the shelving unit is securely anchored to the wall to prevent tipping and potential injury, especially when holding heavy items.
Step-by-Step Instructions
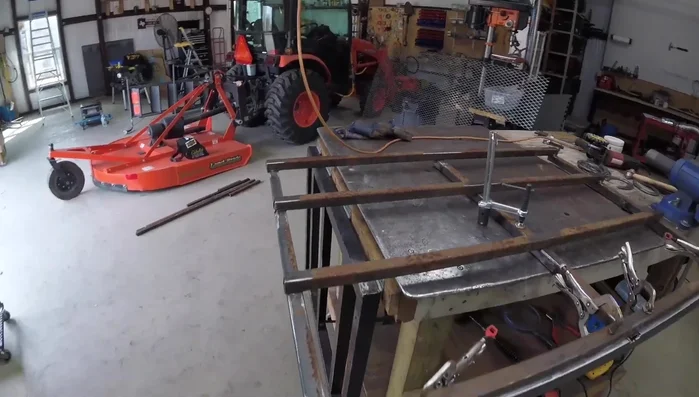
Acquire and Prepare Salvage Rack
- Acquire and prepare a salvage rack.

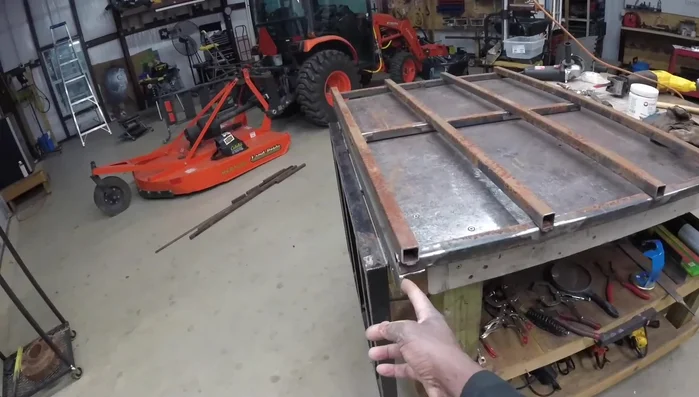
Acquire and Prepare Salvage Rack Reinforce the Rack Structure
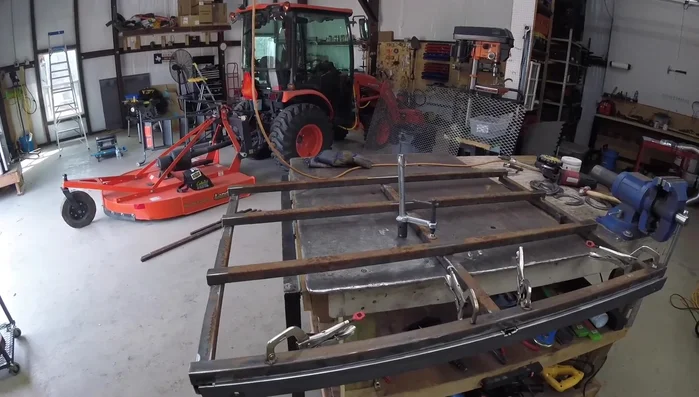
- Cut and weld additional braces to strengthen the rack.
- Cut slots to increase contact surface area for welding.
- Weld the brackets securely, creating additional surface contact.
Reinforce the Rack Structure Prepare for Mounting
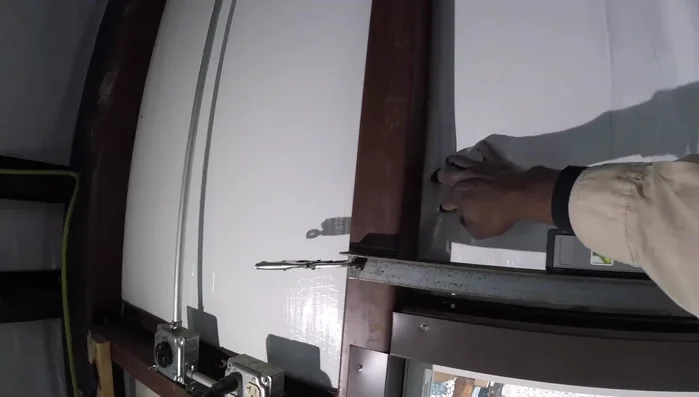
- Mark and drill holes for mounting brackets.
Prepare for Mounting Attach Mounting Brackets
- Attach brackets to the rack using bolts. Avoid welding near insulation.
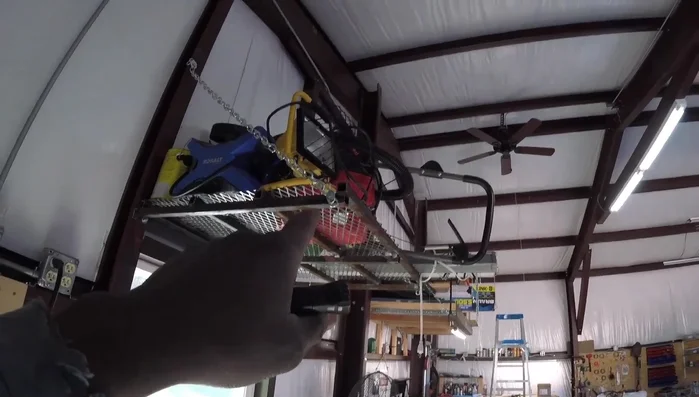
Attach Mounting Brackets Add Shelf and Support
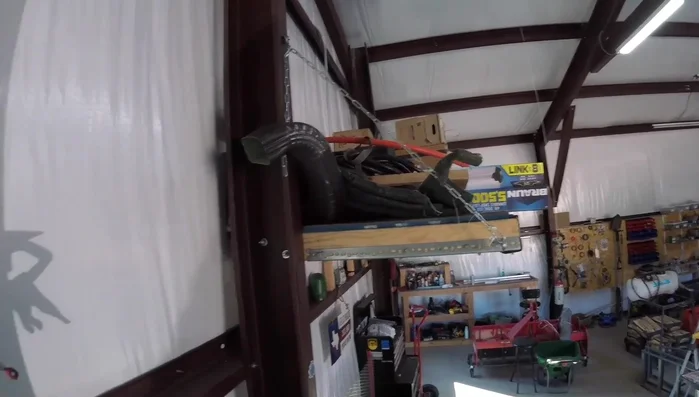
- Install chains for extra support.
- Attach expanded metal to the top for a lightweight shelf.
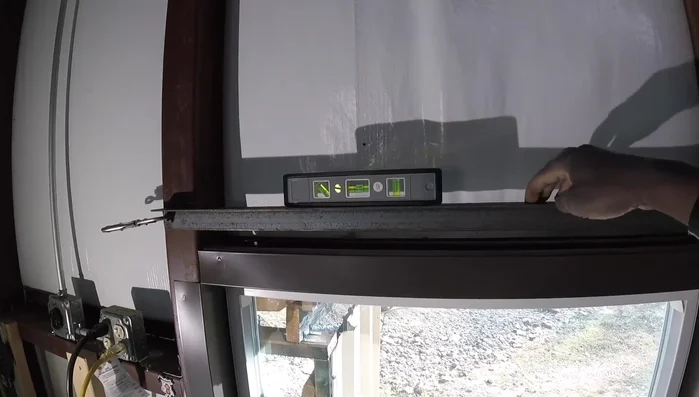
Add Shelf and Support Finishing Touches
- Clean and finish the rack.
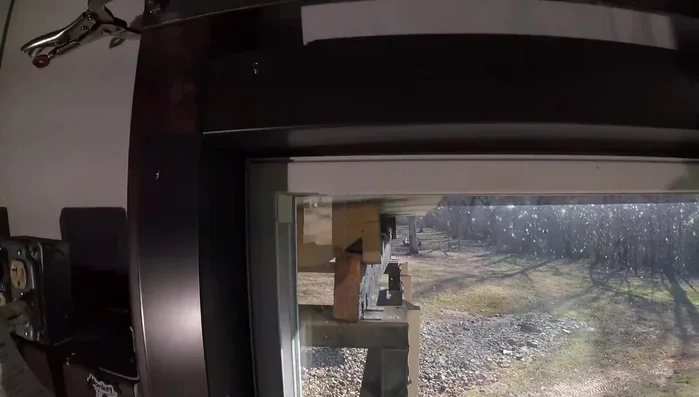
Finishing Touches Installation
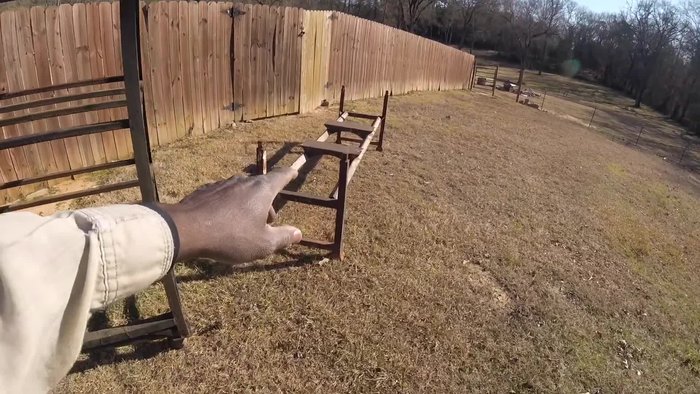
- Install the completed rack in the desired location.
Installation

Read more: Miniature Spider Welding Tutorial: Crafting a Tiny Metal Arachnid
Tips
- For cutting difficult shapes in metal, make multiple cuts to weaken the material, then use pliers to break it apart.
- Consider using a sandblaster for thorough cleaning of heavily rusted metal.
- Expanded metal is a lightweight and practical choice for shelving.
- Use appropriately sized bolts and washers for secure fastening.