Transforming a simple shower curtain liner into a magical playhouse for your little ones is easier than you think! This fun and surprisingly affordable DIY project offers a fantastic alternative to bulky, store-bought playhouses, especially perfect for those with limited space. Forget expensive lumber and complicated carpentry; with just a few readily available materials and a bit of creativity, you can build a charming and imaginative space that sparks endless hours of play. This project is not only budget-friendly and space-saving, but also a rewarding experience for both parent and child, fostering collaboration and creative problem-solving.
Forget expensive play structures taking up valuable living space. This project allows you to repurpose a common household item into something extraordinary. We'll guide you through each step, from selecting the perfect liner to adding the finishing touches that will make your child's new playhouse truly unique. Ready to unleash your inner architect and create a whimsical haven for your kids? Let's dive into the step-by-step instructions!
Preparation and Safety Guidelines
- Shower curtain liner (two)
- Painters tape
- Hot glue gun
- Tape measure
- Scissors
- Foam trays
- Placemat
- Stickers (optional)
- Chalkboard (optional)
- Yarn (optional)
- Hook and loop fasteners
- Ribbons (optional)
- Always supervise children while they are playing in or near the playhouse. The structure is not designed for climbing or excessive rough play.
- Ensure the shower curtain liner is securely fastened to avoid accidental entanglement or strangulation. Use strong, child-safe fasteners.
- Regularly inspect the playhouse for any tears, holes, or damage to the liner and replace it immediately if found. A damaged liner poses a safety hazard.
Step-by-Step Instructions
Prepare the Liner Material
- Carefully unfold two shower curtain liners to avoid wrinkles. Cut 33 inches of length from each liner.

Prepare the Liner Material Join the Liners
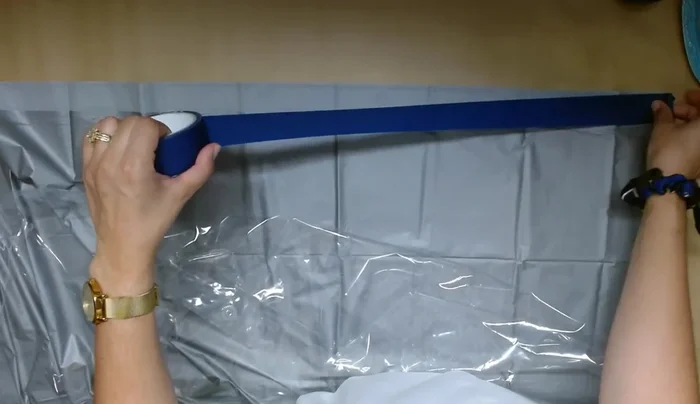
- Apply blue painter's tape along the top edges of both liners. Hot glue the two liners together along the taped edges, ensuring the plastic doesn't melt.
Join the Liners Construct the Playhouse Frame
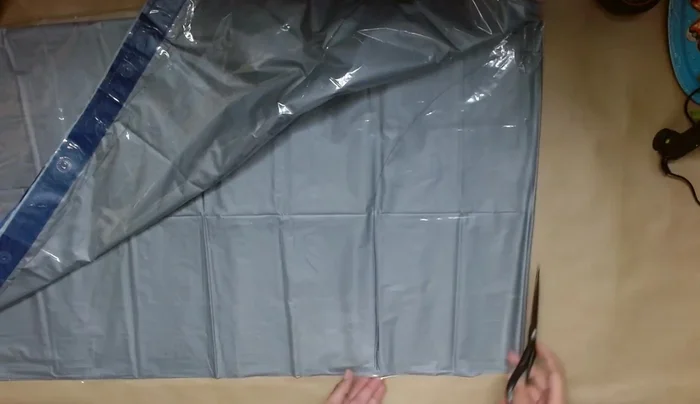
- Fold the double-layered shower curtain in half. Draw and cut a doorway opening. Secure the edges of the doorway with painter's tape to keep it stable.
Construct the Playhouse Frame Add the Window
- Draw and cut a window shape on the folded edge of the shower curtain. Use the cut-out square as a guide to create a matching window on the other layer. Reinforce the window frame with painter's tape on both sides, preventing the sticky side from touching the clear plastic.
Decorate and Add Roof
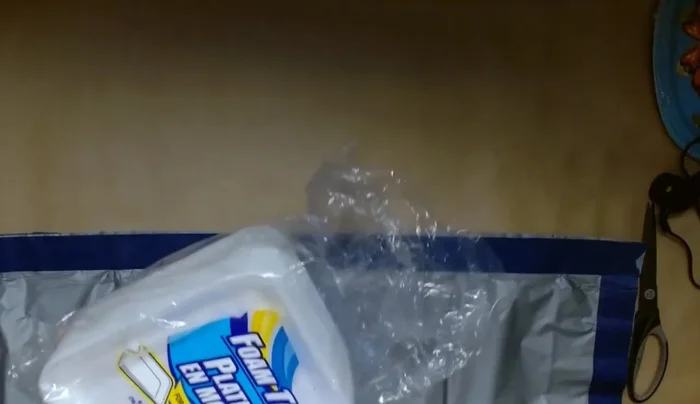
- Cut and attach the foam trays to create a roof-like structure. Use painter's tape to secure the foam trays. Create a sign using the placemat and letters, attaching them with painter's tape.
Decorate and Add Roof Attach to Bed and Final Touches
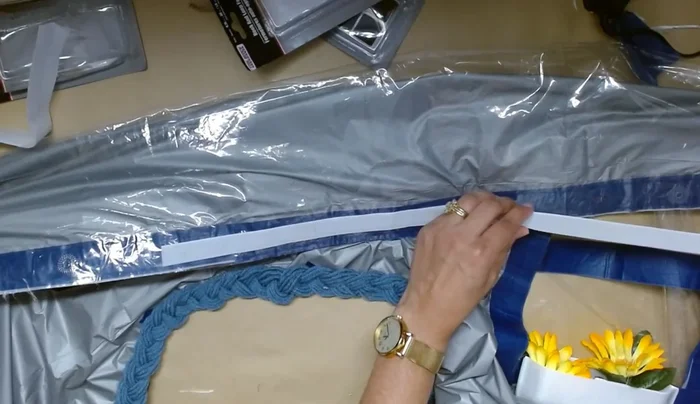
- Use hook and loop fasteners to securely attach the playhouse to the child's bed. Add additional decorative elements such as ribbons and flowers.
Attach to Bed and Final Touches

Read more: Build a Giant Toy Box: DIY Playroom Organization
Tips
- Use painter's tape to prevent the shower curtain liner from melting when using hot glue.
- Do not pull the painter's tape off the shower curtain liner once it's adhered, as it will tear the material.
- For a more durable DIY playhouse, consider using fabric and felt instead of shower curtain liner.
- Foam trays adhere well to painter's tape and are lightweight, making them ideal for this project.