Tired of constantly wrestling with bulky spice racks or awkwardly reaching for seldom-used kitchen items stored at the back of your cabinets? Maximize your kitchen storage space and reclaim valuable countertop real estate with this simple DIY project: custom sliding glass holders installed directly under your cabinets. This ingenious solution provides easy access to frequently used items while keeping your countertops clutter-free and adding a touch of sleek, modern organization. Forget expensive, pre-made organizers; this project uses readily available materials and requires only basic DIY skills.
This guide offers a detailed, step-by-step process to create these incredibly useful sliding glass holders, transforming your kitchen storage from frustrating to functional in just a few hours. From selecting the right materials to the final installation, we’ll walk you through each stage, ensuring a successful outcome that will leave your kitchen feeling both organized and stylish. Let's get started!
Preparation and Safety Guidelines
- Palette slot
- Compass
- Bandsaw
- Router
- Wine glass
- Pencil
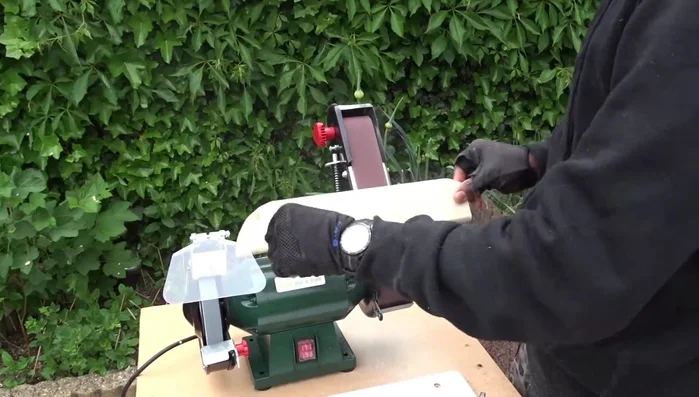
- Belt sander
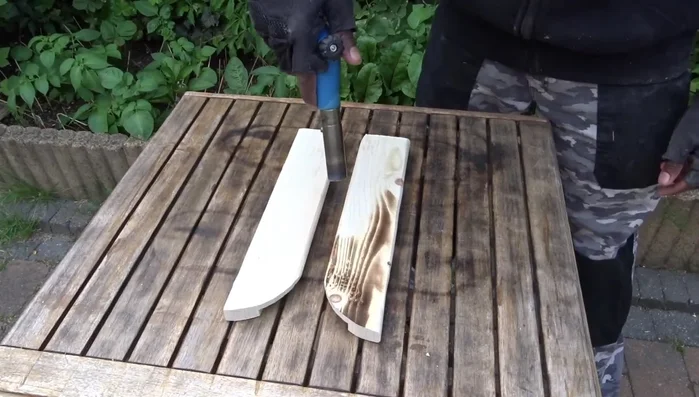
- Wood burning tool
- Wood lacquer
- Transparent spray
- Double-sided tape
- Screws
- Ensure your cabinets are securely mounted and can support the weight of the sliding glass holders and their contents. Weak cabinets may be damaged or fall.
- Always use appropriate safety glasses and gloves when working with sharp tools or heavy objects. Take precautions to avoid cuts and injuries.
- Measure twice, cut once. Precise measurements are crucial for proper installation and preventing damage to your cabinets or the sliding glass holders.
Step-by-Step Instructions
Create the Circular Base
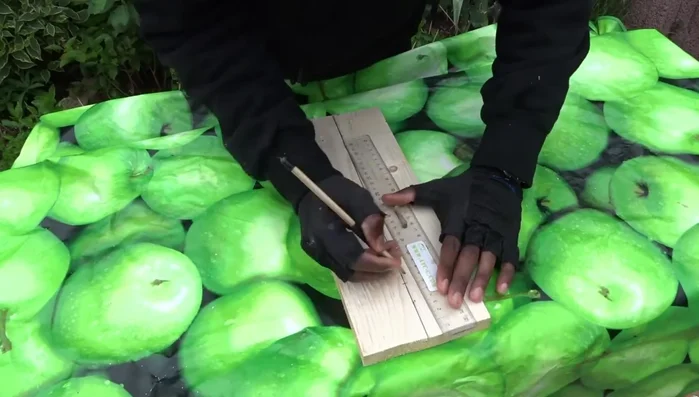
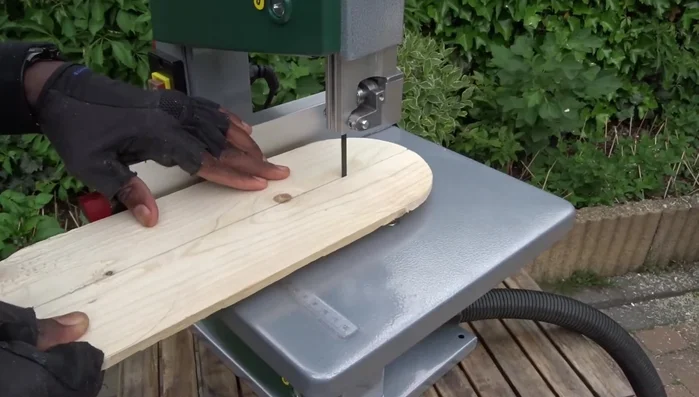
- Determine the middle of the palette slot and trace a line to help create a circle with a compass.
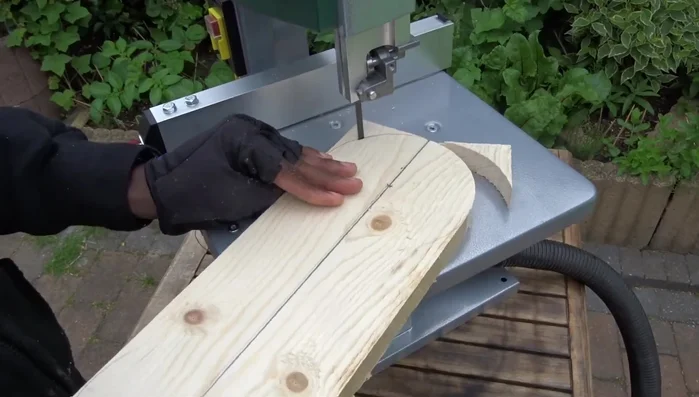
- Use a bandsaw to cut along the traced lines to create the circle.

Create the Circular Base Create Sliding Cups
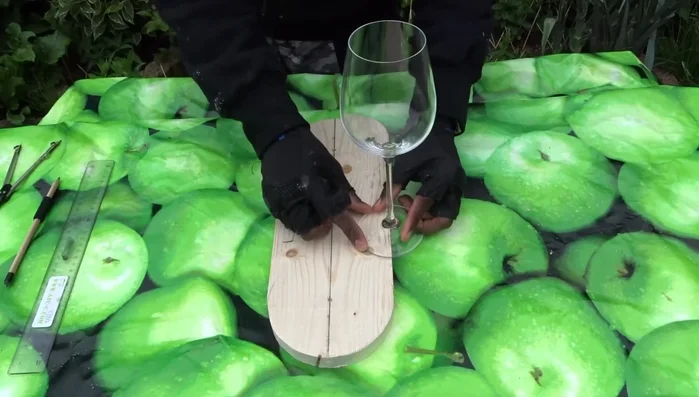
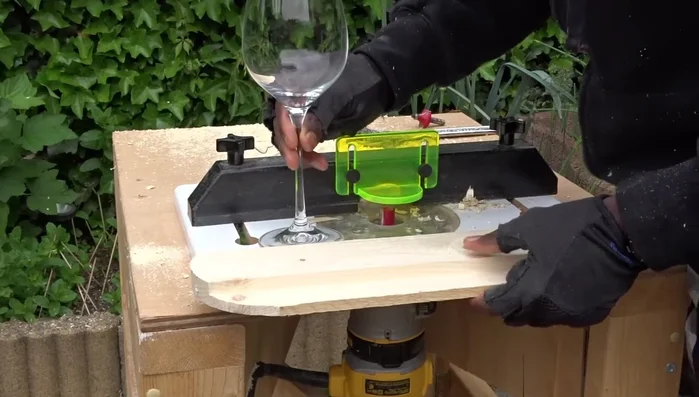
- Use a wine glass to trace lines for creating sliding cups.
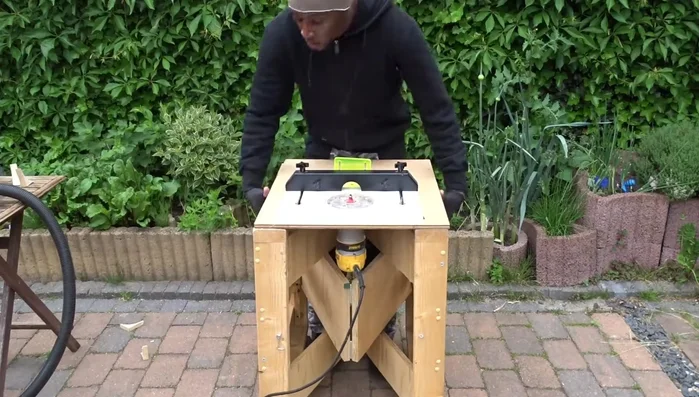
- Transform the worktable into a router table and use a straight bit to create the cups.
Create Sliding Cups Refine and Adjust
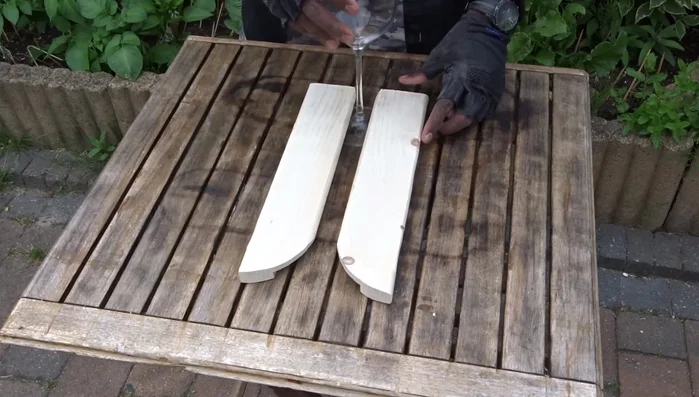
- Double-check the fit using a wine glass.
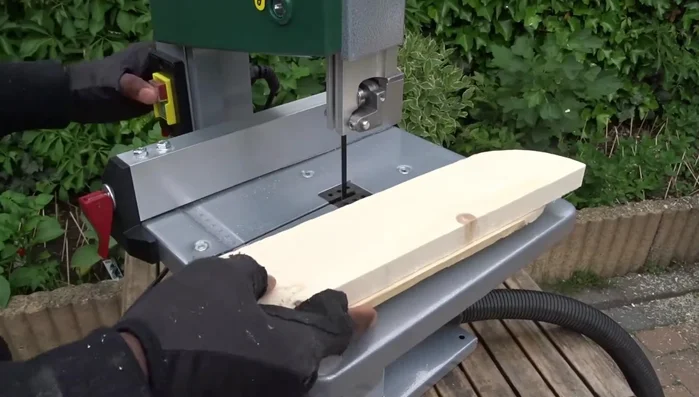
- Use the bandsaw to divide the pieces.
- Round up the loose edges.
- Adjust the length of the pieces to fit the space under the cabinets.
Refine and Adjust Final Fit Check and Smoothing
- Smooth down both pieces using a belt sander.
- Use a wine glass to check the fit one last time. Ensure a 2.5cm gap for sliding.
Final Fit Check and Smoothing Decorate and Finish
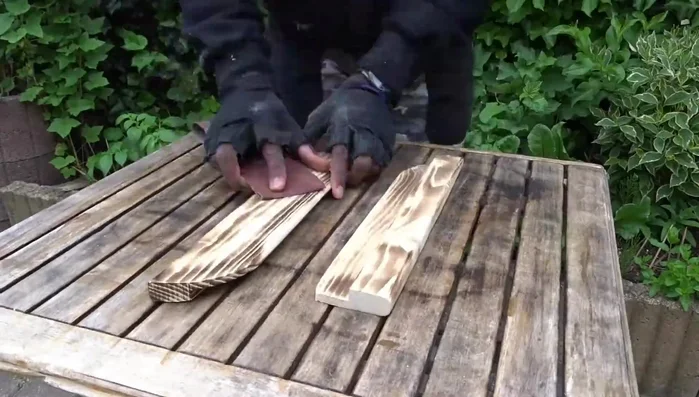
- Wood-burn a design.
- Sand, apply wood lacquer, and a thin layer of transparent spray.
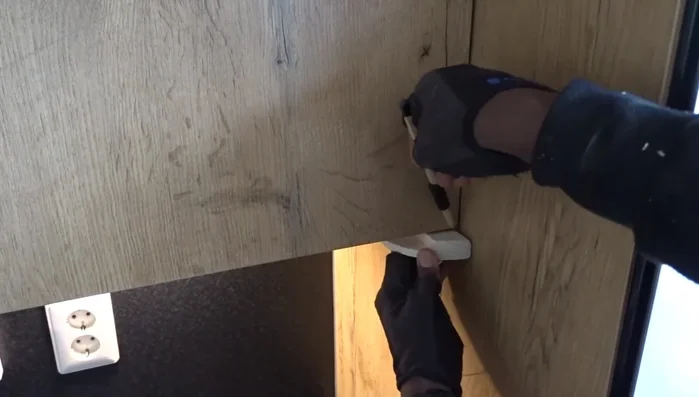
Decorate and Finish Installation
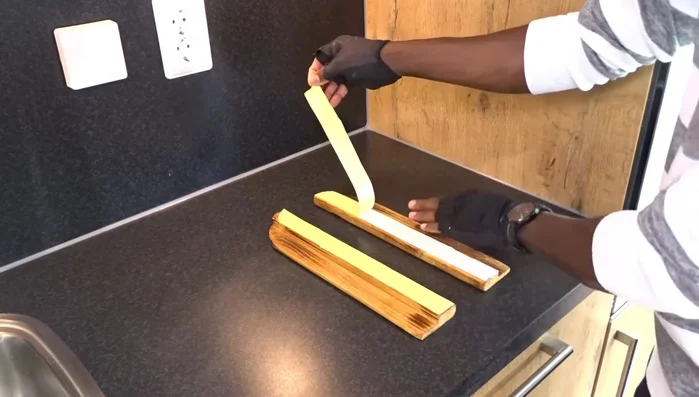
- Attach the holders to the cabinets using double-sided tape (for demonstration) or screws.
Installation
Read more: DIY Pantry Door Spice Rack: Organize Your Spices in Minutes!
Tips
- Consider the pattern you'd like to use for your design.
- Ensure all four sides are worked on simultaneously for consistent results.
- For a secure fit, create holes and use 3cm screws.