Halloween is just around the corner, and what better way to get into the spooky spirit than by crafting your own unique decorations? This year, ditch the store-bought decorations and embrace your creativity with this easy-to-follow DIY paper garland tutorial. Transform simple sheets of paper into a delightfully creepy, yet charming, Halloween garland that will add a touch of eerie elegance to your home, whether you're hosting a fright-filled party or simply enjoying the season solo. Forget about expensive and potentially flimsy store-bought options; this project is budget-friendly, customizable, and perfect for all skill levels, from seasoned crafters to enthusiastic beginners.
Get ready to unleash your inner artist and create a truly personalized Halloween ambiance. This project requires minimal materials, making it incredibly accessible and perfect for a fun afternoon activity. We'll be guiding you through each step of the process, from preparing your paper to hanging your finished masterpiece. Let's dive right into the step-by-step instructions so you can start crafting your spooky garland today!
Preparation and Safety Guidelines
- A4 paper
- Ruler
- Transparent tape
- Scissors
- Optional: Stapler, Liner
- Adult supervision is required, especially for younger crafters using scissors and potentially sharp craft tools.
- Use non-toxic, child-safe materials if crafting with children. Avoid small parts that could pose a choking hazard.
- Ensure proper ventilation when using spray adhesives or paints. Avoid inhaling fumes.
Step-by-Step Instructions
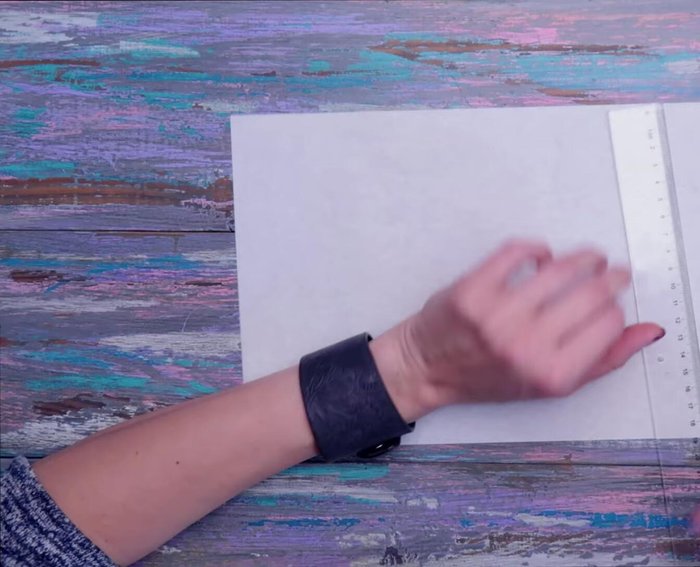
Prepare the Paper Stripes
- Divide the short side of an A4 sheet into three equal parts using a ruler and fold lengthwise.
- Cut along the folded lines to create long stripes.
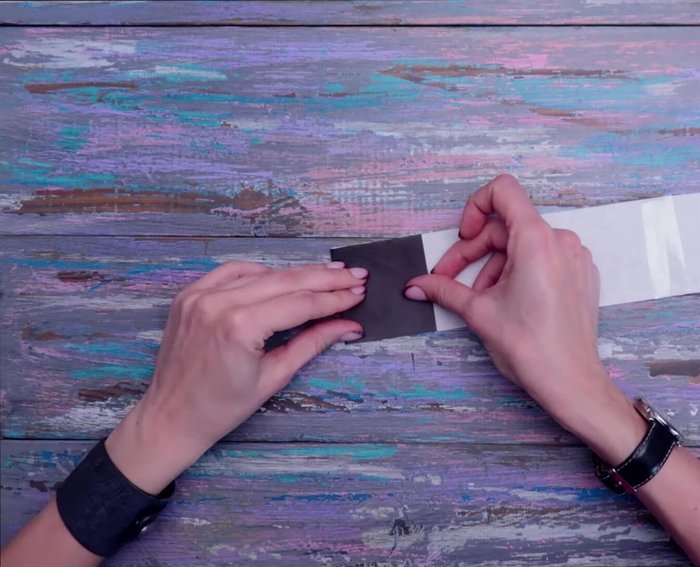
- Join the short stripes into one long stripe using transparent tape.

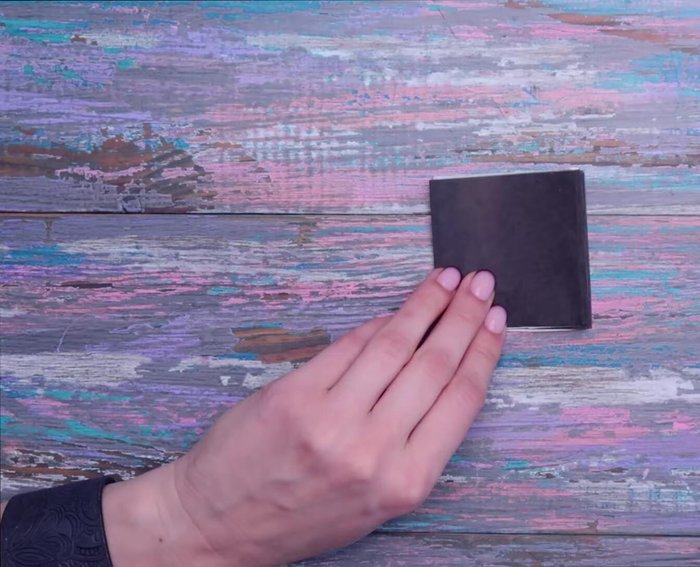
Prepare the Paper Stripes Create the Concertina Base
- Fold the long stripe into a concertina, leaving a small space uncut on each side.
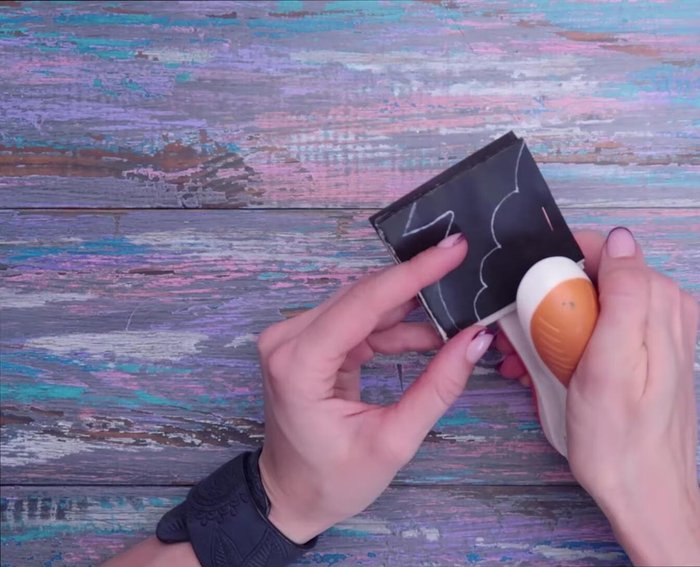
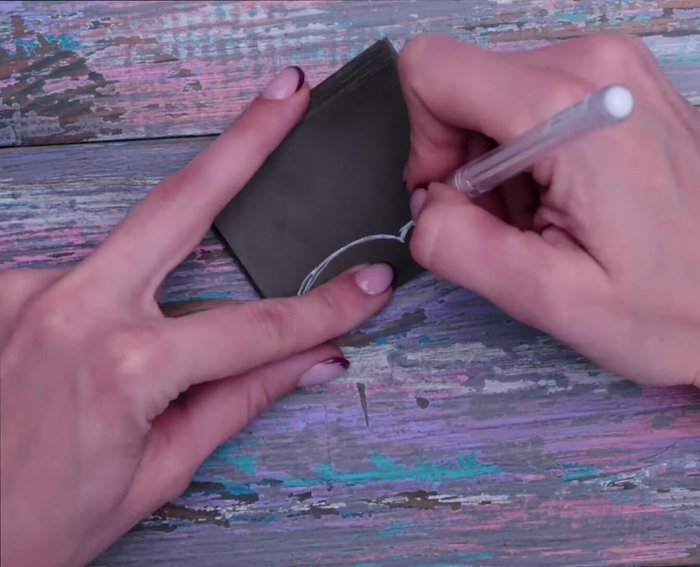
Create the Concertina Base Design and Cut Halloween Characters
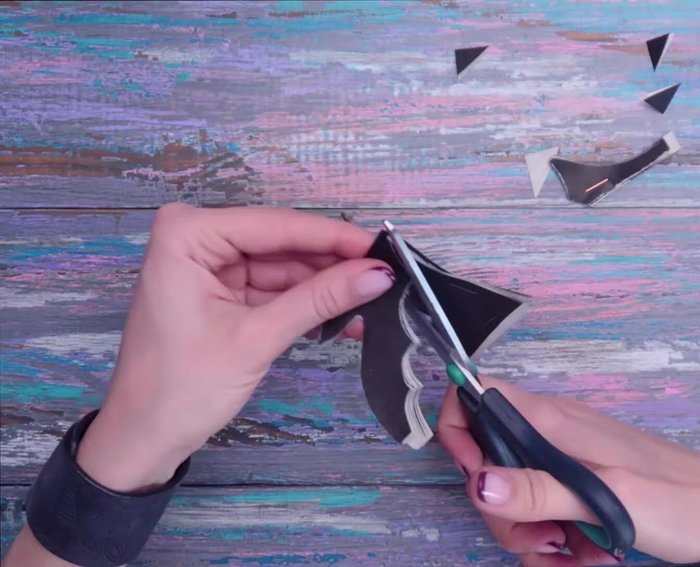
- Draw half of your desired Halloween character (e.g., bat, spider, ghost, pumpkin) on one side of the concertina, ensuring you don't cut through the accordion folds.
- Use a stapler to temporarily hold the layers together while cutting.
- Cut out the character along the drawn lines.
Design and Cut Halloween Characters Assemble the Garland
- Repeat steps 5-7 for multiple characters, ensuring they will interlock to form a garland.
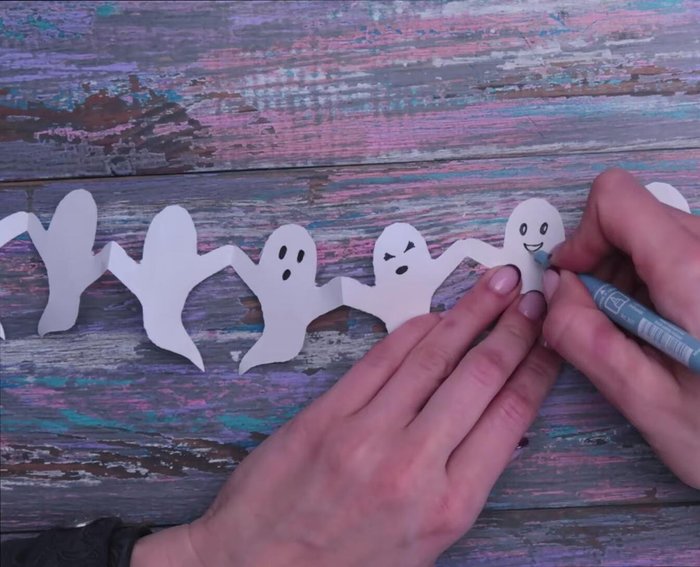
Assemble the Garland Add Finishing Touches
- Add details like faces to your characters using a liner or stencils.
Add Finishing Touches

Read more: DIY King-Size Tufted Headboard: Budget-Friendly Guide
Tips
- Don't worry about perfect symmetry for your characters; imperfections add to the charm.
- Use a stapler to help keep the layers of paper in place while cutting.
- When drawing your characters, make sure you won't have to cut through the bands holding the concertina together.
- For easier character design, search for templates online (e.g., Pinterest).