Stair railings are often overlooked architectural features, yet they significantly impact a home's aesthetic appeal and overall safety. A tired, outdated railing can detract from even the most beautifully renovated space, while a stylish and well-maintained one adds character and elevates the home's ambiance. Updating your stair railing is a rewarding DIY project that can dramatically transform your home's look without breaking the bank, requiring only a moderate level of skill and the right tools. From simple paint jobs to more ambitious woodworking projects, the possibilities are endless.
This comprehensive guide will walk you through every step of transforming your stair railing, whether you're aiming for a subtle refresh or a complete overhaul. We'll cover everything from choosing the right materials and tools to safely removing existing components and installing your new design. Get ready to embark on this rewarding journey as we delve into the step-by-step process that will leave your stair railing looking stunning and your home feeling completely revitalized.
Preparation and Safety Guidelines
- Sledgehammer
- Reciprocating saw
- 2x4s
- Drywall
- 4x4 blocking
- Lag screws
- Power Pro screws
- Chop saw
- Shims
- Utility knife/Multi-tool
- Electronic angle finder
- 16-gauge finish nails (1 1/2" long)
- Plywood core paint-grade trim
- Foam roller
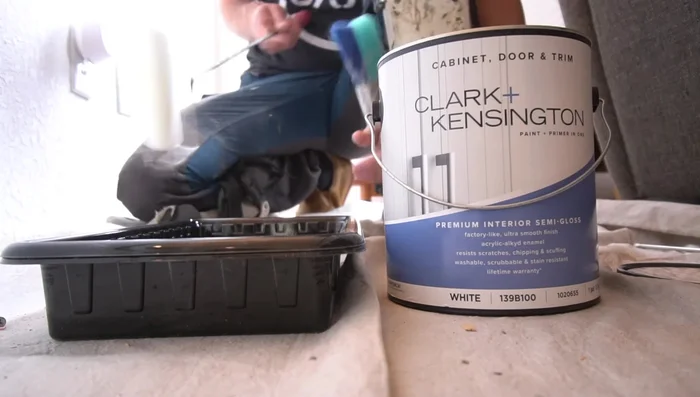
- Cabinet door trim paint
- Bosch random orbital sander
- 240 grit sandpaper
- Shop vac
- Elmer's Carpenter's wood filler
- Putty knife
- Always prioritize safety. Wear appropriate safety gear including eye protection, gloves, and a dust mask throughout the project. Use a stable ladder and never overreach.
- Ensure all fasteners are securely tightened and that the railing meets local building codes for strength and stability. A compromised railing is a serious safety hazard.
- If you are unsure about any aspect of the project, especially those involving structural integrity, consult a qualified professional. Attempting complex repairs without sufficient skill can lead to injury or damage.
Step-by-Step Instructions
Demolition and Safety
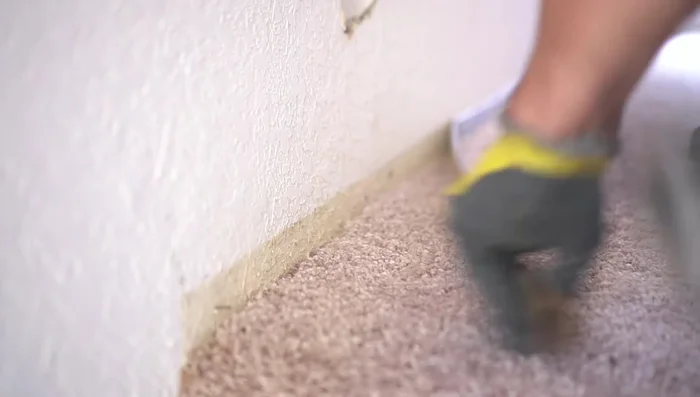
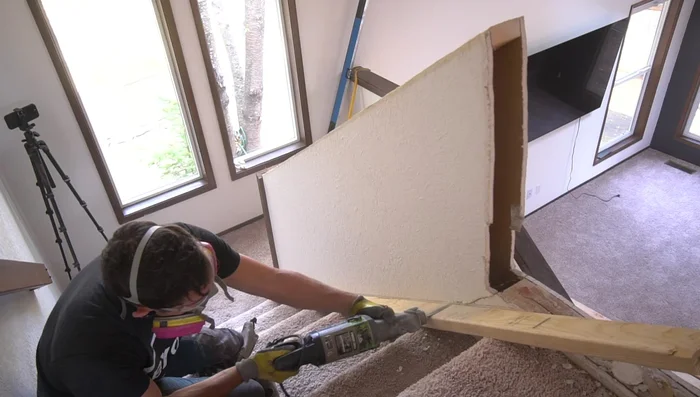
- Demolish the existing railing using a sledgehammer and reciprocating saw. Check for electrical and plumbing before starting.
- Remove the old drywall and 2x4s, keeping the existing 2x4 base plate if possible.
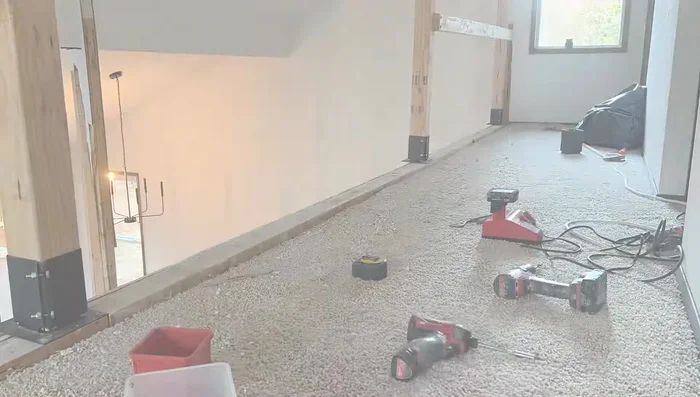
- Install temporary supports for safety, especially in high spaces.

Demolition and Safety Structural Reinforcement
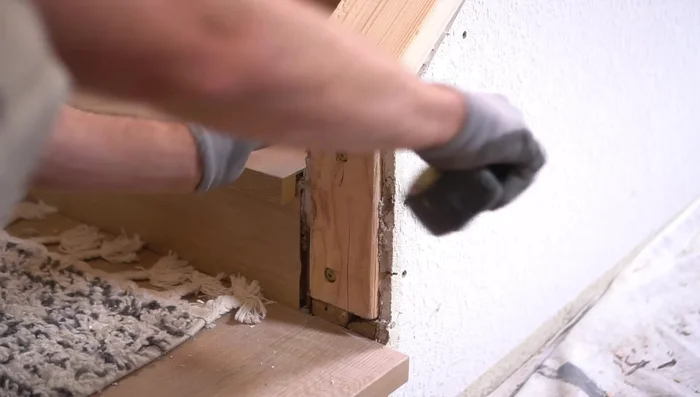
- Reinforce the base with 4x4 blocking and 6" lag screws for structural integrity.
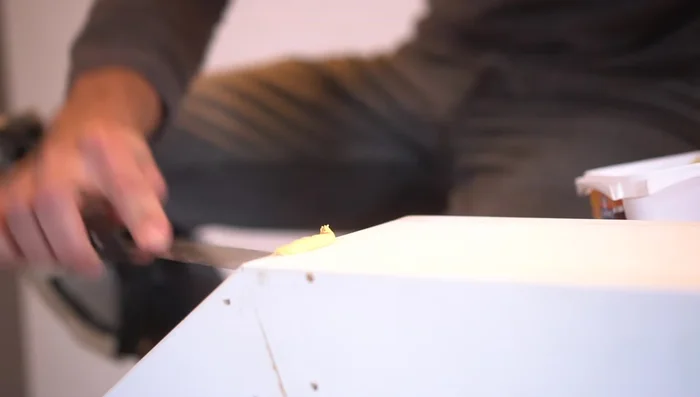
- Using a 2x4 to trace the cut line ensures proper angle and ease of cutting with the reciprocating saw down the stairwell.
Structural Reinforcement Framing the Railing (First Set)
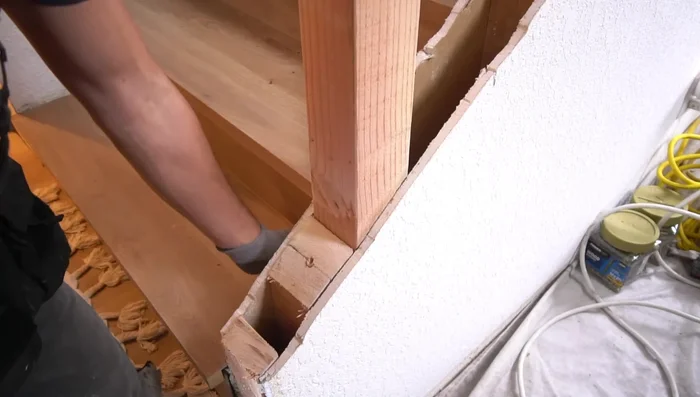
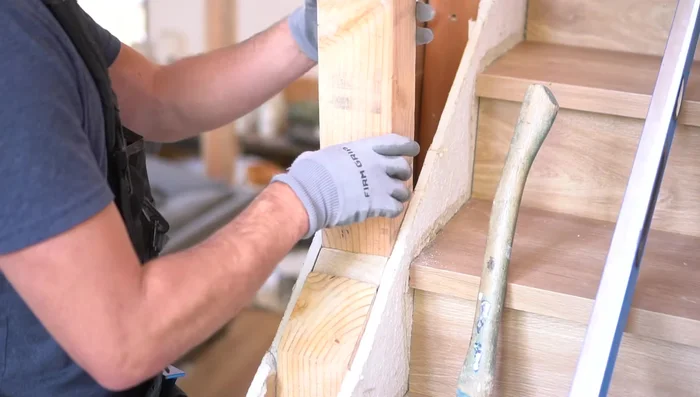
- Install 2x6s (ripped down to 4 3/4" width) on top of the 2x4s and 4x4 blocking to support the new railing posts.
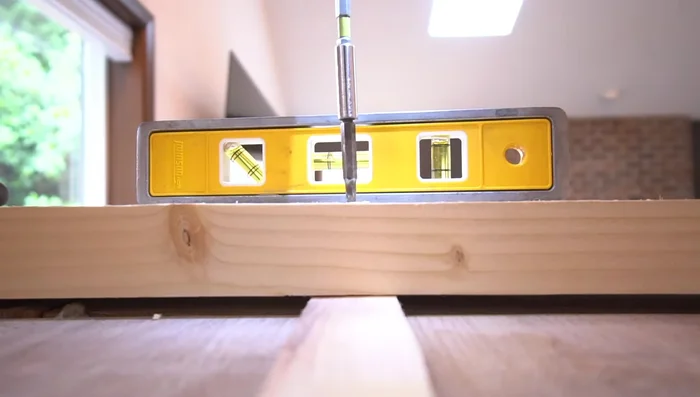
- Install the horizontal base plate, ensuring it's perfectly straight using shims as needed.
Framing the Railing (First Set) Framing the Railing (Second Set)
- Repeat the process for the second stair set, ensuring proper blocking at top, bottom, and middle.
Framing the Railing (Second Set) Installing the Top Cap
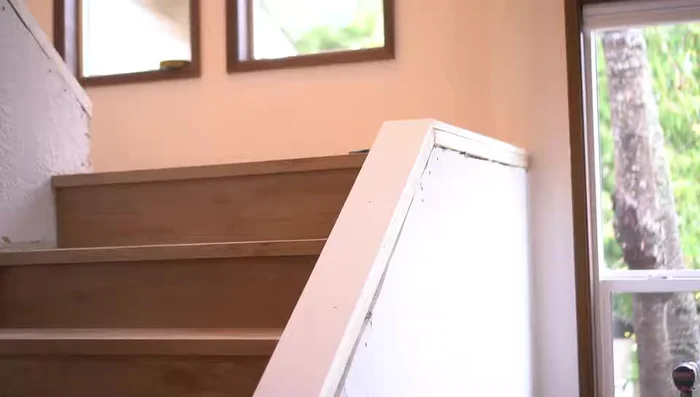
- Install the top cap over the base plate using plywood core paint-grade trim for superior strength compared to MDF.
Installing the Top Cap Precise Angle Measurement and Trim Installation
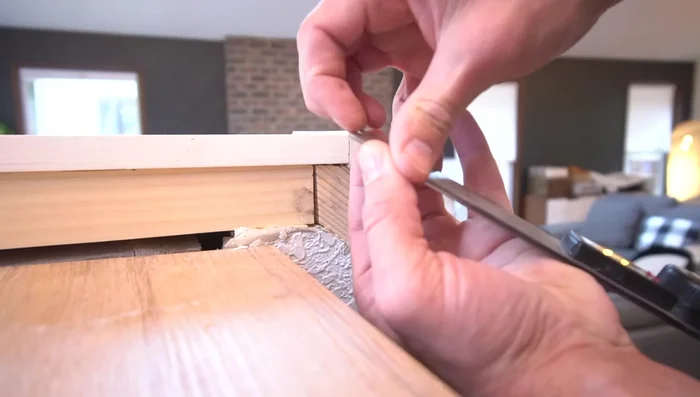
- Use an electronic angle finder to determine accurate angles for mitered corners and adjust accordingly.
- Install side trim, ensuring accurate mitered angles and flush connection with the top cap.
Precise Angle Measurement and Trim Installation Finishing Touches
- Fill nail holes and seams with Elmer's Carpenter's wood filler, sanding smooth after drying.
- Paint the trim using a foam roller for a smooth, uniform finish. Apply a second coat if necessary.
Finishing Touches


Read more: Miniature Spider Welding Tutorial: Crafting a Tiny Metal Arachnid
Tips
- Always check for electrical and plumbing before demolishing any walls.
- Use temporary supports to ensure safety during demolition and construction in high areas.
- Properly reinforce the structure with blocking to support the weight of the new railing.
- Use a 2x4 to trace cut lines for accurate angles when working with a reciprocating saw.
- Plywood core trim is stronger and less prone to damage than MDF.