Transforming a double-story home's interior can be a significant undertaking, but few projects offer as much dramatic impact as a DIY star ceiling. Imagine a breathtaking expanse of twinkling lights, adding a touch of celestial magic to your living space, all without the hefty price tag of professional installation. This stunning effect is now achievable through readily available panel systems, designed for simple installation, even for homeowners with limited DIY experience. Forget expensive, complicated solutions – creating your own mesmerizing star ceiling is within reach.
This guide provides a comprehensive, step-by-step walkthrough of installing a DIY star ceiling panel system in a double-story home, covering everything from initial planning and material selection to the final, dazzling reveal. From navigating the complexities of working at height to troubleshooting common installation challenges, we'll equip you with the knowledge and confidence to successfully complete this transformative project. Let's begin!
Preparation and Safety Guidelines
- Acoustic panels (40mm x 1220mm)
- Hollow wall anchors
- Roofing channels (6.2m)
- Neodymium magnets (130mm x 5mm)
- World's strongest glue
- Black screws
- Hot glue gun
- Glue sticks
- Cordless drill
- Drill bits
- Impact driver
- Ladders
- Tape measure
- Pencil
- White ink marker
- Nail clippers
- Fiber optic strands (0.75mm-1.5mm)
- Chinle RGB LED light engines
- Govi RGB IC LED strips
- Butane torch
- Hardened steel fishing knife
- Always ensure the ceiling structure can support the added weight of the panels and installation materials. Consult a structural engineer if you have any doubts.
- Use appropriate safety equipment, including a harness and safety line, when working at heights. Never work alone on a double-story ceiling.
- Disconnect the power supply to the area before beginning any electrical work, even if you are only installing panels and not wiring. Incorrect wiring can lead to severe electrical hazards.
Step-by-Step Instructions
Prepare the Ceiling
- Install roofing channels to the ceiling.

Prepare the Ceiling Prepare the Panels
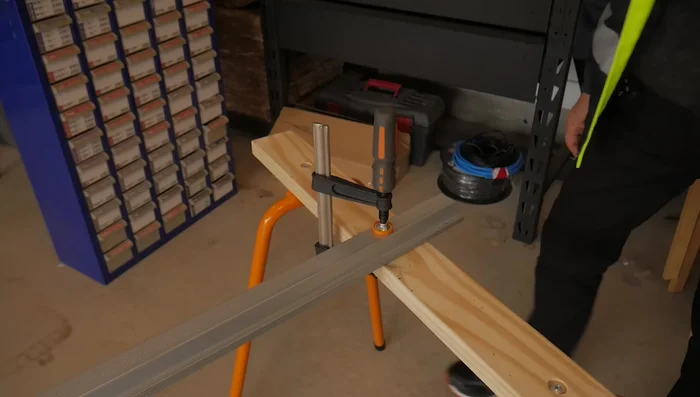
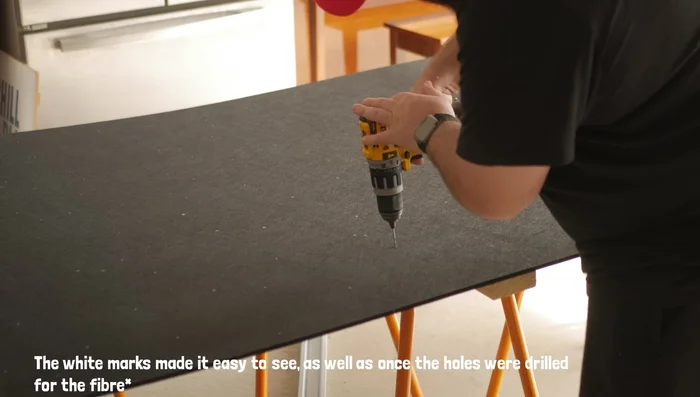
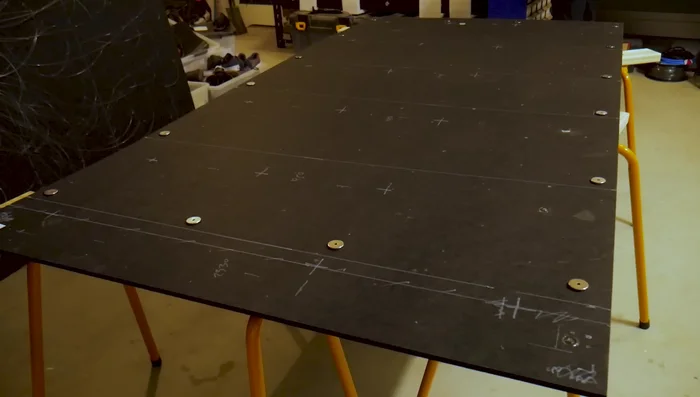
- Mark star points on acoustic panels.
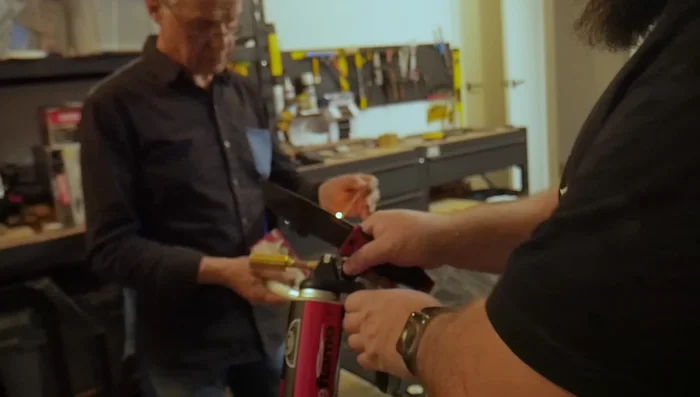
- Drill holes on panels and thread fibers.
- Glue magnets to panels.
Prepare the Panels Install Lighting
- Connect fiber bundles to light engines.
- Install Govi LED light strips.
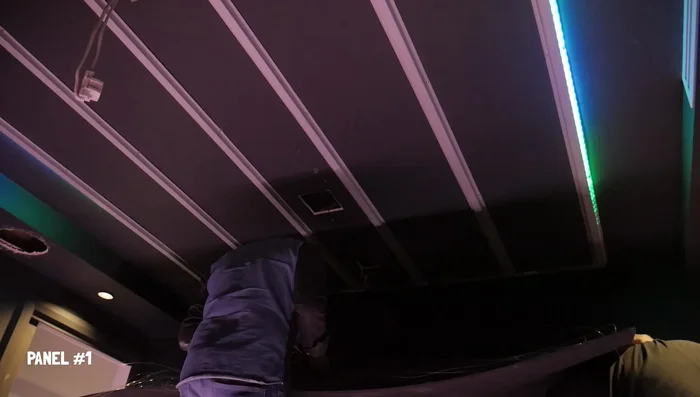
Install Lighting Install and Secure Panels
- Install panels using magnets and secure with screws.
Install and Secure Panels Finishing Touches
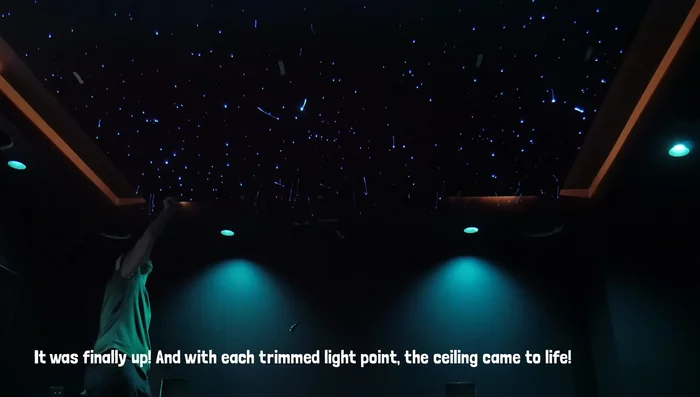
- Trim excess fibers.
Finishing Touches

Read more: Ultimate Guide to Harmonious Bedroom Furniture Arrangement
Tips
- Use a panel system for double-story homes to avoid drilling through floors.
- Use roofing channels for a cheap and secure mounting system for the panels.
- Synchronize Chinle light engines for uniform lighting effects across multiple panels.
- Use hot glue carefully to avoid damaging the fiber optic strands.
- Add a screw to each corner of the panel for added security.