Tired of the same old, mass-produced yard signs? Yearning for a personalized touch that truly reflects your unique style? Then prepare to be captivated by the world of DIY sublimation metal yard signs! This stunning alternative to traditional signage offers unparalleled creative freedom and the ability to craft truly breathtaking designs, all from the comfort of your home. Imagine vibrant, long-lasting images that won't fade or peel, showcasing everything from whimsical family portraits to bold, eye-catching announcements. Sublimation printing on metal provides a professional, polished finish that surpasses anything you could find commercially available.
Forget generic designs and embrace the power of personalization! This guide will walk you through a simple, step-by-step process to create your own stunning, one-of-a-kind metal yard signs. Get ready to transform your outdoor space and express your creativity with this exciting and rewarding DIY project. Let's dive into the detailed instructions and unlock the potential of sublimation printing!
Preparation and Safety Guidelines
- Heat press
- Heat-resistant tape
- Parchment paper
- 12x18 Metal Panel
- Metal Stake
- Adhesive Cable Clips
- Crazy Glue
- Canva (for design)
- Dye-sublimation printer
- Always use a well-ventilated area when sublimating. Sublimation inks and the process can release fumes.
- Wear appropriate safety gear, including heat-resistant gloves and eye protection, to prevent burns and inhalation of fumes.
- Ensure your heat press is properly calibrated to avoid damaging your metal blanks or creating uneven transfers. Follow the manufacturer's instructions closely.
Step-by-Step Instructions
Prepare the Metal Panel
- Remove the protective film from the 12x18 metal panel.

Prepare the Metal Panel Prepare the Design
- Design your yard sign in Canva and print it using a dye-sublimation printer.
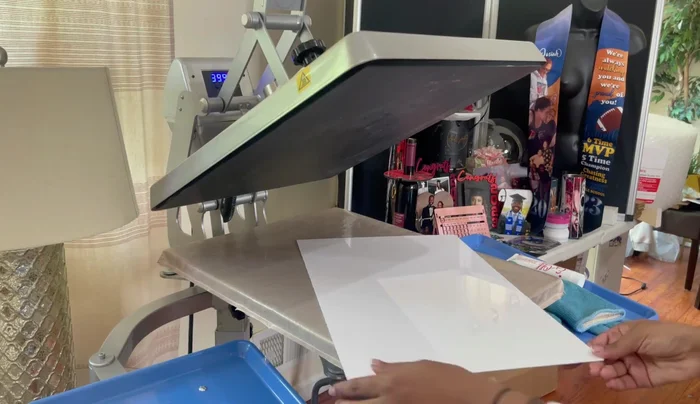
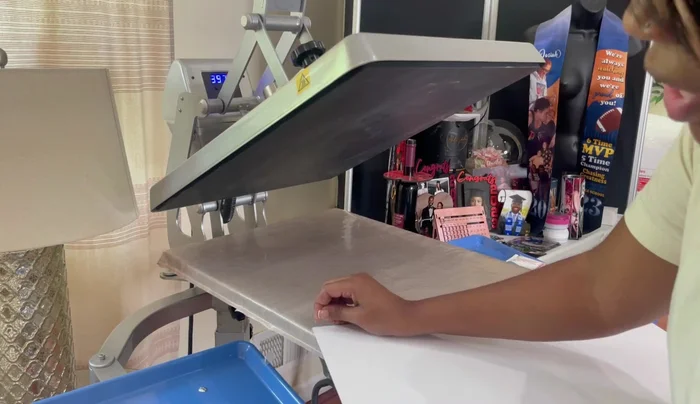
Sublimation Process
- Align your printed design with the metal panel and secure it using heat-resistant tape.
- Press the design onto the metal panel using a heat press at 400 degrees for 60 seconds. Use parchment paper to protect the heat press.
Sublimation Process Cool and Prepare for Assembly
- Allow the metal panel to cool completely.
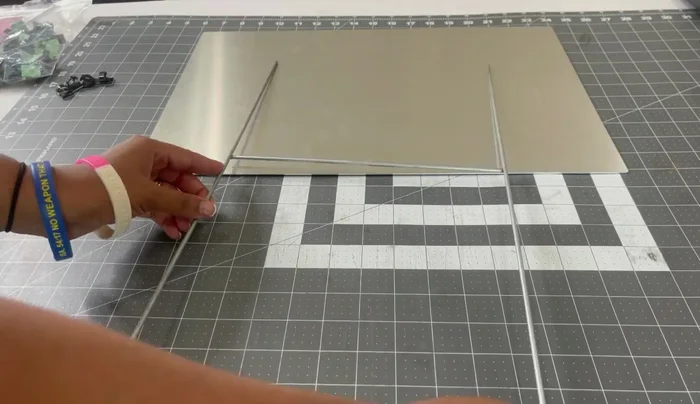
Attach to Stake
- Position the metal panel onto the metal stake. Secure it using adhesive cable clips and crazy glue for extra strength.
Attach to Stake

Read more: Miniature Spider Welding Tutorial: Crafting a Tiny Metal Arachnid
Tips
- Wear heat-resistant gloves when handling the hot metal panel.
- Use heat-resistant tape to secure the design during heat pressing.
- Check your heat press pressure before pressing to avoid ghosting or shifting.
- Use caution when working with crazy glue; it bonds quickly.
- Be patient and allow the crazy glue to dry completely for secure mounting.