Toddler beds, once the scene of countless bedtime stories and snuggles, often end up relegated to the attic or curbside when little ones graduate to bigger beds. But what if we told you that this seemingly discarded piece of furniture could be transformed into something even more magical? This DIY project demonstrates how to cleverly upcycle an old toddler bed into a charming and functional play kitchen, saving you money and adding a unique, handcrafted touch to your child's playroom. We'll breathe new life into that tired wooden frame, turning it into a space where culinary creativity can flourish.
This upcycled project is surprisingly achievable, even for beginners with limited DIY experience. Forget expensive store-bought play kitchens; we'll guide you through each step, from preparing the bed frame to adding the finishing touches, providing clear instructions and helpful tips along the way. Get ready to roll up your sleeves and transform that old toddler bed into the heart of your child's imaginative play! Let's dive into the step-by-step process.
Preparation and Safety Guidelines
- Toddler bed set
- Stainable wood filler
- Sandpaper
- Painter's tape
- Fusion Mineral Paint (Blue Pine)
- Polyurethane
- Spray paint
- CDs
- E6000 adhesive
- Dollar store dog bowl
- Faucet (from Lowe's)
- Jigsaw
- Glass knobs
- Ensure all screws and fasteners are securely tightened and out of reach of children. Loose hardware poses a significant choking hazard.
- Thoroughly sand all surfaces, particularly edges and corners, to eliminate splinters and sharp points. Apply a child-safe, non-toxic sealant to protect the wood and prevent paint chipping.
- Avoid using paints or finishes containing lead or other harmful toxins. Choose products specifically labeled as non-toxic and child-safe.
Step-by-Step Instructions
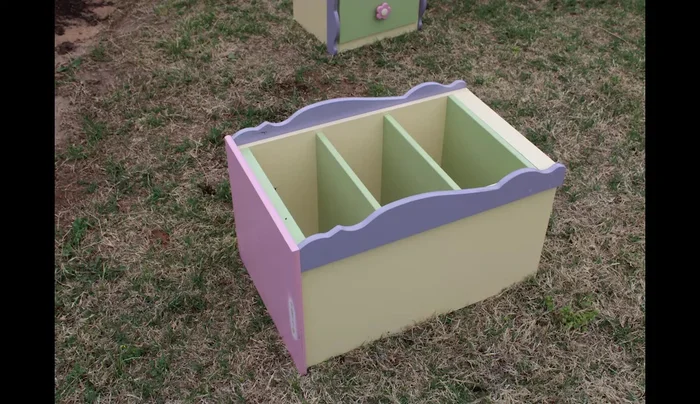
Prepare the Cabinet
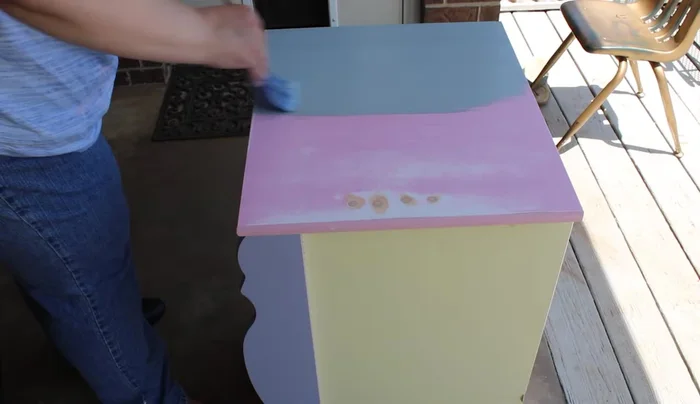
- Fill holes in the cabinet top with stainable wood filler and sand smooth.

Prepare the Cabinet Paint the Cabinet
- Tape off desired areas (green and yellow) and paint the rest with Fusion Mineral Paint Blue Pine.
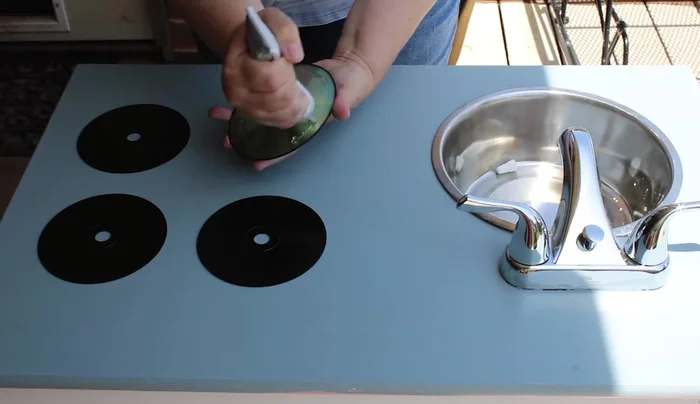
Paint the Cabinet Install Stove Burners
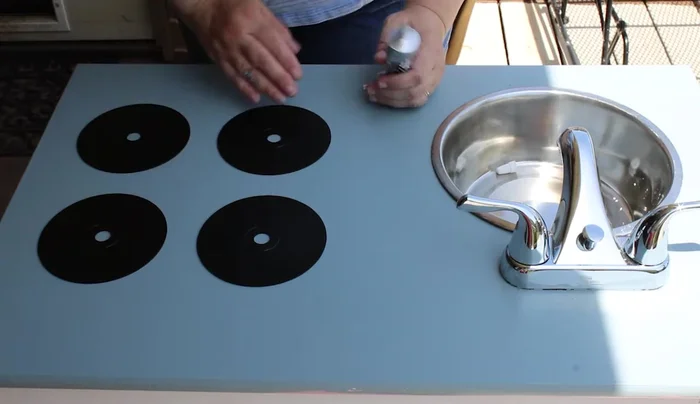
- Spray paint CDs and adhere them to the cabinet as stove burners using E6000.
Install Stove Burners Install the Sink
- Use a dollar store dog bowl as a sink. Cut a round hole in the cabinet using a jigsaw and secure the bowl with E6000.
- Install a clearance faucet from Lowe's, cutting holes and bolting it in from underneath.
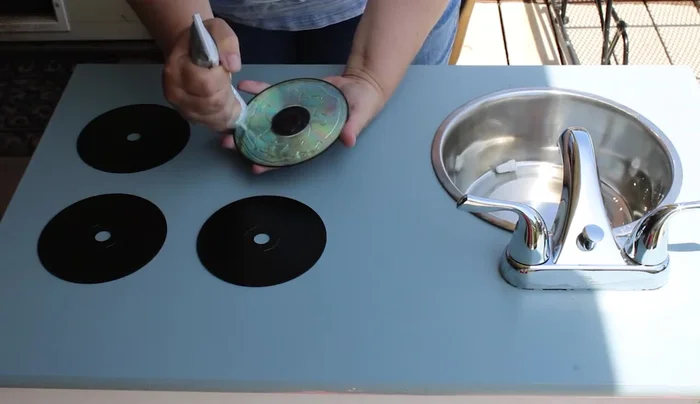
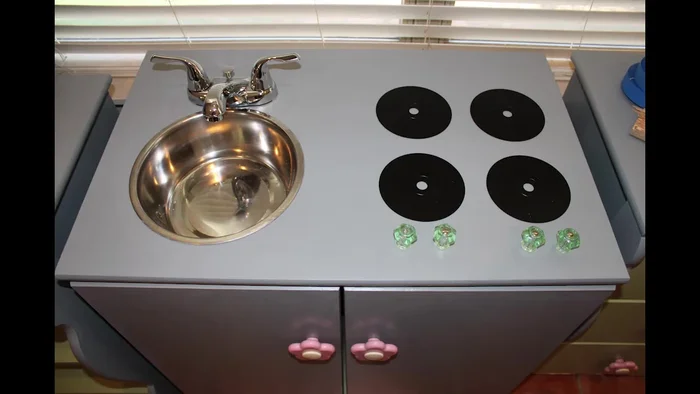
Install the Sink Add Finishing Touches
- Add glass knobs as burner knobs.
Add Finishing Touches
Read more: DIY Upcycled Bed Frame: A Step-by-Step Guide
Tips
- Allow sufficient drying time between coats of Fusion Mineral Paint and the polyurethane to prevent peeling. 24 hours is recommended.