In a world increasingly focused on sustainability and minimizing waste, repurposing old furniture offers a fantastic opportunity to breathe new life into cherished items while reducing our environmental impact. An old wardrobe, often relegated to the attic or curbside, holds surprising potential for transformation. With a little creativity and elbow grease, that forgotten piece can be reborn as a highly functional and stylish storage closet, perfectly tailored to your specific needs. Imagine reclaiming valuable space and adding a touch of unique character to your home, all while giving a second life to a piece of furniture destined for the landfill.
This project is surprisingly achievable, even for novice DIY enthusiasts. From stripping the old paint to adding shelves and organizing compartments, this guide will take you step-by-step through the entire process of transforming your old wardrobe into a practical and aesthetically pleasing storage solution. Let's dive in and unlock the hidden potential within that old wardrobe!
Preparation and Safety Guidelines
- Old wardrobe/antique cabinet
- Screwdriver
- Hammer
- Beef hive tool
- Nails
- Screws
- Shelving materials (recycled lumber)
- Shoe polish
- Heavy-duty plastic parts bag
- Basket
- Glass holder insert
- Always disconnect any electrical wiring before starting any modifications. Improper handling can lead to electric shock.
- Ensure the wardrobe is structurally sound before adding weight. Reinforce weak points with appropriate bracing or supports if necessary.
- Wear appropriate safety gear, including gloves and eye protection, when using tools or handling sharp objects during the repurposing process.
Step-by-Step Instructions
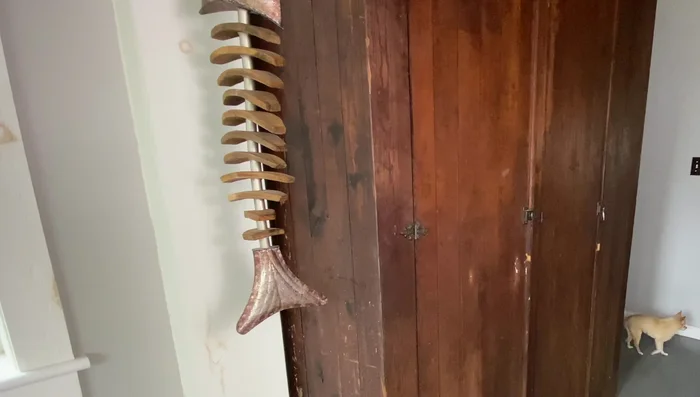
Prepare the Wardrobe
- Remove existing hardware (nails, screws, latches, etc.) from the wardrobe using appropriate tools.
- Organize removed hardware. Keep screws and nuts with corresponding parts if intending to reuse them. Use a container to keep track of small parts.

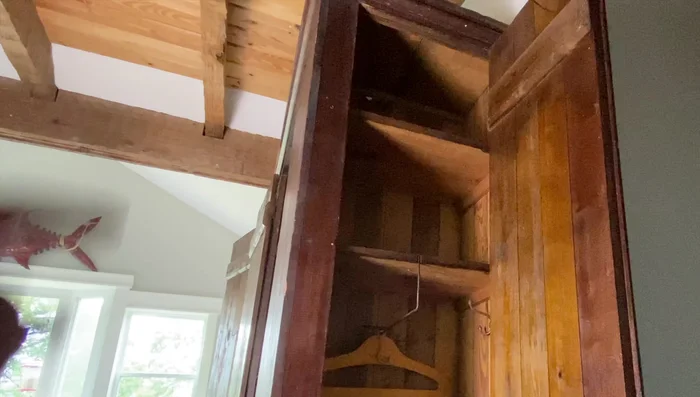
Prepare the Wardrobe Install Shelving
- Remove existing shelves if necessary and plan new shelving based on your storage needs.
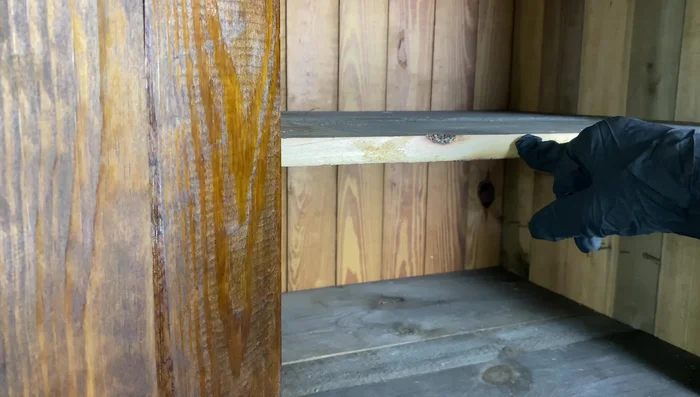
- Install new shelves using recycled lumber or other suitable materials.
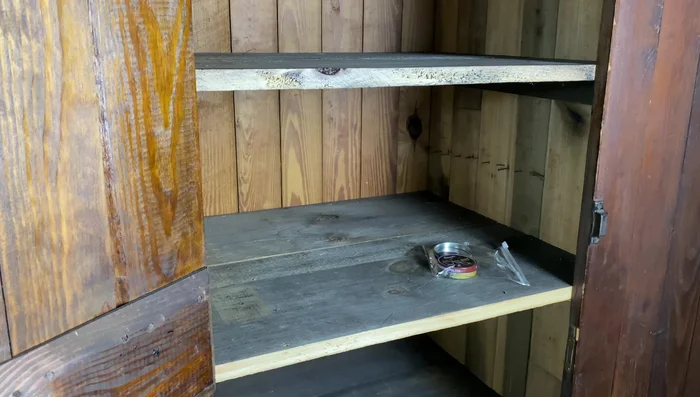
Install Shelving Refine the Appearance
- Apply shoe polish to tone down the brightness of newly cut wood for a more aesthetically pleasing look.
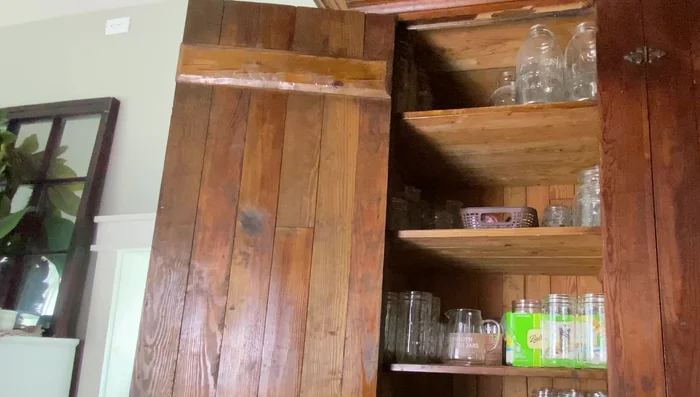
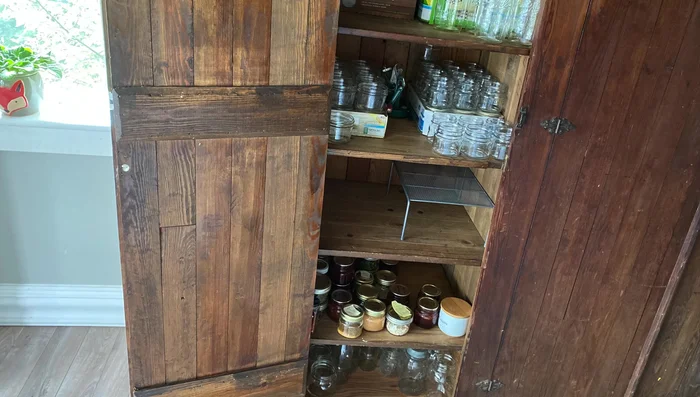
Refine the Appearance Organize and Fill
- Organize and arrange your storage items inside the repurposed wardrobe.
Organize and Fill
Read more: DIY Upcycled Bed Frame: A Step-by-Step Guide
Tips
- Keep all small hardware components together in a container until the project is complete to avoid loss or misplacement.
- Use recycled or repurposed materials, like lumber from old structures, to reduce waste and costs.
- Consider using shoe polish or other wood treatments to match the new shelves to existing cabinet color.