Vintage maps whisper tales of forgotten explorers and bygone eras, their intricate details holding a captivating charm. Now, you can bring that same sense of history and adventure into your home with a stunning DIY vintage map wallpaper. Transforming ordinary walls into captivating focal points is surprisingly achievable, allowing you to create a unique and personalized space that reflects your individual style. Forget expensive, mass-produced options; this project offers a cost-effective way to achieve a sophisticated, museum-worthy aesthetic.
Imagine the compliments you'll receive as guests admire your handcrafted masterpiece. This project allows for complete creative control, from selecting the perfect map imagery to adjusting the scale and layout to perfectly suit your room. Ready to embark on this exciting journey? Let's dive into the step-by-step process of creating your own magnificent DIY vintage map wallpaper.
Preparation and Safety Guidelines
- Vintage maps
- Tape
- Mod Podge (full strength and watered down)
- Dense foam roller (or brayer)
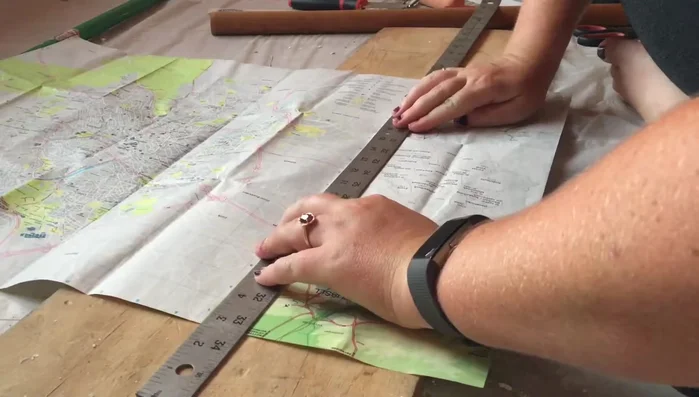
- Straightedge
- Razor blade
- Camera
- Always work in a well-ventilated area. The adhesive and inks used in vintage maps can release fumes.
- Protect your work surface. Vintage maps can be delicate and the paste can stain.
- Measure carefully before cutting. Vintage maps are often irreplaceable, so precise measurements are crucial to avoid waste.
Step-by-Step Instructions
Planning and Preparation
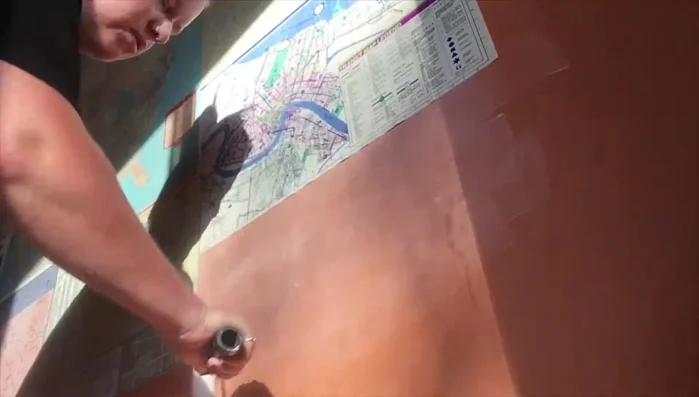
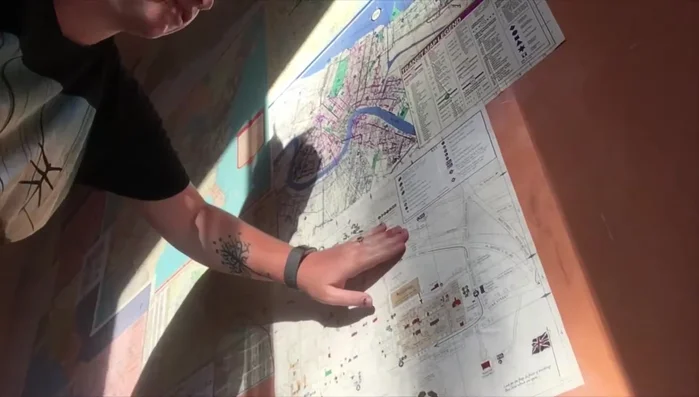
- Plan the map arrangement on the wall and take a picture for reference.
Applying the Maps
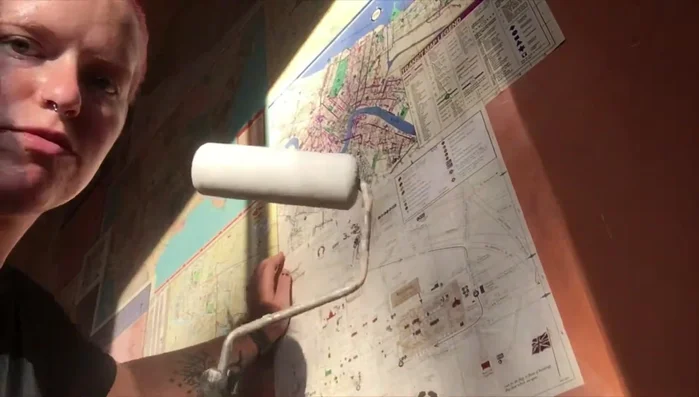
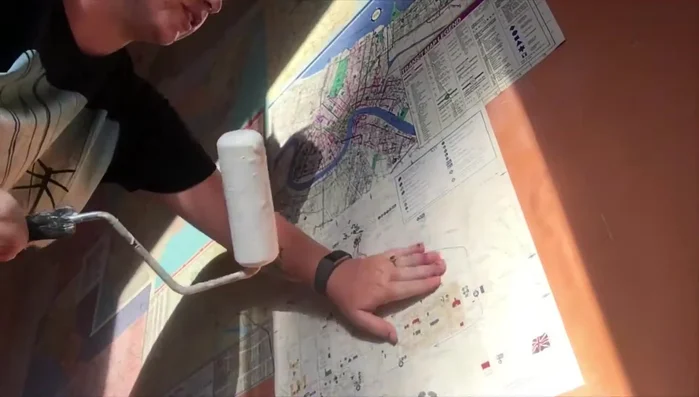
- Apply Mod Podge (full strength) to the back of each map and adhere to the wall, overlapping slightly for seamless coverage.
- Use a dense foam roller (or brayer) to smooth out the maps and remove air bubbles.

Applying the Maps Drying and Setting
- Let the maps sit to adhere completely.
Drying and Setting Sealing and Protection
- Apply a watered-down coat of Mod Podge to seal and protect the maps.
Sealing and Protection Finishing Touches
- Trim excess map edges using a straightedge and razor blade for clean lines.
Finishing Touches
Read more: Ultimate Guide to Harmonious Bedroom Furniture Arrangement
Tips
- Using a razor blade and straightedge provides cleaner cuts than scissors.
- Trim maps on a scrap surface to protect other surfaces from damage.
- Air bubbles often smooth out as the Mod Podge dries.