Transform your home with the rustic charm of a DIY wagon wheel chandelier! This unique lighting project brings a touch of the Wild West into your interior, perfect for those seeking a statement piece with a handcrafted feel. Imagine the warm glow emanating from this stunning centerpiece, adding a layer of character and personality to your living space, dining area, or even a spacious entryway. The rustic beauty of reclaimed wood and the sturdy elegance of a wagon wheel combine to create a truly captivating focal point. This design effortlessly blends modern practicality with a vintage aesthetic, making it a perfect addition to a variety of home styles.
This detailed guide will walk you through each step of creating your own wagon wheel chandelier, from sourcing materials to hanging your finished masterpiece. Get ready to unleash your inner craftsman and prepare for the rewarding experience of bringing this beautiful and unique light fixture to life, adding a touch of western charm to your home's decor.
Preparation and Safety Guidelines
- 8 ft chain
- canopy kit
- eye screws
- quick link
- D-ring shackles
- bolt cutters
- 183 wire
- palm router
- push wire connectors
- retro style sockets (Amazon)
- vintage Edison style bulbs
- 3-in screws
- wire staples
- drill
- Always use electrical wiring rated for the chandelier's wattage and ensure all connections are secure and properly insulated to prevent fire hazards. Consult a qualified electrician if you are unsure.
- Wear appropriate safety glasses and gloves when working with sharp objects like the wagon wheel spokes and wire cutters. Take precautions to avoid cuts and injuries.
- Ensure the chandelier is securely mounted to a ceiling joist that can support its weight. Improper mounting could result in the chandelier falling and causing injury or damage.
Step-by-Step Instructions
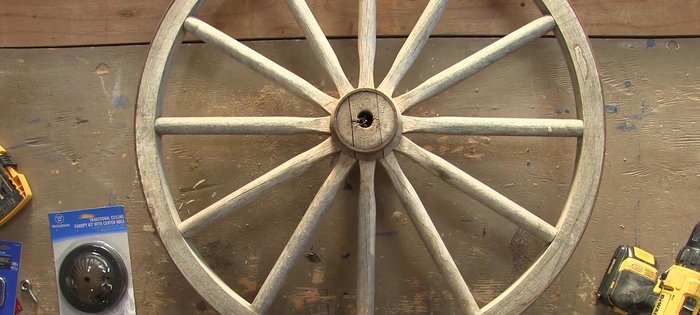
Prepare the Wagon Wheel
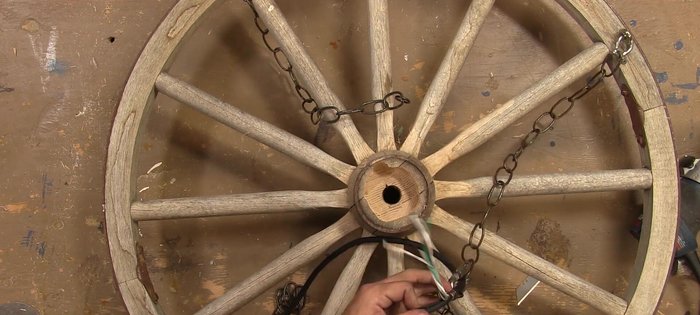
- Drill four holes on opposite sides of the wagon wheel and thread in eye screws.
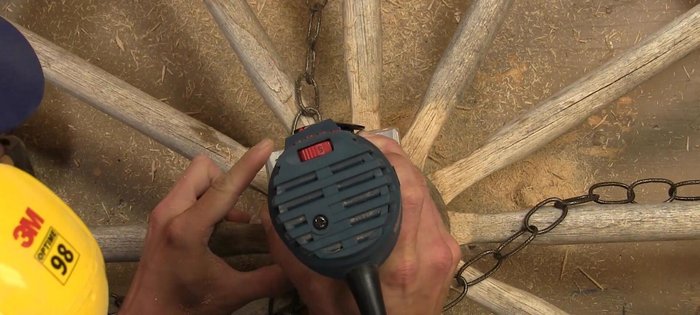
- Route out a deep round opening in the wagon wheel for the wire connections (junction box area).

Prepare the Wagon Wheel Assemble the Hanging Mechanism
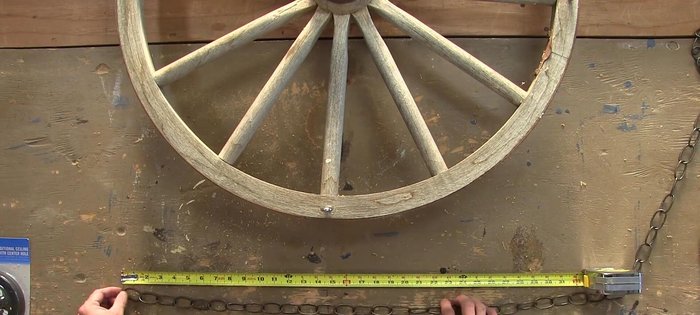
- Cut four equal lengths of chain (18 inches after adjustment).
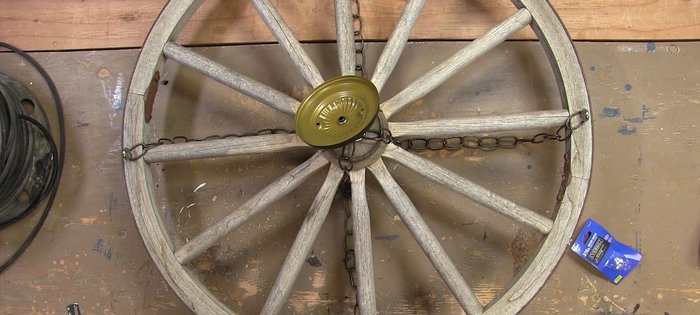
- Attach chains to the quick link carabiner, then attach the carabiner to the canopy kit.
- Attach the chain to the eye screws using D-ring shackles.
Assemble the Hanging Mechanism Wire the Chandelier
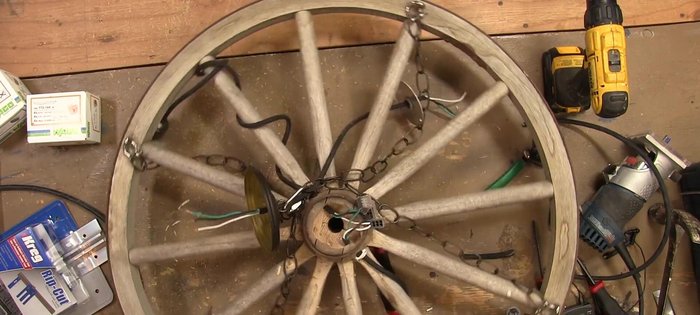
- a single 183 wire from the ceiling connects to wires feeding each light socket. Connect wires (blacks to blacks, whites to whites, greens to greens) using push wire connectors.
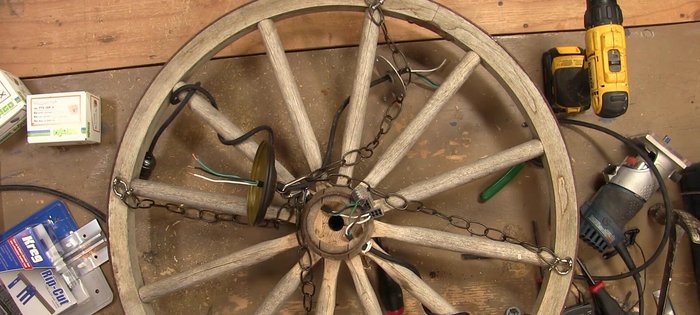
- Add a round piece of aluminum as a junction box cap with a grommet for the wire to pass through.
- Cut wire lengths for each light (six total), drill holes in the junction box, pass wires through, and secure with wire staples.
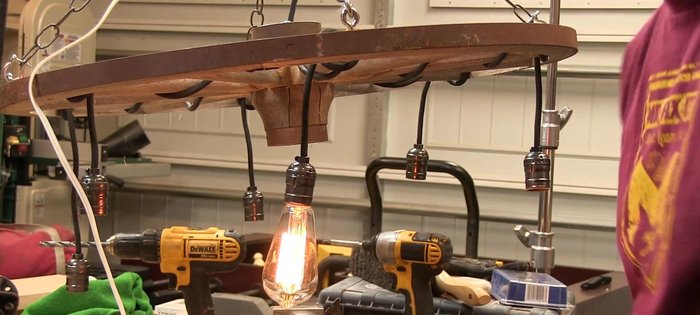
Wire the Chandelier Install Sockets and Bulbs
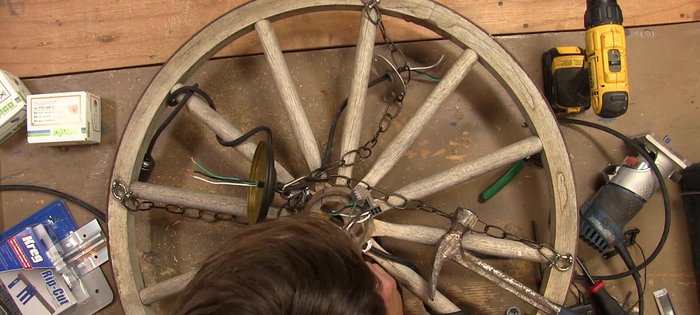
- Wrap each spoke with wire, attach retro style sockets, and install vintage Edison style bulbs.
Install Sockets and Bulbs Final Assembly and Installation
- Reinforce the canopy bracket to the ceiling and attach it directly to the beam with 3-in screws.
- Wire up the sockets, plug in to test, and hang the chandelier.
Final Assembly and Installation


Read more: Miniature Spider Welding Tutorial: Crafting a Tiny Metal Arachnid
Tips
- This project may not meet electrical codes; ensure safety before installation.
- Use push wire connectors to keep wire connections secure and contained.
- The weight of the chandelier should be carried by the chain and canopy bracket.