Transform your backyard from ordinary to extraordinary with a beautiful, DIY walkway! A stunning pathway not only enhances curb appeal but also adds practicality and elegance to your outdoor space. Imagine strolling along a personalized path, crafted with your own hands, leading to a tranquil seating area or vibrant flower bed. Forget expensive landscaping companies and embrace the rewarding experience of creating something beautiful and functional yourself. The materials are readily available, and the process, while requiring effort, is manageable for even novice DIY enthusiasts.
This guide will walk you through each step of the process, from initial planning and material selection to the final touches that will make your new walkway truly shine. Let's delve into a comprehensive, step-by-step guide to installing a breathtaking backyard path that will be the envy of your neighbors, all while enjoying the satisfaction of a job well done.
Preparation and Safety Guidelines
- garden hoe
- shovel
- weed killer
- hand stamper
- yard pins
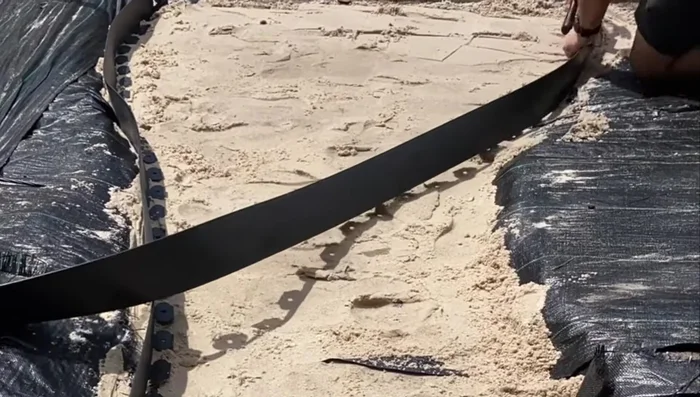
- landscape edging (4 inch tall)
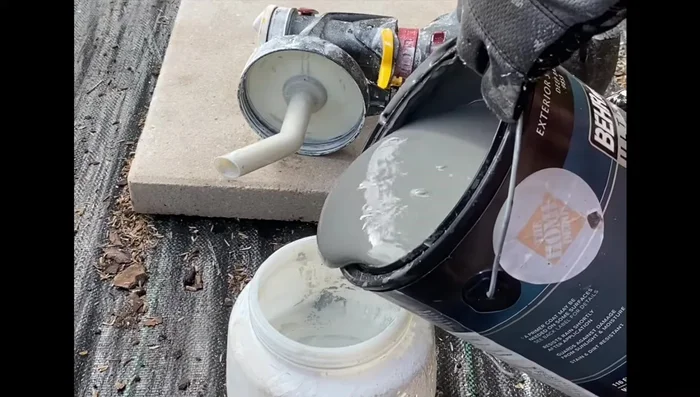
- Wagner paint sprayer
- marble white chips
- leveling sand
- crushed rock aggregate
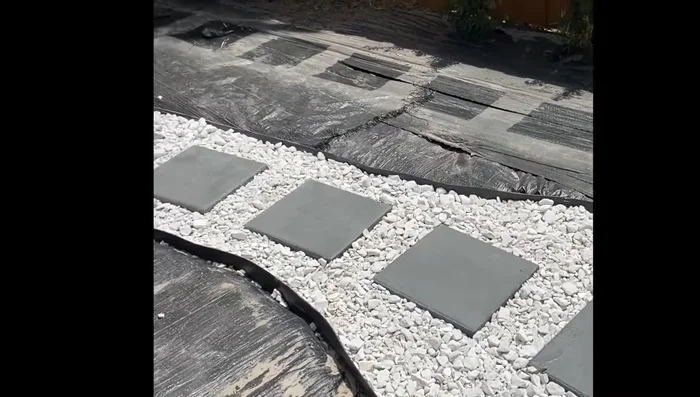
- pavers or stepping stones
- Always call 811 before digging to locate and mark underground utilities. Hitting a gas line or electrical cable can be extremely dangerous.
- Wear appropriate safety gear, including safety glasses, work gloves, and sturdy footwear. Use caution when operating power tools.
- Ensure the walkway's surface is level and stable to prevent tripping hazards. Use appropriate compaction techniques for the base material.
Step-by-Step Instructions
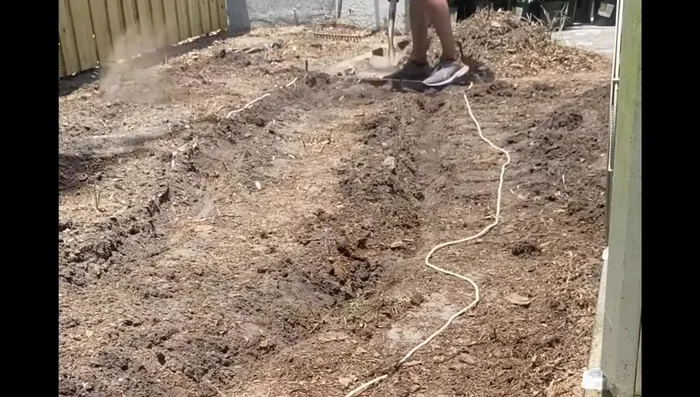
Site Preparation
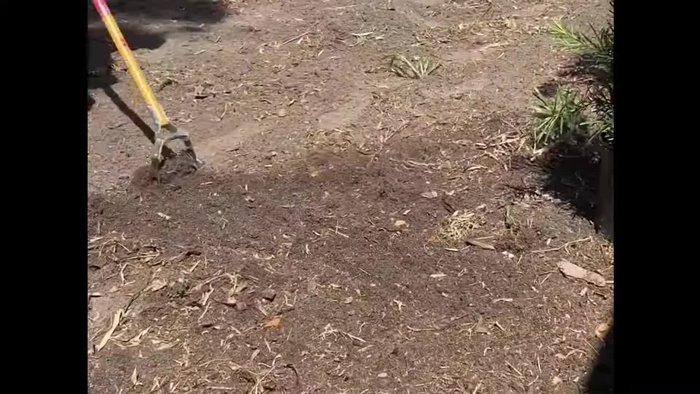
- Weed and Overgrowth Removal
- Layout and Excavation

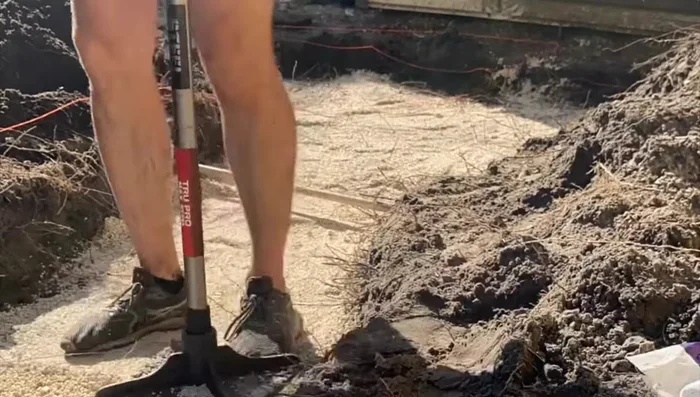
Site Preparation Base Construction
- Base Layer Installation (Crushed Rock Aggregate)
- Weed Barrier Placement
- Leveling Sand Application
- Landscape Edging Installation
Base Construction - Additional Leveling Sand
Base Construction Stone Installation and Finishing
- Stone Placement and Leveling
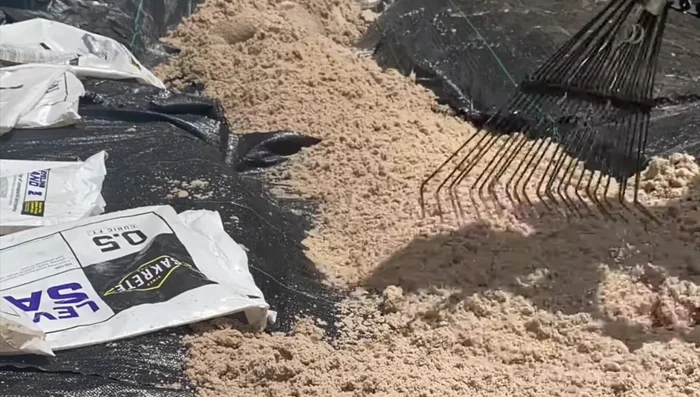
- White Stone Chip Application
Stone Installation and Finishing
Read more: Build a Sag-Proof Wood Fence Gate: The Ultimate DIY Guide
Tips
- Use potent weed killer in addition to manual removal to prevent weed regrowth.
- Ensure adequate space for layering (base layer, leveling sand, pavers). Dig out 6 inches of dirt, though 2-4 inches is usually sufficient.
- Compact the crushed rock aggregate firmly using a hand stamper.
- Use a weed barrier that extends beyond the walkway width for complete coverage.
- Level each individual stone, following the natural grade of the yard to avoid uneven sand layers.