Tired of unsightly storage solutions cluttering your home? Yearning for a touch of elegant décor without breaking the bank? Then prepare to be amazed by the transformative power of dollar store finds! This tutorial will show you how to effortlessly upgrade inexpensive glass jars and containers into stunning, glamorous storage vases, perfect for showcasing your favorite dried flowers, branches, or even vibrant artificial blooms. Forget expensive boutique vases; we’re unlocking the secret to achieving high-end style on a seriously low budget. These beautiful pieces will add a touch of sophistication to any room, proving that breathtaking décor doesn't require a hefty price tag.
Get ready to unleash your inner DIY diva because this project is incredibly easy and surprisingly rewarding. From simple embellishments to clever repurposing, we'll walk you through each step of creating these eye-catching storage vases. Ready to transform ordinary dollar store items into extraordinary home décor? Let's dive into the step-by-step instructions and create some glam!
Preparation and Safety Guidelines
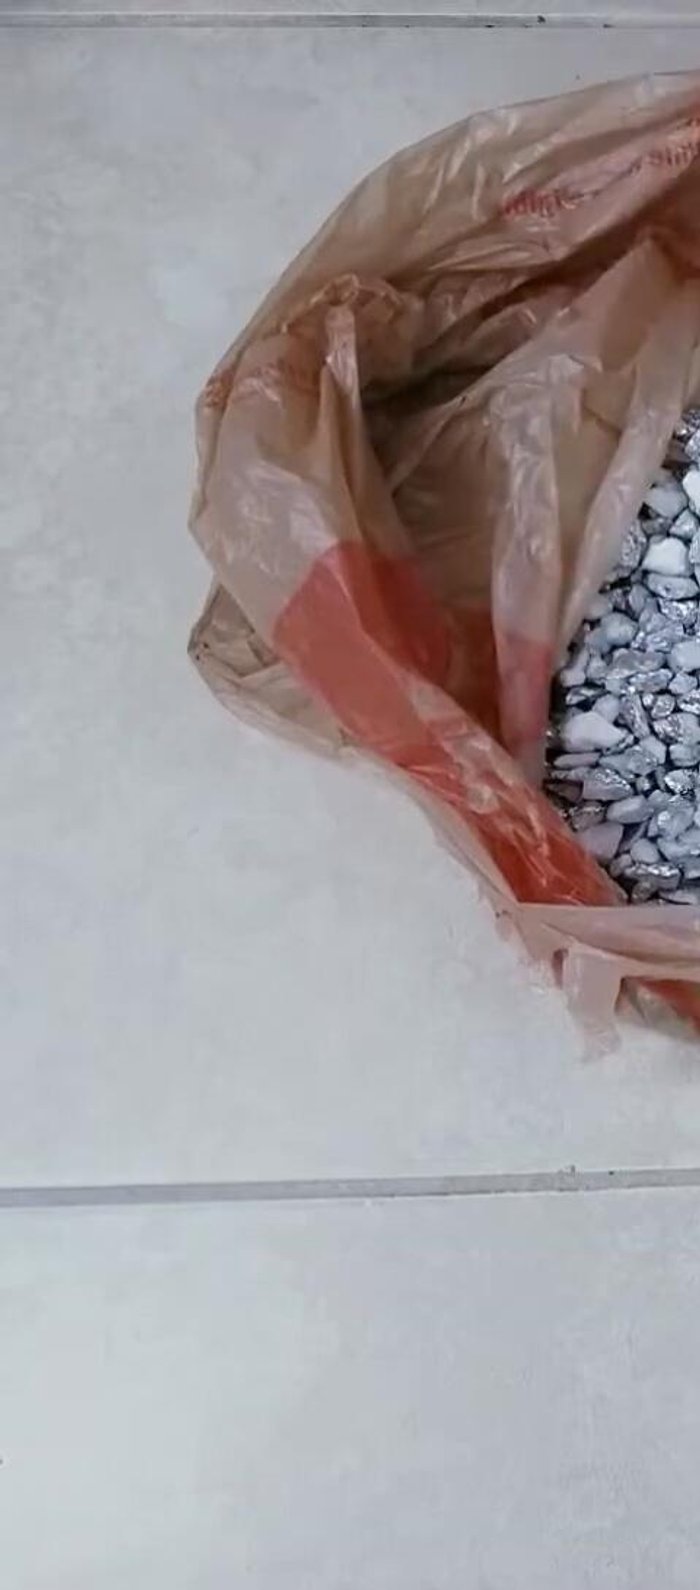
- Dollar Tree pebbles
- Empty container with lid
- Exacto knife
- Sharpie
- Hot glue
- Paint (Valve spar or acrylic)
- Rust-Oleum metallic chrome spray paint
- Gorilla wood glue
- Axle blade
- Five Dollar Tree tower tumbling blocks
- Mirror (5 inch)
- Sandpaper
- Loctite PL Premium Construction Adhesive
- Always supervise children around sharp objects like scissors or craft knives used during the vase creation process.
- Use caution when handling hot glue; allow it to cool slightly before touching and avoid contact with skin or eyes. Keep away from flammable materials.
- Ensure the chosen Dollar Store materials are clean and free of any residue before starting the crafting process to prevent potential damage or contamination.
Step-by-Step Instructions
Prepare the Base
- Cut off the lid of the empty container using an exacto knife. Discard the container.
- Place the lid on the base container and trace it with a Sharpie. Cut out the traced circle.
- Use hot glue to seal the lid back onto the jar, securing the seam.
- Cut off excess lid material with an Exacto knife.

Prepare the Base Paint the Base and Stones
- Paint the cardboard tubing with two thick coats of paint (Valve spar or acrylic).
- Spray paint the Dollar Tree pebbles with metallic chrome spray paint.
Paint the Base and Stones Create the Handles
- Assemble the handles using four Dollar Tree tumbling blocks glued together to form a rectangle. Cut a fifth block in half and glue the pieces to the sides for decoration.
Create the Handles Decorate the Vase Body
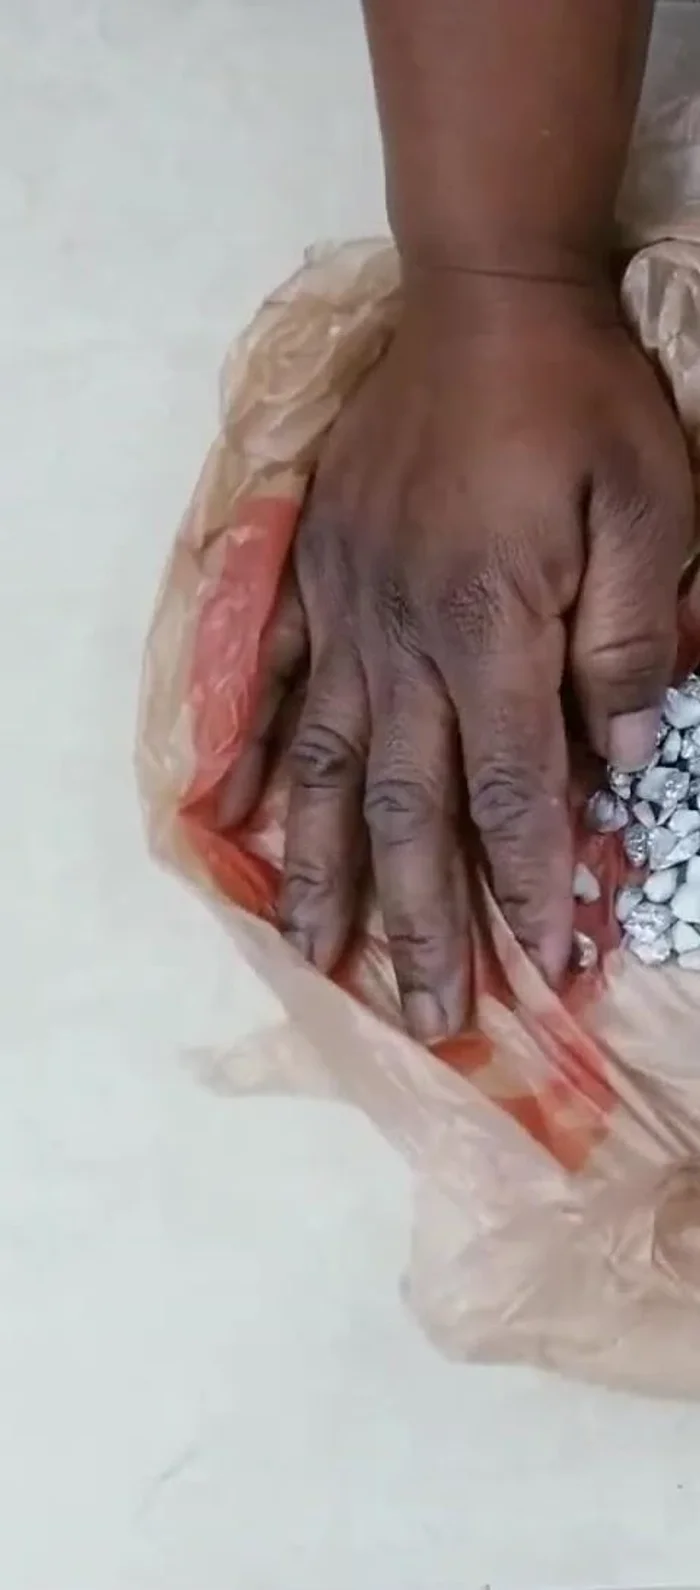
- Glue the larger pebbles to the top of the container, working down to the smallest pebbles using hot glue.
- Place the mirror in the center of the top of the container, then fill in any gaps with small pebbles.
Decorate the Vase Body Decorate the Lid
- Glue pebbles to the lid, pre-painting with chrome spray paint afterwards. Leave the very edge unglued until after attaching to the mirror.
- Glue the lid to the mirror using a strong adhesive (e.g., E6000 or construction adhesive). Fill in gaps with small rocks.
- Glue a smaller mirror to the top of the lid and fill in the gaps with pebbles.
Decorate the Lid Finish the Handles and Attach
- Sand the handles and paint them with off-white paint.
- Attach the handles to the mirror using construction adhesive.
Finish the Handles and Attach


Read more: Miniature Spider Welding Tutorial: Crafting a Tiny Metal Arachnid
Tips
- Use a strong adhesive like E6000 or construction adhesive for attaching the lid to the mirror for a more secure bond.
- Ensure proper alignment of the handle pieces before gluing for a neat finish.