Transforming your living space with the rustic charm of exposed beams doesn't require a hefty renovation budget or structural expertise. Faux beams offer a stylish and affordable alternative, instantly adding depth, character, and a touch of architectural interest to any room. Whether you're aiming for a cozy farmhouse aesthetic or a sophisticated industrial look, these lightweight, easily installable beams provide a dramatic visual upgrade without the complexities of real timber. They're a perfect DIY project for weekend warriors, adding significant impact with relatively little effort.
This comprehensive guide will walk you through each stage of installing your DIY faux beams, ensuring a seamless and professional-looking finish. From careful planning and accurate measurement to the final touches, follow our step-by-step process to achieve stunning results and effortlessly elevate your home's interior design.
Preparation and Safety Guidelines
- Saw
- Measuring tape
- Nails
- Clamps
- Shiplap
- Faux beam
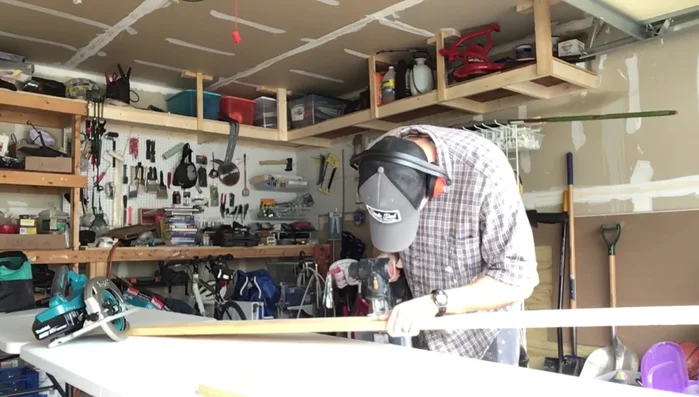
- Always wear appropriate safety gear, including eye protection and a dust mask, throughout the entire installation process. Wood dust can be harmful.
- Ensure that all fasteners are securely installed to prevent the faux beams from falling. Use appropriate anchors for your ceiling or wall material.
- If working at heights, use a sturdy ladder or scaffolding and follow all safety guidelines for working above ground level. Never overreach.
Step-by-Step Instructions
Prepare the Area
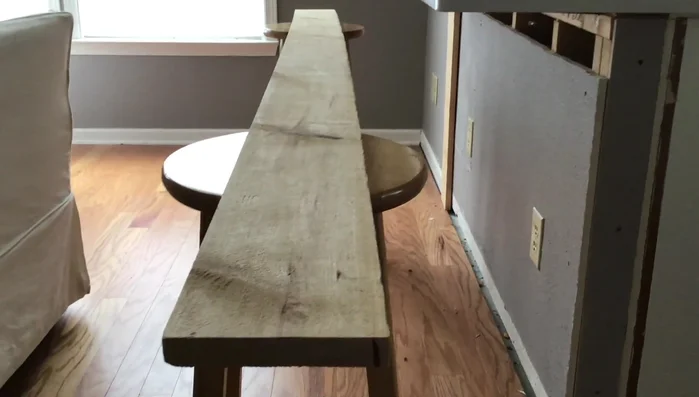
- Prepare the space by removing any existing knee walls to open up the area.
Prepare the Faux Beam
- Cut the faux beam to the desired length. If using rough-sawn lumber, select the side with more texture for the visible surface. Consider pre-splitting the beam for better manageability and to showcase the desired texture.
Notch and Fit the Main Beam
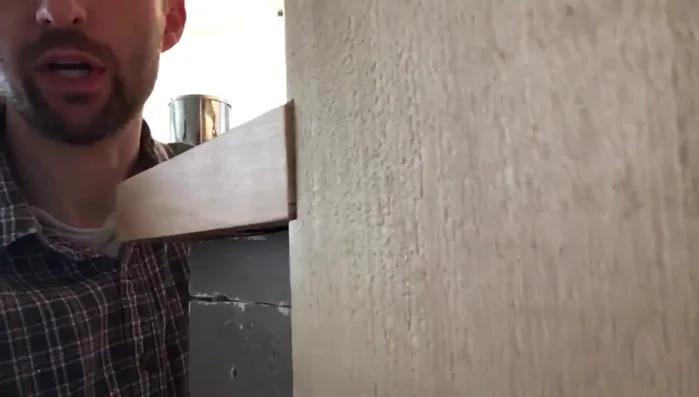
- Create a notch in the bottom of the faux beam to ensure a snug fit against the countertop.
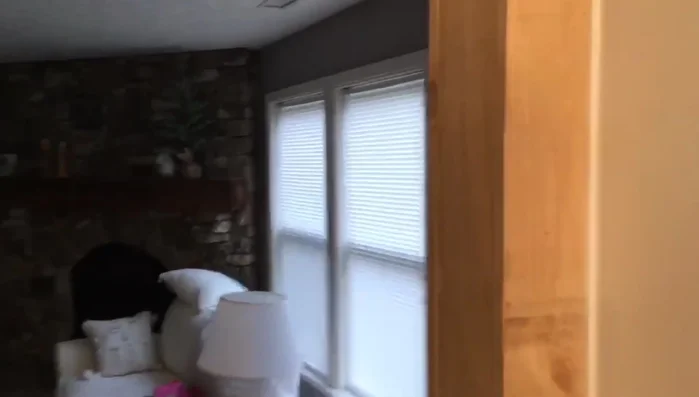
- Install the faux beam, ensuring a tight fit between the beam and the surrounding structure. This is easier if you approach the installation from an angle rather than straight on.

Notch and Fit the Main Beam Attach Supporting Beams
- Attach the smaller beams to the main faux beam, ensuring they are flush against the top surface.
Attach Supporting Beams Refine and Finalize
- Address any minor inconsistencies in alignment by carefully removing and re-attaching sections to ensure a perfectly flush finish. Using clamps can help maintain alignment while nailing.
Refine and Finalize Install Shiplap
- Install shiplap around the beam, creating a cohesive and aesthetically pleasing look.
Install Shiplap

Read more: DIY Pantry Door Spice Rack: Organize Your Spices in Minutes!
Tips
- For a seamless integration with countertops, pre-notch the bottom of the faux beam for a precise fit.
- When installing the beam into a vertical space, approach it at an angle for easier insertion and a snug fit.
- Use clamps to prevent warping and maintain alignment while securing the beams.