Add a touch of whimsical charm to your garden with this adorable DIY gnome project! Forget expensive store-bought decorations; crafting your own gnome is a fun, affordable, and deeply satisfying experience. Whether you're a seasoned crafter or a complete beginner, this project is easily manageable and perfect for adding a personal touch to your outdoor space. Imagine the delightful surprise of discovering your handmade gnome peeking from amongst your flowers, a charming testament to your creativity. You'll be amazed at how quickly you can transform simple materials into a truly unique garden ornament.
This step-by-step tutorial will guide you through each stage of the process, from selecting the right materials to adding those final, perfectly imperfect details that make your gnome truly special. Let's get started and create your own enchanting little garden guardian!
Preparation and Safety Guidelines
- 2.5 inch flower pot
- lime green paint
- white paint
- fine brush
- foot mold
- oven-baked clay
- wire
- pliers
- 1 7/8 inch pipe insulation
- fabric (7 3/4 x 5 inches)
- glue
- scissors
- 1 3/4 inch felt circle
- blue jean material (6 1/4 x 3 1/2 inches)
- G material (3 1/2 x 1 5/8 inches)
- bone folder
- 5/16 inch weights
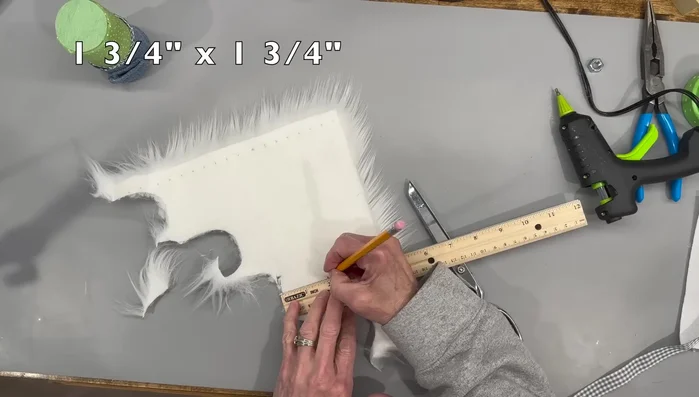
- faux fur (1 3/4 x 1 3/4 inches)
- boxwood twigs
- ribbon
- miniature gardening tools
- 15 millimeter half bead
- greenery
- small can
- Always supervise children during crafting activities, especially when using sharp tools like scissors or knives.
- Use non-toxic paints and sealants designed for outdoor use to ensure your gnome remains weather-resistant and safe for the environment.
- Ensure adequate ventilation when using paints and sealants, and wear a mask if necessary to avoid inhaling fumes.
Step-by-Step Instructions
Prepare the Hat
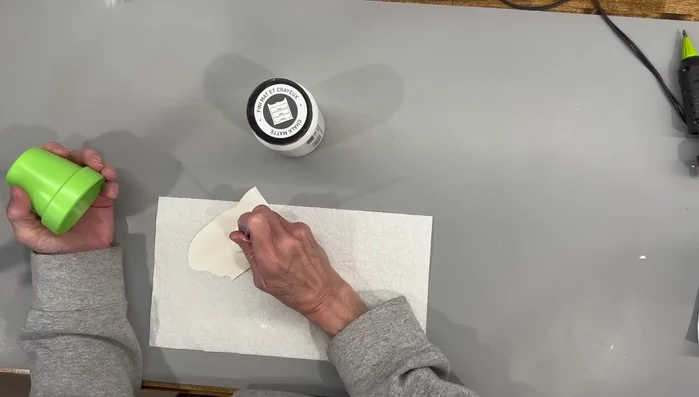
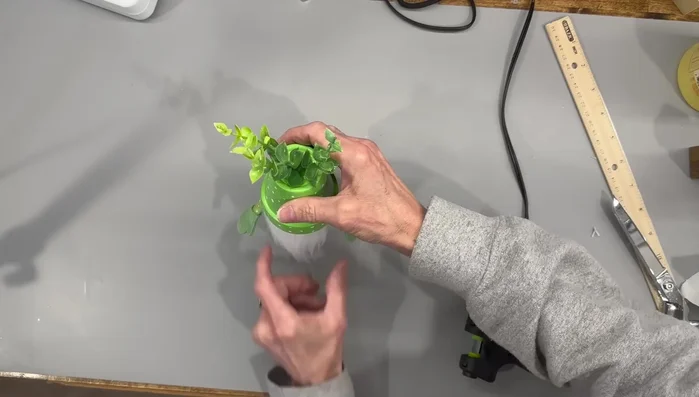
- Paint the flower pot lime green and add white dots.

Prepare the Hat Create and Bake the Feet
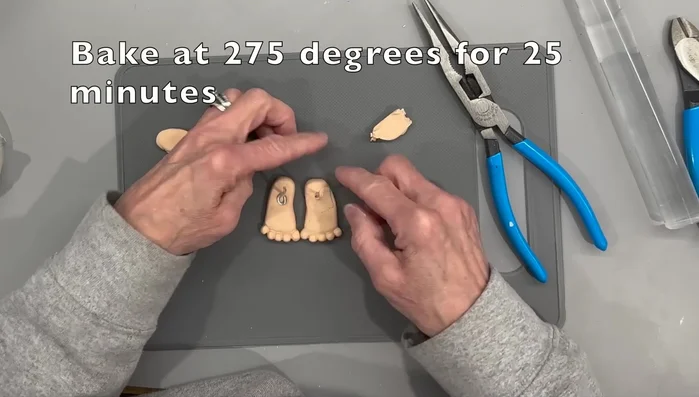
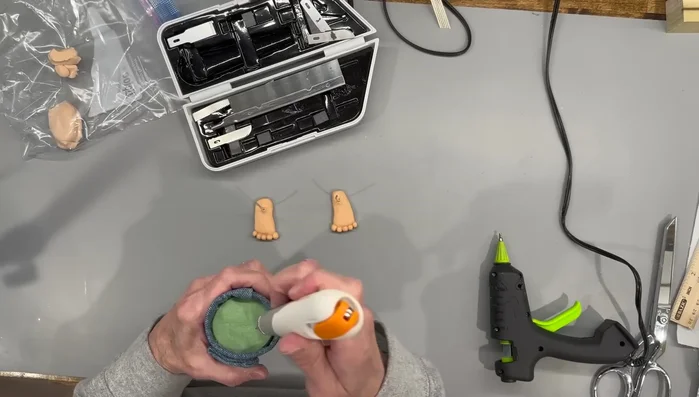
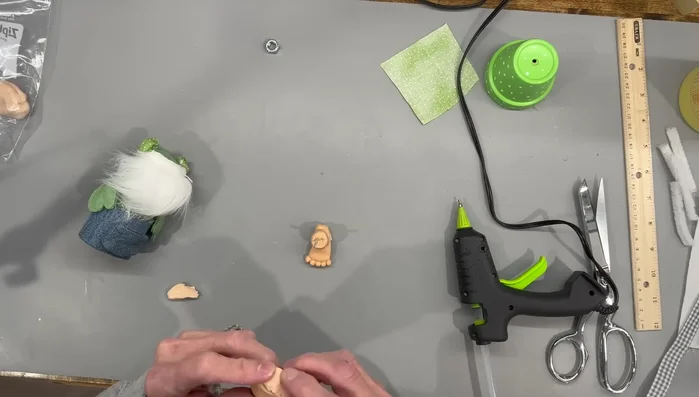
- Create feet using the mold and oven-baked clay. Insert wire into the feet, curl one end, and flatten the other.
- Bake the feet at 275 degrees for 25 minutes.
Create and Bake the Feet Construct the Gnome's Body
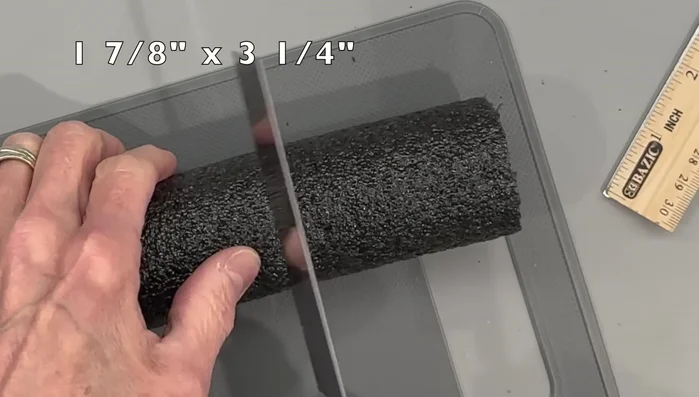
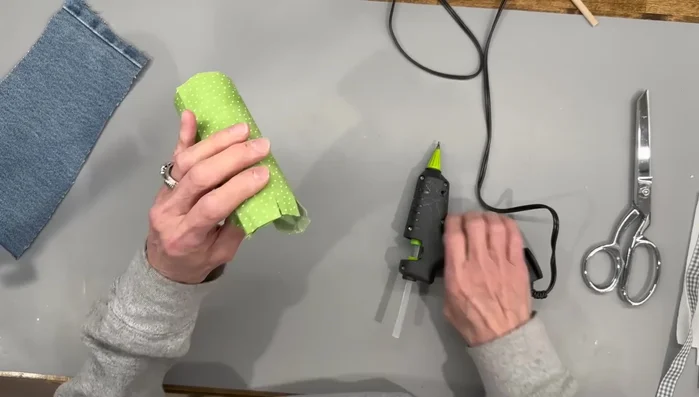
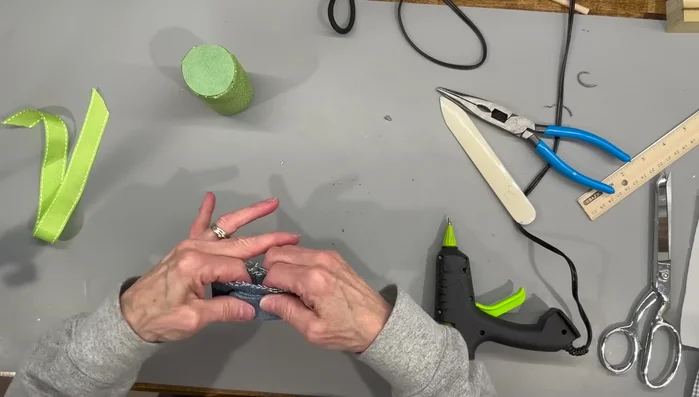
- Cut and prepare the pipe insulation for the gnome's body.
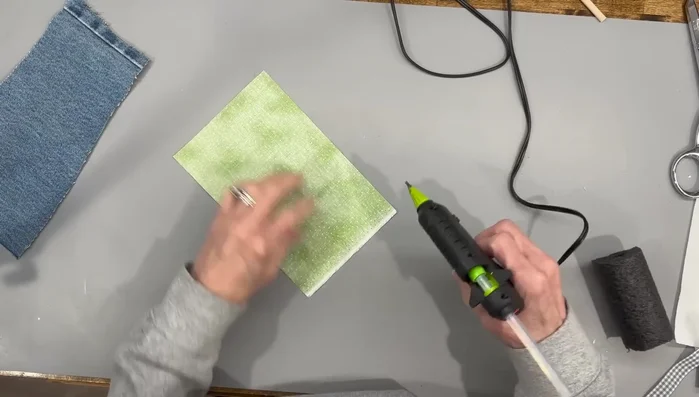
- Hem one side of the fabric, glue and roll it around the pipe insulation, and glue the other side.
- Cut slits in the fabric, glue to the pipe insulation on both ends, and attach felt circles.
Construct the Gnome's Body Make and Attach the Apron
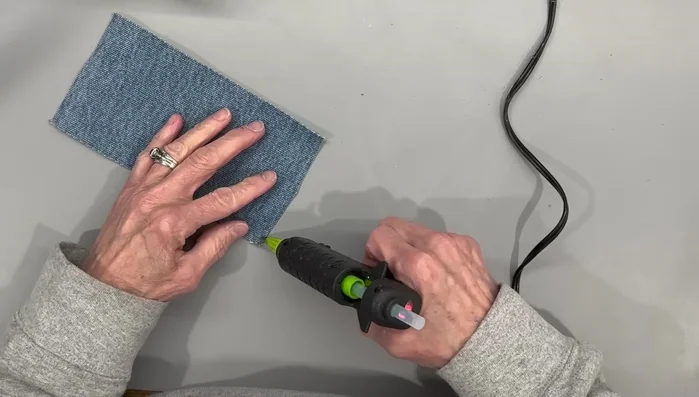
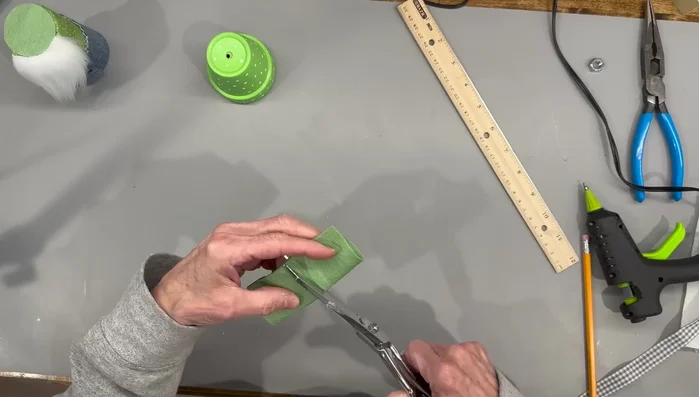
- Create the gnome's apron using blue jean material, glue and fold.
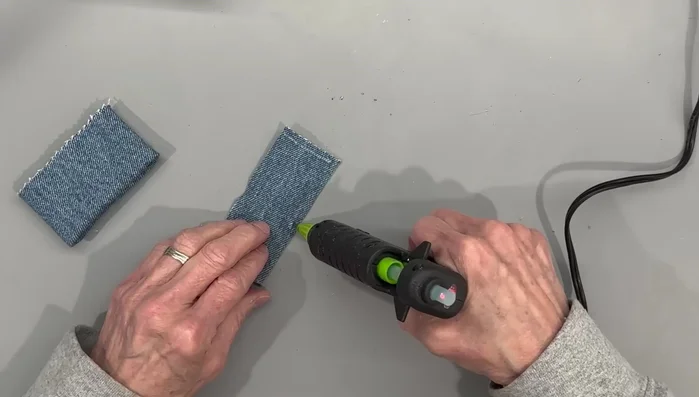
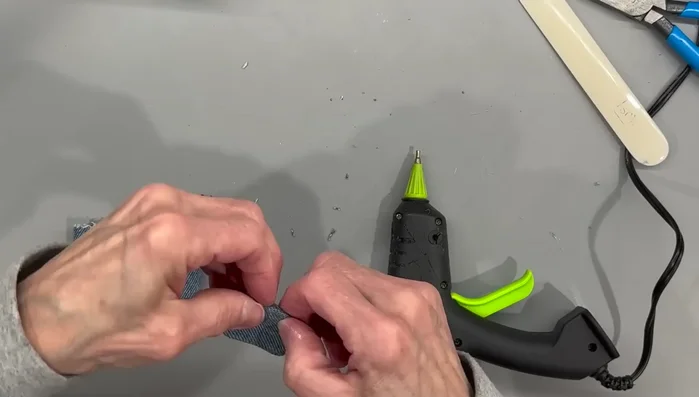
- Make the pocket for the apron using G material; glue, fold, and turn right side out. Finish the top seam.
- Attach the pocket to the apron.
- Attach the apron to the gnome's body.
Make and Attach the Apron Attach Feet and Bake Again
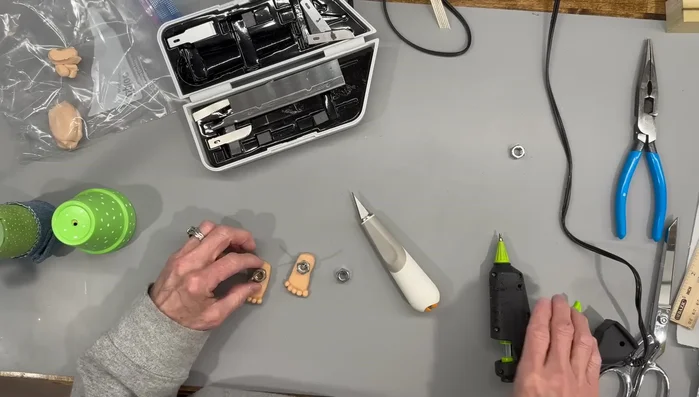
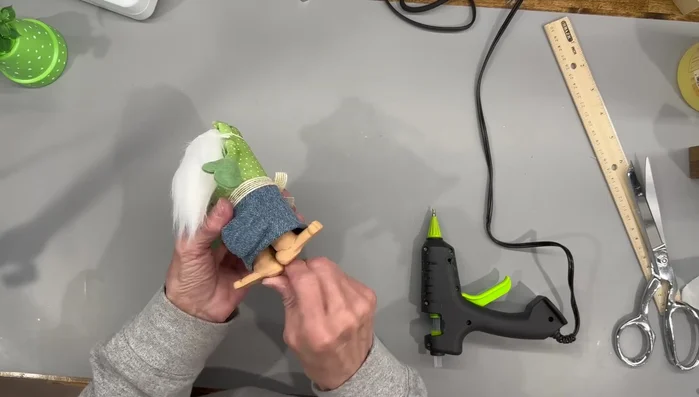
- Poke holes in the bottom of the gnome's body and insert the feet.
- Add weights to the bottom of the gnome, cover with clay, and bake for 20 minutes at 275 degrees.
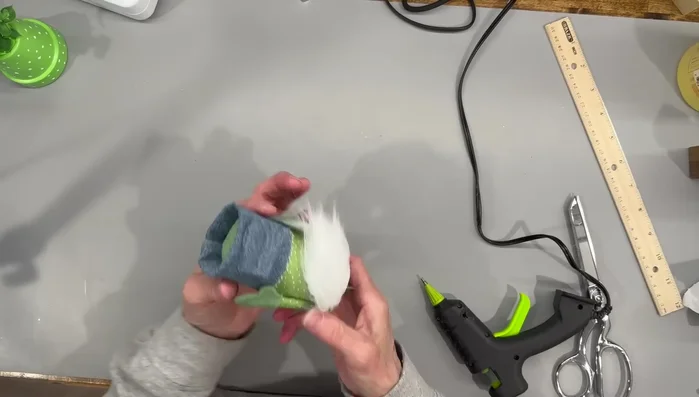
Attach Feet and Bake Again Add the Beard
- Cut the faux fur beard and glue it to the gnome's head.
Add the Beard Create and Attach the Gloves
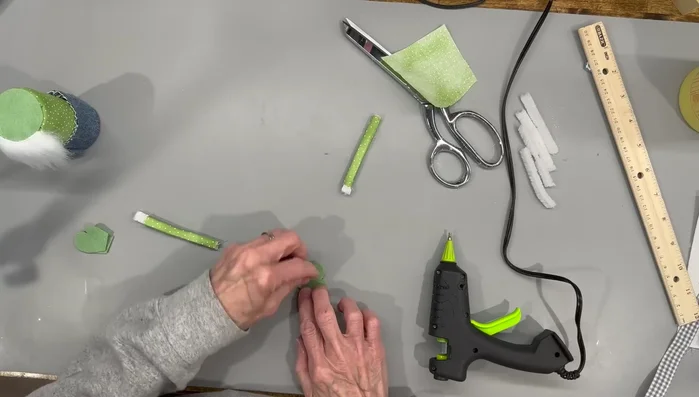
- Create the gnome's gloves using felt and pipe cleaners.
- Attach the gloves to the gnome's arms.
Create and Attach the Gloves Add Clay Heels and Bake
- Add a pea-sized piece of clay to the bottom of the feet for balance, smooth, and bake for 15 minutes at 275 degrees.
Add Clay Heels and Bake Attach Hat Decorations
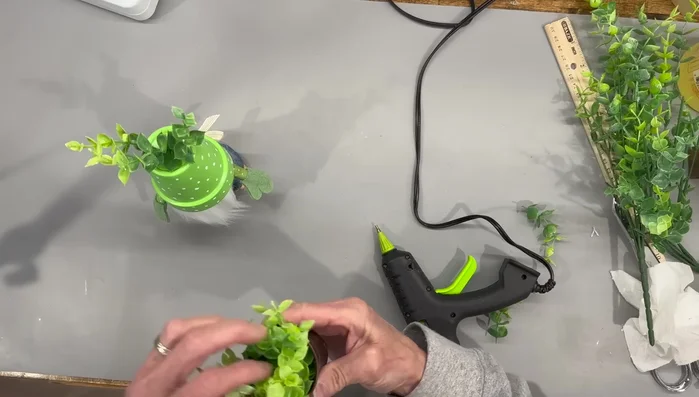
- Attach the boxwood twigs to the hat.
Final Assembly
- Attach the apron to the gnome’s body.
- Add a ribbon to the top of the apron.
- Attach the feet to the gnome.
- Attach the hat and nose.
Final Assembly - Add greenery and gardening tools.
Final Assembly

Read more: Build a Sag-Proof Wood Fence Gate: The Ultimate DIY Guide
Tips
- Make sure the clay is flat on the bottom of the feet for stability.
- Use pliers to help turn the G material pocket right side out.
- Ensure the weights are straight when attaching them to the gnome's legs.
- Make sure the pipe cleaner is only partially folded for the gloves.
- Use a generous amount of glue to attach the hat and keep the twigs in place.